
How to Create a Course Outline (With a Fill-in-the-Blank Template)
I’ve created 33 courses. Trained over 39,000 professionals. And every single one of those courses started the same way: with an outline.
Not a fancy curriculum map. Not a color-coded spreadsheet. Just a simple, structured outline that told me exactly what to record, in what order, and when to stop.
Here’s the thing most people get wrong about course outlines: they try to include everything they know. That’s the fastest path to a bloated, boring course nobody finishes.
What you need is a framework. A repeatable structure you can fill in with any topic and trust that the result will be coherent, progressive, and actually teach something.
That’s what I’m giving you today. The exact template I use, explained step by step, so you can stop planning and start building.
Why Most Course Outlines Fail
Before I show you the template, let me save you from the three mistakes I see over and over:
Mistake #1: You start with what you know, not what they need. You’ve got 20 years of expertise. Your student has a specific problem. Those two things overlap in about 15% of your knowledge. Build the outline around that 15%.
Mistake #2: No progression. Each module should build on the last. If Module 3 doesn’t require something learned in Module 2, one of them is in the wrong place.
Mistake #3: Too much content. If you’re debating whether to include something, cut it. You can always add a bonus module later. You can’t un-bore a student who quit at lesson 47.
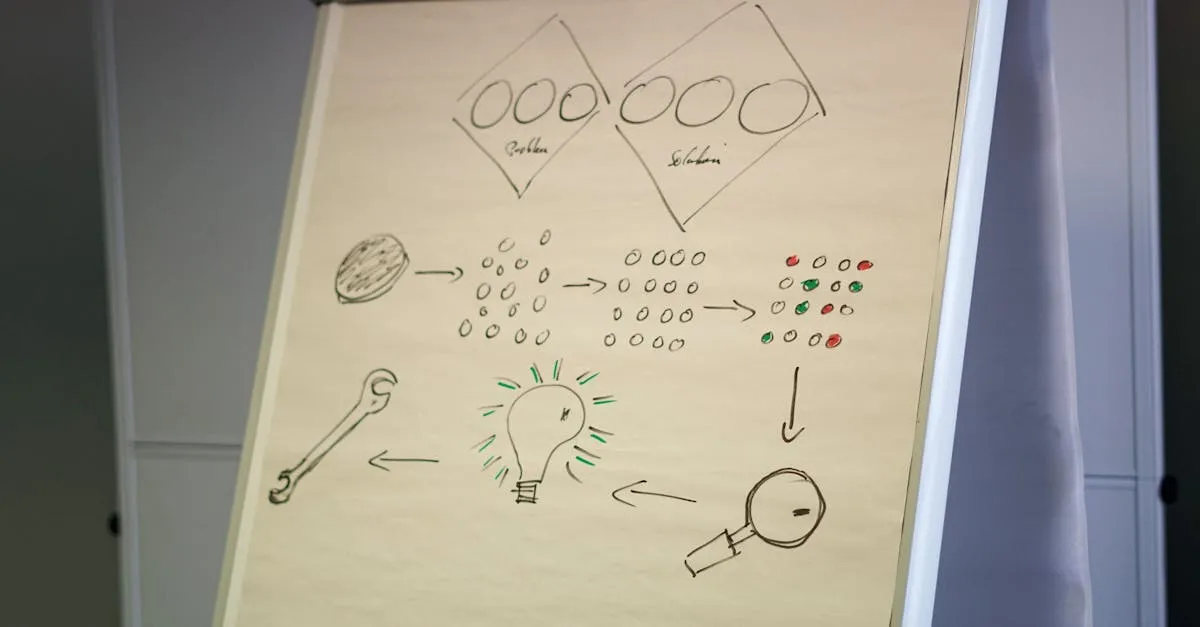
The Brain Dump Then Prune Method
Before you touch the template, do this:
-
Brain dump. Open a blank document. Write down every single thing a student could possibly need to know about your topic. Don’t organize. Don’t edit. Just dump. Give yourself 20 minutes.
-
First cut: remove 50%. Now look at that list with cold eyes. Cross out everything that’s “nice to know” but not essential to getting a result. Be ruthless. If they can succeed without it, it goes.
-
Second cut: remove another 25%. Look at what’s left. Now cut the things that are important but not urgent — the stuff someone could learn later after they’ve already gotten value from your course.
What remains is your course, your minimum sellable product. That’s it. That’s the content.
Now plug it into the template.
The Course Outline Template
Here’s the structure. Every module has a job. Your job is to fill in the blanks with content from your pruned brain dump. (See how this structure keeps students finishing.)
Module 0: Welcome + Quick Win
Purpose: Hook them. Give them a small result in the first 10 minutes so they believe the course works.
- Lesson 1: Welcome + What You’ll Learn (overview of the journey)
- Lesson 2: How to Get the Most From This Course (logistics, pacing, tools needed)
- Lesson 3: Your First Quick Win (a small, concrete action that produces a visible result)
- Lesson 4: Where to Get Help (community, support, resources)
Quick win examples:
- Photography course → Take your first manually-exposed photo
- Excel course → Build your first formula that auto-calculates something
- Marketing course → Write your first email subject line using the formula
The quick win is non-negotiable. It’s the difference between a student who makes it to Module 1 and one who ghosts after the intro video.
Module 1: Foundation
Purpose: The baseline knowledge they need before the real content begins. This is not review — it’s the prerequisites.
- Lesson 1: The Core Concept (the one idea everything else builds on)
- Lesson 2: Key Terms and Definitions (only the ones that actually matter)
- Lesson 3: Common Misconceptions (what people get wrong about this topic)
- Lesson 4: Setting Up Your Environment / Tools (practical setup)
- Lesson 5: Foundation Checkpoint (a quick self-assessment or exercise)
Keep this tight. If your foundation module has more than 6 lessons, you’re including too much. Point them to supplementary resources for deep dives.
Module 2: Core Skill 1
Purpose: The first major milestone. By the end of this module, your student can do something meaningful they couldn’t do before.
- Lesson 1: Introduction to [Skill 1] (what it is, why it matters)
- Lesson 2: The Process Step-by-Step (walk through the skill methodically)
- Lesson 3: Worked Example (you do it, narrating your thinking)
- Lesson 4: Guided Practice (they do it with your scaffolding)
- Lesson 5: Common Mistakes and How to Fix Them
- Lesson 6: Skill 1 Checkpoint (independent exercise with a rubric or answer key)
Each lesson covers one concept, one example, one action item. That’s the formula. Don’t combine concepts. Don’t skip the action item. If you can’t think of an action item, the concept is too abstract.
Module 3: Core Skill 2
Purpose: The second milestone. This builds directly on Module 2. If it doesn’t, reorder your modules until it does.
- Lesson 1: Building on [Skill 1] — Introducing [Skill 2]
- Lesson 2: The Process Step-by-Step
- Lesson 3: Worked Example
- Lesson 4: Guided Practice
- Lesson 5: Combining Skill 1 + Skill 2 (integration exercise)
- Lesson 6: Common Mistakes and How to Fix Them
- Lesson 7: Skill 2 Checkpoint
Notice lesson 5: combining the skills. This is where real learning happens — when students connect concepts across modules. Don’t skip the integration step.
Module 4: Core Skill 3
Purpose: The third milestone. By now, students are combining skills and building confidence.
- Lesson 1: Taking It Further — Introducing [Skill 3]
- Lesson 2: The Process Step-by-Step
- Lesson 3: Worked Example
- Lesson 4: Guided Practice
- Lesson 5: Putting It All Together (Skills 1 + 2 + 3 combined)
- Lesson 6: Common Mistakes and How to Fix Them
- Lesson 7: Skill 3 Checkpoint
- Lesson 8: Mid-Course Review (optional but recommended for longer courses)
Module 5: Advanced / advanced (Optional)
Purpose: Premium content. This is your upsell lever — the advanced material that justifies a higher price tier or serves as a bonus module.
- Lesson 1: Beyond the Basics — What’s Possible Now
- Lesson 2: Advanced Technique 1
- Lesson 3: Advanced Technique 2
- Lesson 4: Real-World Case Study (a detailed walk-through of a real application)
- Lesson 5: Advanced Project (a capstone exercise that combines everything)
You don’t have to include this module. If your topic doesn’t have a clear “advanced” layer, skip it. A tight 4-module course beats a padded 6-module course every time.
Module 6: What’s Next
Purpose: Close strong. Give them a path forward so they don’t finish your course and wonder “now what?”
- Lesson 1: Course Recap — What You’ve Accomplished
- Lesson 2: Your Action Plan (a concrete 30/60/90-day plan)
- Lesson 3: Recommended Resources (books, tools, communities)
- Lesson 4: How to Stay Connected (your community, newsletter, next course)
- Lesson 5: Congratulations + Certificate (if applicable)
This module does double duty: it gives students closure and it’s your natural upsell point. If you have a community, a coaching program, or an advanced course, this is where you mention it. Not in a pushy way — in a “here’s your logical next step” way.
How to Fill In the Template
Let me walk you through the process with a real example. Say you’re creating a course on email marketing for small business owners.
Brain dump: Segmentation, open rates, deliverability, subject lines, CTAs, automation, drip sequences, list building, lead magnets, CAN-SPAM compliance, design, A/B testing, analytics, welcome sequences, re-engagement campaigns, storytelling, tone of voice, sender reputation, double opt-in vs. single opt-in…
After first cut (remove 50%): Segmentation, subject lines, CTAs, automation, list building, lead magnets, welcome sequences, A/B testing, analytics, storytelling.
After second cut (remove another 25%): Subject lines, CTAs, list building, lead magnets, welcome sequences, automation basics.
Now map those to the template:
- Module 1 (Foundation): What email marketing actually is, how email providers work, key metrics that matter
- Module 2 (Core Skill 1): Building your list — lead magnets and opt-in pages
- Module 3 (Core Skill 2): Writing emails that get opened — subject lines and CTAs
- Module 4 (Core Skill 3): Welcome sequences and basic automation
- Module 5 (Advanced): A/B testing and analytics (bonus module)
- Module 6 (What’s Next): Action plan, resources, community
Done. That’s a complete course outline in under an hour.
The Math: How Many Lessons Should You Have?
Each module has 5-8 lessons. With 7 modules, that’s 30-50 lessons total.
Aim for 3-8 minutes per lesson video. That puts your total course content at 90-400 minutes (1.5 to 6.5 hours).
If you’re coming in under 90 minutes, your course is too thin. Expand your core skills or add more practice exercises.
If you’re over 6 hours, you’re over-teaching. Cut a module or merge lessons that cover similar ground.
Where to Host Your Course
Once you’ve got your outline, you need a platform to build on. I use GoHighLevel for course delivery, funnels, and student management — it handles the entire student journey from first click to certificate.
Pick a platform that lets you organize content into modules and lessons. That’s non-negotiable. If your platform can’t mirror your outline structure, you’ll be fighting your tools instead of building your course.
Your Next Step
You have the template. You have the method. Here’s what to do right now:
- Open a blank document
- Set a timer for 20 minutes
- Brain dump everything about your topic
- Cut 50%. Then cut another 25%
- Drop what’s left into the template above
That’s it. You’ll have a complete course outline by the end of the hour.
If you want help turning that outline into a full course — choosing the right format, recording without hating the sound of your own voice, pricing it so people actually buy — check out How to Create an Online Course or jump straight into Plan Your Course for a guided walkthrough.
The outline isn’t the hard part. The hard part is sitting down and doing it. So go do it.
Frequently Asked Questions
Why do most outlines end up with too much content?
Creators start with what they know rather than what students need. Without aggressive pruning, the outline becomes bloated with nice-to-know information that doesn’t serve the transformation.
What is the brain dump then prune method?
Write everything a student could possibly need in 20 minutes. Then remove 50% that’s nice-to-know, followed by removing another 25% that’s important but not urgent. What remains is your actual course content.
Why does every course need a quick win in the first module?
A quick win gives students a concrete result in the first 10 minutes so they believe the course works. Without it, students may ghost after the intro video.
How many lessons per module?
5-8 lessons, each covering one concept, one example, and one action item. If you can’t describe what students accomplish in one sentence, the module is too broad.
What’s the purpose of the final module?
It closes strong by giving students a concrete 30/60/90-day action plan, recommended resources, and connection to your next offering as a natural upsell point.
You Might Also Like

Can You Create an Online Course Without Being on Camera? (Yes, Here's How)
Camera shy? You don't need to show your face. Screen recordings, slide presentations, AI avatars, and audio-only courses all work. Here are the 4 formats that don't require a camera.

How Long Should Your Online Course Be? (Here's What the Data Says)
Short answer: as long as it takes to deliver the transformation you promised. Long answer: here's what completion rates, student feedback, and 39,000+ trained professionals have taught me.
How Much Does It Cost to Create an Online Course? (The Real Numbers)
The honest cost breakdown from $0 to $5,000+. Most course creators spend way less than they think — and waste money on the wrong things. Here's where to invest and where to save.