Can You Create an Online Course Without Being on Camera? (Yes, Here's How)
You don’t need to be on camera to create a course that sells.
I’ve seen too many people put off launching their first course because they’re uncomfortable on video. They buy a ring light, practice in the mirror, record 20 takes, and still hate the result. Then the course never ships.
Here’s the reality: some of the best-performing online courses don’t show the instructor’s face at all. Screen recordings, slide decks, AI-generated presenters, and audio-only lessons all work. In many cases, they work better than talking-head videos.
I’m going to walk you through the four formats that let you create a professional course without ever turning on your webcam, plus when to use each one and the tools you need to get started.
Why Camera-Free Courses Work
Before we get into the formats, let’s address the elephant in the room: students don’t care about your face as much as you think.
What students care about is:
- Can I follow along with what you’re teaching?
- Is the audio clear and easy to understand?
- Does the content actually help me get a result?
A well-structured screen recording with crisp audio will outperform a poorly lit talking-head video every time. The format should serve the content, not the other way around.
If you’re teaching software, showing the screen is the lesson. If you’re teaching business frameworks, a well-designed slide deck is the lesson. The camera is optional — clarity isn’t.
Format 1: Screen Recordings
This is the most common camera-free format, and for good reason. You record your screen while narrating what you’re doing. Students see exactly what you see, which makes it perfect for anything that involves software, tools, or step-by-step processes.
When to use it:
- Software tutorials (Photoshop, Excel, coding, CRM setup)
- Design courses (walk through your design process in real time)
- Technical training (any “follow along with me” content)
- Walkthroughs of tools or platforms
Tools:
- OBS Studio — Free, open source, and incredibly powerful. The learning curve is real, but once you set it up, it’s rock solid. This is what I’d recommend starting with.
- Loom — Dead simple. Hit record, share the link. Great for quick lessons and async content. The free tier handles most needs.
- Zoom — Yes, the meeting app. Start a meeting with yourself, share your screen, hit record. It works, and you probably already have it installed.
- ScreenFlow (Mac) or Camtasia (Windows) — Paid options with built-in editing. Worth it if you’re producing a lot of content and want everything in one app.
Pros:
- Feels authentic and “behind the scenes”. Students love watching someone actually work
- Easy to produce. No setup beyond screen recording software
- Students can follow along in real time
- Works for any tool-based or process-based content
Cons:
- Only works if your content involves something visible on screen
- Can feel slow if you’re not editing out dead time
- Requires decent microphone audio (more on that below)
Pro tip: Write a loose script or outline before you hit record. You don’t need to read word-for-word, but knowing your next step prevents those awkward “um, let me find that…” moments. Edit out long pauses and mistakes — even basic trimming makes a huge difference.
Format 2: Slide-Based Presentations
This is the classic “webinar style” format. You build a slide deck in PowerPoint, Keynote, or Google Slides, then record a voiceover walking through each slide. Export the whole thing as a video file.
When to use it:
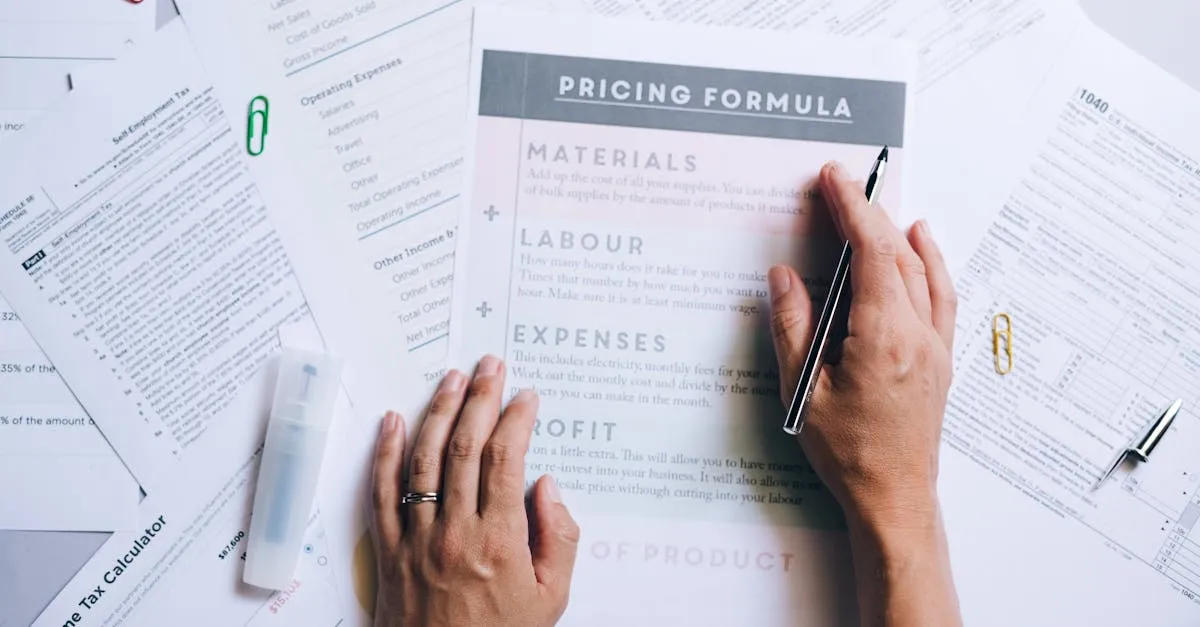
- Theory-heavy topics (marketing principles, legal concepts, financial literacy)
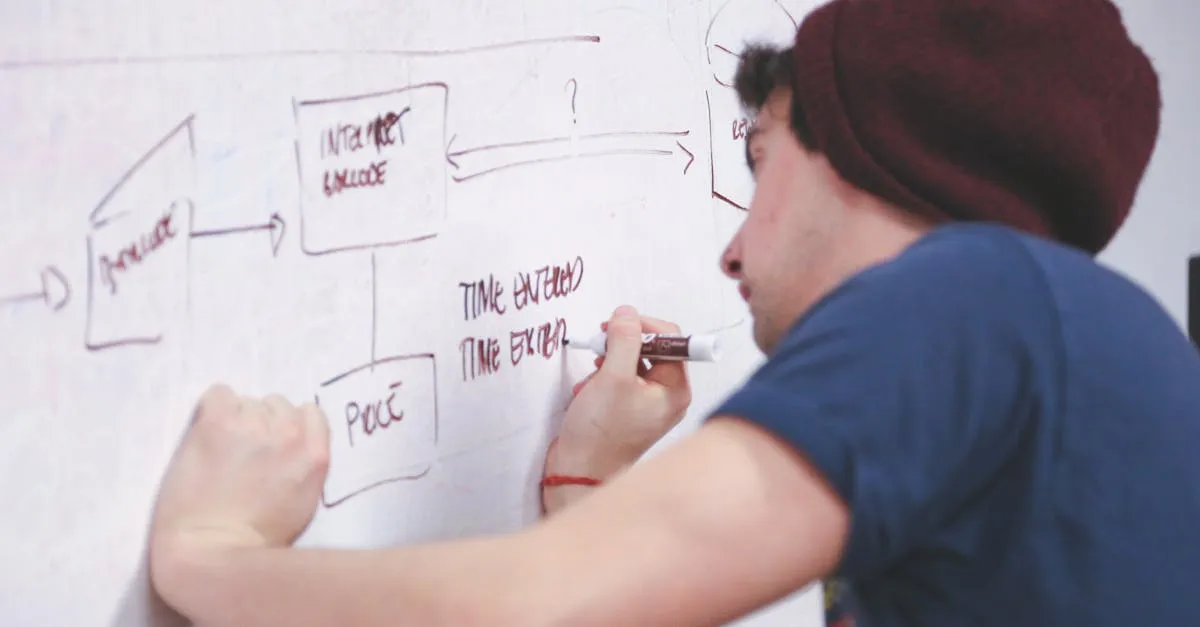
- Business courses and strategy frameworks
- Any content that benefits from visual structure — diagrams, charts, frameworks
- Topics where you need to break down complex ideas step by step
Tools:
- Google Slides — Free, collaborative, and good enough for most use cases
- PowerPoint — The standard. Most people already have it, and the built-in recording feature works well
- Keynote — Best-looking slides with the least effort, but Mac only
- Canva — Great templates if design isn’t your strength. The presentation mode is solid
How to produce it:
- Build your slide deck with one idea per slide
- Open your recording software (OBS, ScreenFlow, etc.)
- Present your slides in full-screen mode
- Narrate each slide as you go
- Export as MP4
Pros:
- Extremely professional look when done right
- Easy to update — swap a slide, re-record that section, done
- Students can pause and absorb visual content at their own pace
- Works for virtually any topic
Cons:
- Can feel static if you’re not intentional about visual variety
- Requires some slide design skill (or a good template)
- More prep time upfront — you’re building the slides and writing the narration
Pro tip: Use more slides than you think you need. A common mistake is cramming too much onto one slide. If you’re talking about something for more than 60 seconds, split it across two or three slides. Keep each slide focused on one idea.
For a deeper dive into which format fits your topic, check out Choose Your Format.
Format 3: AI Avatar Videos
This is the newest option, and it’s getting better fast. You type a script, pick a digital avatar, and the platform generates a video of a realistic-looking person delivering your words. It sounds sci-fi, but it’s real and it’s being used by major companies for training content right now.
When to use it:
- Corporate training and compliance courses
- Scalable content that needs to be updated frequently (change the script, regenerate)
- Multilingual courses — many platforms can deliver the same script in 20+ languages
- When you want a polished video look without any production effort
Tools:
- HeyGen — Probably the most polished option right now. Good avatar quality, easy interface, and decent pricing for course creators
- Colossyan — Focused on workplace learning. Good for corporate and training use cases
- Synthesia — One of the pioneers. Large avatar library, solid multilingual support
Pros:
- Zero production effort. Write a script, click generate
- Easy to update content without re-recording
- Multilingual support opens up global markets
- Consistent quality across every lesson
Cons:
- Still has a slight “uncanny valley” feel — viewers can usually tell it’s AI-generated
- Less personal connection than your actual voice or face
- Pricing can add up for long courses with many lessons
- Some platforms and audiences may have ethical concerns about AI presenters
My take: AI avatars are a legitimate option, especially for corporate training or technical content where the information matters more than the instructor. I wouldn’t use them for personality-driven courses or coaching programs where your personal brand is the selling point. But for straightforward educational content? They work.
For a full walkthrough of production options, see Create Videos Without Camera.
Format 4: Audio-Only Courses
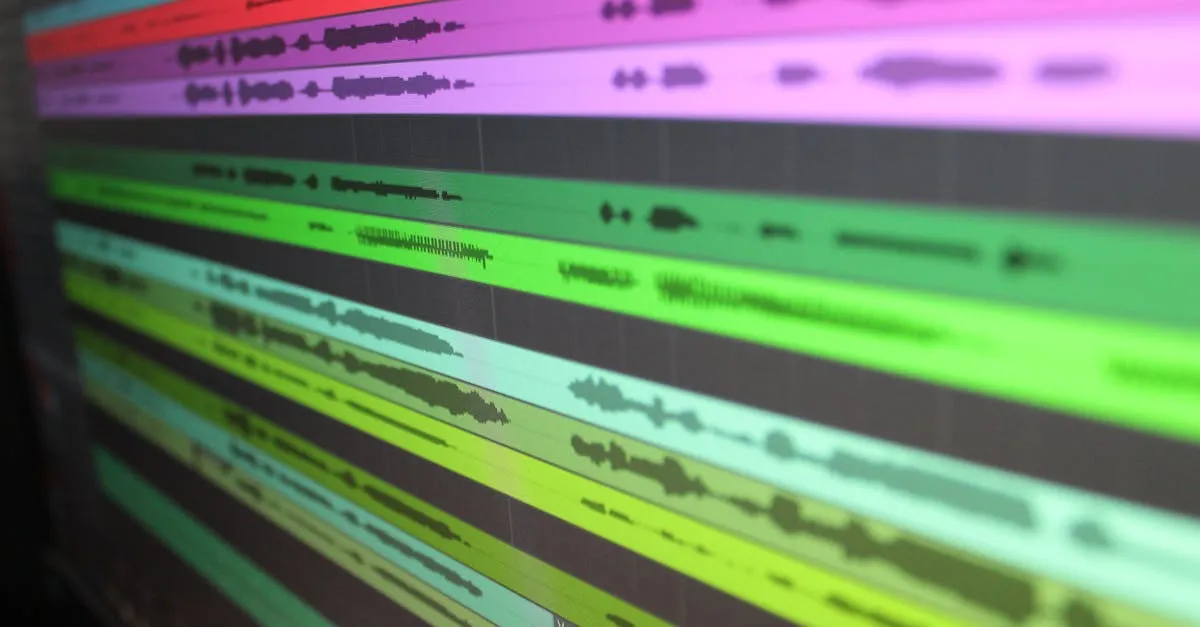
This is the most underrated format in online education, and it’s growing fast. Podcast-style lessons — just audio, no video at all. Record with a decent microphone, edit lightly, and host the files.
When to use it:
- Coaching and mindset content
- Storytelling and narrative-driven lessons
- Interview-style courses (you + a guest, conversation format)
- Content people want to consume while commuting, exercising, or doing chores
- Companion audio for written or slide-based courses
Tools:
- Audacity — Free, works on everything, more than capable for course production
- GarageBand (Mac) — Free and surprisingly good for voice recording
- Descript — Edit audio by editing a transcript. Huge time-saver if you hate traditional audio editing
- Riverside.fm — Record high-quality remote interviews for conversation-style lessons
Hosting:
You can host audio lessons as downloadable MP3s inside your course platform, or distribute them as a private podcast feed. Platforms like GoHighLevel let you build full course experiences with audio modules alongside any other content type.
Pros:
- Fastest format to produce. Record, light edit, publish
- Lowest barrier to entry. A good USB mic costs under $100
- Students can listen anywhere (huge advantage for busy adult learners)
- Feels intimate and personal, like a one-on-one conversation
- Growing market — podcast consumption keeps climbing year over year
Cons:
- No visual component. Doesn’t work for anything that needs to be shown
- Harder to charge premium prices for “just audio” (perception issue, not quality issue)
- Requires strong narration skills to keep listeners engaged without visuals
- Less content in the course platform’s “preview” to hook potential buyers
Pro tip: Pair audio lessons with downloadable worksheets, checklists, or PDF guides. This gives students something visual to engage with and increases the perceived value of the course.
The Hybrid Approach (Best of Both Worlds)
Here’s what I actually recommend for most course creators: combine formats.
Build your course primarily with slide-based presentations or screen recordings, then add audio-only modules for coaching content or deeper dives. Throw in a short on-camera intro for each module if you’re comfortable — just 30 seconds of “here’s what we’re covering” adds a personal touch without requiring you to be on camera for the entire lesson.
A typical module might look like this:
- 2-minute on-camera intro (optional — sets the tone)
- 15-minute slide presentation with voiceover (core content)
- 5-minute screen recording (showing a tool or process in action)
- 10-minute audio lesson (deeper explanation, coaching angle)
This approach keeps production manageable while giving students variety. And variety keeps people engaged.
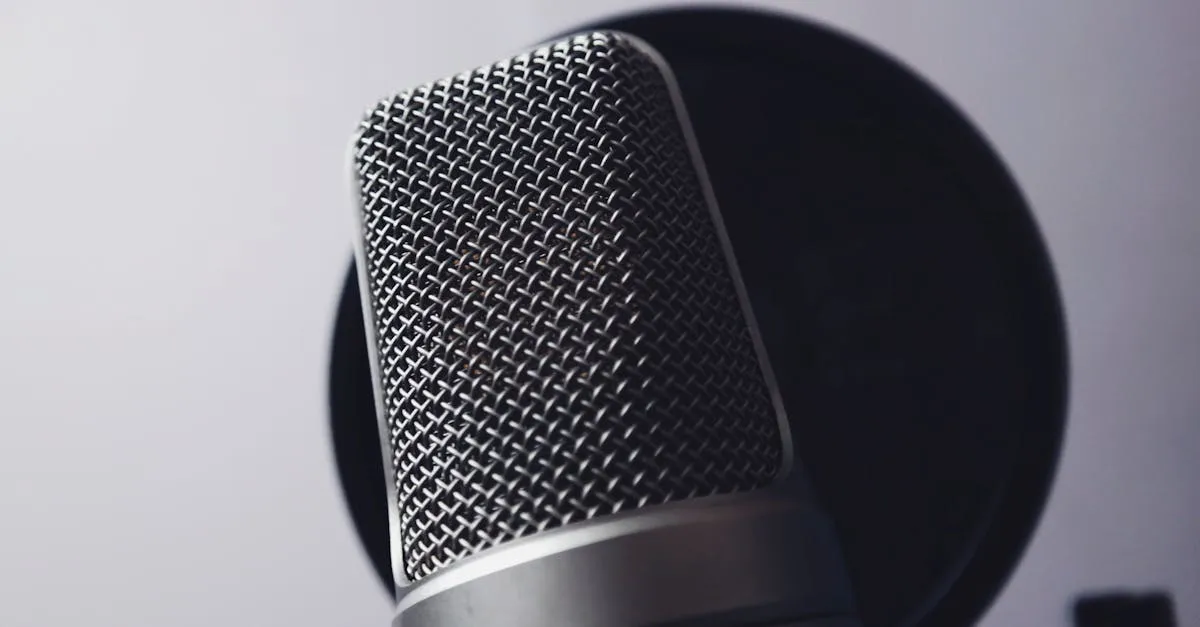
The One Thing You Can’t Skimp On: Audio Quality
Regardless of which format you choose, audio quality is non-negotiable.
People will tolerate mediocre video. They will not tolerate bad audio. It’s the fastest way to lose students.
You don’t need a full studio setup. A good USB microphone (check out my best microphones guide) like the Blue Yeti, Audio-Technica ATR2100x, or Rode NT-USB will do the job. Record in a quiet room with soft surfaces (closets full of clothes are surprisingly good for this). Use a pop filter. Normalize your audio levels.
This applies to every format on this list — screen recordings, slides, AI avatars (you may need to record audio separately), and audio-only courses. If it sounds bad, nothing else matters.
Which Format Should You Start With?
Here’s my honest recommendation based on where you are:
- Teaching software or tools? Start with screen recordings. It’s the lowest effort and highest clarity for “follow along” content.
- Teaching concepts or frameworks? Start with slide presentations. You can always add screen recordings later.
- Building corporate training? Consider AI avatars for speed and scalability.
- More of a coach or storyteller? Start with audio. Ship fast, iterate based on feedback.
And if you’re not sure? Start with the format that feels easiest and ship the course. You can always re-record later. The biggest mistake isn’t choosing the wrong format — it’s never launching because you’re overthinking the format.
For the full end-to-end process, from idea to launch, read How to Create an Online Course.
Bottom Line
You do not need to be on camera to build a successful online course. Screen recordings, slide presentations, AI avatars, and audio-only lessons are all proven formats that work for real course creators making real money.
Pick the format that fits your content and your comfort level. Invest in a decent microphone. Focus on clarity over production value. And ship the thing.
Your course doesn’t need your face. It needs your knowledge, delivered clearly. Go build it.
Frequently Asked Questions
Can camera-free courses command premium prices?
Yes, students pay for results, not production format. Some of the highest-grossing courses in the industry are primarily slide-based or screen recordings—the key is delivering transformation, not showing your face.
Do students complete audio-only courses at lower rates?
Completion rates for audio-only courses can actually be higher because students can listen while commuting, exercising, or doing chores. The convenience factor often leads to more engagement, not less, compared to requiring students to sit in front of a screen.
How do I create visuals without graphic design skills?
Tools like Canva offer pre-made templates for slides and graphics that require zero design skills. Google Slides and PowerPoint also have built-in templates—you just need to pick a clean design and focus on one idea per slide.
Can I mix camera and non-camera content in one course?
Absolutely, and this hybrid approach often works best. You might use slide presentations for core content, screen recordings for demonstrations, and add optional short on-camera intros if you’re comfortable—giving students variety without requiring you to be on camera constantly.
What’s the fastest camera-free format to produce?
Audio-only courses are the fastest to produce since you only need a decent microphone and basic editing software. You can record a podcast-style lesson, do light editing, and publish—no slides, no screen recording setup, no visual production required.
You Might Also Like

How Long Should Your Online Course Be? (Here's What the Data Says)
Short answer: as long as it takes to deliver the transformation you promised. Long answer: here's what completion rates, student feedback, and 39,000+ trained professionals have taught me.
How Much Does It Cost to Create an Online Course? (The Real Numbers)
The honest cost breakdown from $0 to $5,000+. Most course creators spend way less than they think — and waste money on the wrong things. Here's where to invest and where to save.
How to Create a Course Outline (With a Fill-in-the-Blank Template)
Stop staring at a blank page. Here's the exact course outline template I use — the same one behind 33 courses and 39,000+ trained professionals. Copy it, fill in your topic, and start recording.