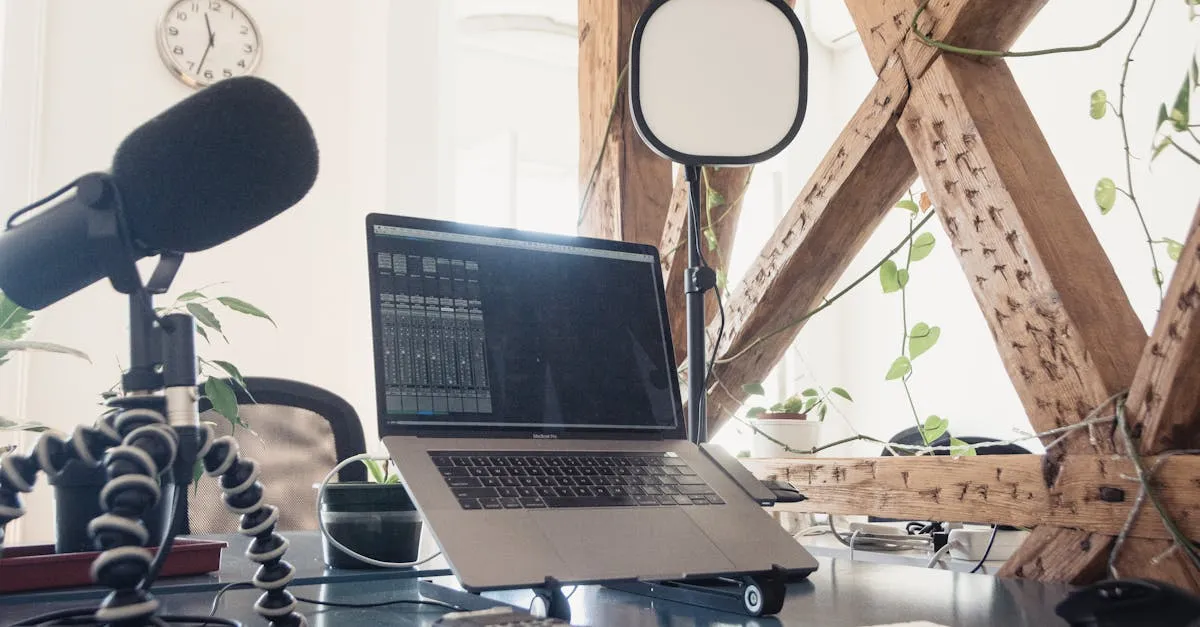
Best Microphones for Online Courses (2026): USB, XLR, and Wireless
I’ve spent years training over 39,000 professionals, and I can tell you this with absolute certainty: bad audio kills more online courses than bad video ever will.
Your students will forgive a shaky webcam. They’ll sit through a slide deck that’s a little rough around the edges. But the moment your voice sounds like you’re recording from inside a tin can — or worse, a noisy coffee shop — they’re gone. Studies consistently show that viewers rate low-quality audio as more distracting than low-quality video. It’s not even close.
If you’re building an online course, your microphone isn’t an accessory. It’s the single most important piece of equipment you’ll buy. Whether you’re recording screencast tutorials at your desk, filming on-camera lessons in a home studio, or capturing audio in the field, the right mic makes your content sound professional and keeps your students engaged.
I’ve tested every microphone on this list myself. Some I love, some I have mixed feelings about, and all of them have trade-offs. Here’s my honest breakdown of the best microphones for online course creators in 2026 — from budget-friendly USB mics to professional studio setups. If you’re also building out your full recording workflow, check out my guide on how to Produce Your Course Videos or Record & Edit Audio Courses.
Quick Comparison
| Microphone | Price | Type | Connection | Best For |
|---|---|---|---|---|
| Samson Q2U | ~$60–70 | Dynamic | USB + XLR | Budget starters, beginners |
| Blue Yeti | ~$100–130 | Condenser | USB | Versatile recording in treated rooms |
| Audio-Technica AT2040USB | ~$149 | Dynamic | USB + XLR | Mid-range noise rejection |
| Rode PodMic USB | ~$199–209 | Dynamic | USB + XLR | Broadcast quality on a budget |
| Shure MV7+ | ~$279 | Dynamic | USB-C + XLR | Premium all-in-one |
| Rode Wireless GO II | ~$300 | Wireless | Wireless (to receiver) | On-camera, walking shots |
| Shure SM7B | ~$399 | Dynamic | XLR only | Professional studio standard |
| Rode SmartLav+ | ~$60–80 | Lavalier | 3.5mm / adapter | Clip-on, smartphone recording |
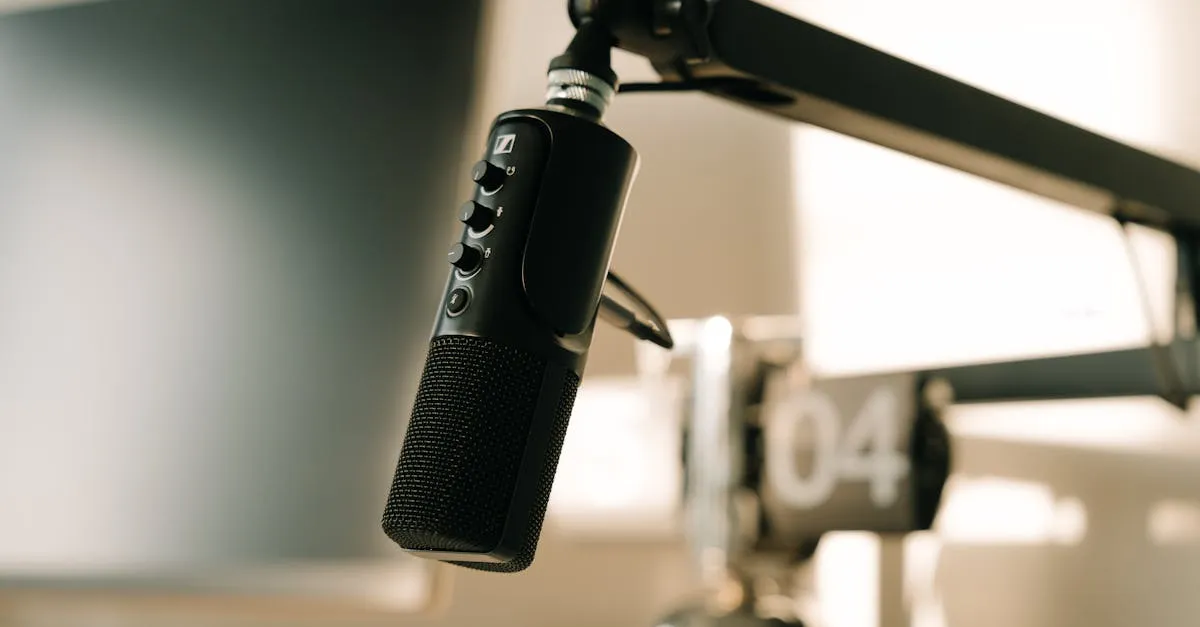
Samson Q2U — The Best Budget Starter Mic
Price: ~$60–70 · Dynamic · USB + XLR · Cardioid
If you’re recording your first online course and you don’t want to spend more than $100, the Samson Q2U is my #1 recommendation. No question. This mic has been the gateway drug for podcasters and course creators for years, and for good reason.
It’s a dynamic microphone with a cardioid polar pattern, which means it focuses on the sound directly in front of it and rejects noise from the sides and back. That’s a big deal if you’re recording in a spare bedroom or home office that isn’t acoustically treated. The Q2U connects via USB so you can plug it straight into your computer — no audio interface needed. But it also has an XLR output, so when you’re ready to upgrade to a proper interface later, this mic grows with you. It even comes with a basic desk stand and cables included.
The honest downside? It picks up a bit more room noise than I’d like. If you have a loud air conditioner or hard floors with nothing on the walls, you’ll hear it. The included stand is also pretty flimsy — budget for a boom arm if you can. But for under $70, you’re getting a microphone that sounds three times its price. I’ve heard courses recorded on the Q2U that sounded indistinguishable from content recorded on mics costing five times as much.
Who it’s for: First-time course creators on a tight budget. Anyone who wants to start recording now and upgrade later without replacing their mic.
Blue Yeti — The Most Popular USB Mic (With a Caveat)
Price: ~$100–130 · Condenser · USB · 4 Polar Patterns
The Blue Yeti is probably the most recognizable USB microphone on the planet. Walk into any content creator’s office and there’s a solid chance you’ll see one of these sitting on a desk. It’s popular for good reason: it sounds great, it’s easy to use, and it offers four switchable polar patterns — cardioid, omnidirectional, bidirectional, and stereo.
Those polar patterns make the Yeti surprisingly versatile. Cardioid mode is what you’ll use for solo course recording. Omnidirectional picks up sound from all directions, which is useful for roundtable discussions. Bidirectional captures front and back, perfect for interviews. And stereo mode creates a rich, spatial sound. Plug it in via USB, select it as your input in your recording software, and you’re rolling.
Here’s the caveat — and it’s a big one. The Yeti is a condenser microphone, which means it’s extremely sensitive. It will pick up your refrigerator humming three rooms away. It will capture every echo bouncing off your bare walls. If your recording space isn’t treated — and I mean at least some basic acoustic panels or heavy curtains — the Yeti will faithfully reproduce every bit of background noise in your room. For course creators working in a properly treated space, the Yeti is excellent. For everyone else, a dynamic mic like the Samson Q2U or the Audio-Technica AT2040USB will serve you better.
Who it’s for: Creators with a treated recording space who want versatility and don’t need XLR. Not ideal for untreated rooms.
Audio-Technica AT2040USB — Best Mid-Range Dynamic USB Mic
Price: ~$149 · Dynamic · USB + XLR · Hypercardioid
The Audio-Technica AT2040USB is the mic I wish had existed when I started recording courses. It occupies a sweet spot in the market that used to be empty — a professional-quality dynamic microphone that connects via USB without sacrificing the features you’d expect from a studio mic.
The hypercardioid polar pattern is tighter than standard cardioid, which means it zeroes in on your voice and rejects even more room noise. If you’re recording in a less-than-ideal acoustic environment — and most course creators are — this tight pickup pattern is your best friend. Audio-Technica also built in a shock mount (so desk vibrations don’t rumble into your recording), a headphone jack for zero-latency monitoring, and a high-pass filter that rolls off low-frequency rumble from air conditioners and foot traffic.
At ~$149, the AT2040USB costs more than the Samson Q2U but delivers noticeably better noise rejection and a more refined sound. It also has an XLR output, so it doubles as a studio mic when connected to an audio interface. The only real drawback is that it doesn’t come with a stand or boom arm — you’ll need to factor that into your budget. And while the built-in shock mount is a nice touch, a dedicated external shock mount on a boom arm will still perform better.
Who it’s for: Course creators who want professional sound quality without spending $300+. Especially good for untreated rooms.
Rode PodMic USB — Broadcast Quality on a Budget
Price: ~$199–209 · Dynamic · USB + XLR · Cardioid
The Rode PodMic USB is built like a tank — and I mean that literally. This thing is heavy, all-metal, and feels like it could survive a drop down a flight of stairs. That solid construction isn’t just for durability; the heavy body helps reject physical vibrations that can color your audio.
What sets the PodMic USB apart is the built-in DSP (digital signal processing). Rode includes a suite of audio effects — noise gate, compressor, high-pass filter, and more — that you can configure through Rode’s companion software. These effects run on the mic itself, meaning your audio is processed before it even hits your recording software. For course creators who don’t want to fiddle with post-production audio processing, this is a huge time-saver. It also has zero-latency monitoring via the headphone jack, which is essential for recording narration while watching your screen.
At ~$199–209, it sits between the AT2040USB and the Shure MV7+ in price. The sound quality is genuinely broadcast-grade — rich, warm, and professional. My main complaint is that it’s heavy enough that you really need a sturdy boom arm. The included desk mount works, but a boom arm gives you much better positioning flexibility. And while the DSP features are great, they’re locked behind Rode’s software, which can be finicky on some systems.
Who it’s for: Creators who want that “radio broadcaster” sound without the complexity of an XLR setup. Great for podcast-style course content.
Shure MV7+ — The Premium All-In-One
Price: ~$279 · Dynamic · USB-C + XLR · Cardioid
The Shure MV7+ is the successor to the massively popular MV7, and it’s the microphone I recommend to serious course creators who want a premium setup without going full studio. Shure built this mic specifically for content creators, and it shows.
Let’s start with the features: USB-C and XLR connections give you the flexibility to start with a simple USB setup and graduate to an audio interface later. The MV7+ is OBS certified, which means it’s optimized for live streaming and recording out of the box. The LED touch panel on the side lets you adjust gain, monitor level, and mute the mic with a tap. Shure’s Auto Level Mode uses the Motiv app to automatically set your gain levels based on your voice and distance from the mic — perfect if you’re not confident dialing in audio settings manually. There’s also a digital pop filter to reduce plosives and even reverb effects for adding room ambience to your recordings.
The sound quality is everything you’d expect from Shure at this price point: warm, present, and professional. The dynamic capsule rejects room noise well, making it suitable for untreated spaces. At ~$279, it’s a significant investment, but you’re getting a mic that handles everything from screencast narration to on-camera lessons to live Q&A sessions. The one downside is that the LED touch panel, while sleek, can be too sensitive — I’ve accidentally muted myself more than once during recordings. And the Motiv app, while powerful, adds another layer of software complexity.
Who it’s for: Serious course creators who want premium sound and features without buying a separate audio interface. The best “one mic to rule them all” option.
Rode Wireless GO II — For On-Camera and Walking Shots
Price: ~$300 · Wireless System · Built-in Mics + External Input · 200m Range
Not every course is recorded at a desk. If you’re filming cooking tutorials, fitness instruction, hands-on workshops, or any content where you need to move around, a desk mic won’t cut it. That’s where the Rode Wireless GO II comes in.
This is a dual-channel wireless system that includes two clip-on transmitters (each with a built-in microphone) and one receiver that plugs into your camera or audio recorder. You can mic up two people simultaneously, or use one transmitter while keeping the other as a backup. The range is rated at 200 meters line-of-sight, which is more than enough for any course filming scenario. Each transmitter also has onboard recording — it saves audio directly to the transmitter as a backup, so even if the wireless connection drops, you don’t lose your audio.
The built-in mics on the transmitters are surprisingly good, though they pick up more ambient noise than a dedicated shotgun or lavalier mic would. For the best results, I recommend pairing the transmitters with a Rode SmartLav+ or other lavalier microphone. At ~$300, the Wireless GO II isn’t cheap, but it’s a complete wireless audio solution that eliminates the headache of running cables. The main downside is battery life — you’ll get about 7 hours per charge, so plan accordingly for long filming days.
Who it’s for: Course creators who film on-location or on-the-move content. Essential for hands-on demonstrations, workshops, and multi-person filming.
Rode SmartLav+ — The Clip-On Companion
Price: ~$60–80 · Lavalier · Omnidirectional · 3.5mm TRRS
The Rode SmartLav+ is a lavalier (clip-on) microphone designed to pair with smartphones or wireless systems. It uses an omnidirectional pickup pattern, which means it captures sound from all directions — this is intentional, because a lavalier is typically clipped to your chest and you don’t want your audio levels to dip when you turn your head.
At ~$60–80, the SmartLav+ is an affordable way to get clean, consistent audio when you’re filming on-camera lessons. You can plug it directly into your phone for quick recordings, or connect it to the Rode Wireless GO II transmitter for wireless operation. The sound quality is clear and natural, though it lacks the warmth and depth you’d get from a larger dynamic or condenser mic.
The trade-off with any lavalier is that the omnidirectional pattern picks up ambient noise — air conditioning, traffic, other people in the room. If you’re recording in a controlled environment, it sounds great. In a noisy environment, you’ll notice it. The cable is also fairly thin, so treat it gently. I’ve seen creators go through two or three of these in a year from rough handling. But for the price, it’s hard to beat as a clip-on solution.
Who it’s for: On-camera presenters who need hands-free audio. Best paired with the Wireless GO II or used for quick smartphone recordings.
Shure SM7B — The Professional Studio Standard
Price: ~$399 (plus interface) · Dynamic · XLR Only · Cardioid
The Shure SM7B is the microphone you’ve seen on every major podcast and YouTube channel. It’s the industry standard for a reason: the sound is rich, warm, and incredibly consistent. Broadcast professionals have relied on the SM7B for decades, and it’s become the default choice for content creators who want the absolute best.
But here’s what nobody tells you in the YouTube reviews: the SM7B is XLR only, which means you cannot plug it into your computer. You need an audio interface or mixer — a Focusrite Scarlett Solo ($120), a Rode Rodecaster Pro ($300), or something similar. When you factor in the interface, a boom arm, a shock mount, and an XLR cable, your total setup cost lands somewhere between $500 and $700. That’s a serious investment for a course creator, and it’s overkill if you’re primarily recording screencasts.
The SM7B also requires significant gain from your audio interface. Some budget interfaces struggle to drive it properly, resulting in noisy recordings. If you go this route, make sure your interface can deliver clean gain at high levels. The SM7B’s noise rejection is excellent, its frequency response is beautifully tuned for voice, and it has built-in pop filtering and an internal shock mount. It’s a phenomenal microphone — possibly the best dynamic mic ever made for voice. But it belongs in a studio setup, not on a beginner’s desk.
Who it’s for: Established course creators and studios building a professional recording environment. Overkill for beginners and solo screencast creators.
How to Choose the Right Microphone
After testing all of these mics, here’s how I’d break down the decision based on where you are in your course creation journey.
Scenario 1: Budget Starter (Under $100)
You’re recording your first course. You don’t have a treated room, and you don’t want to learn audio engineering. Get the Samson Q2U. Plug it in via USB, position it 4–6 inches from your mouth, and hit record. For under $70, you’ll get audio that sounds professional enough to sell. If you need a clip-on mic for on-camera work, add the Rode SmartLav+ and record into your phone.
Scenario 2: Serious Creator ($150–300)
You’ve published a course or two. You know this is a real business, not a hobby. You want audio that sounds competitive with the top courses in your niche. I’d recommend the Audio-Technica AT2040USB at ~$149 for excellent noise rejection, or step up to the Shure MV7+ at ~$279 if you want the premium features and the Auto Level Mode. If you’re doing any on-camera work, the Rode Wireless GO II is worth every penny.
Scenario 3: Studio Professional ($500+)
You’re building a dedicated recording space. You want broadcast-quality audio and you’re willing to invest in the full signal chain. Get the Shure SM7B, pair it with a Focusrite Scarlett 2i2 or Rodecaster Pro, mount it on a proper boom arm, and treat your room. This is the setup that professional podcasters and broadcasters use, and your course audio will reflect that.
Don’t Forget: Accessories That Matter
A great microphone is only part of the equation. Here are three accessories that can make or break your audio quality:
Boom arm. A boom arm (like the Rode PSA1 or Blue Compass) lets you position your mic exactly where you need it — close to your mouth, off-camera, without eating up desk space. Most desk stands that come bundled with mics force you into a bad position that sounds boomy and distant. A boom arm is the single best audio upgrade you can make for under $100.
Pop filter or windscreen. Plosives — those harsh “P” and “B” sounds that blast your microphone — are the enemy of clean audio. A pop filter (a mesh screen placed between your mouth and the mic) or a foam windscreen that fits over the mic capsule will eliminate them. Some mics, like the Shure MV7+, include a built-in digital pop filter. For everything else, a $15 pop filter is cheap insurance.
Room treatment. No microphone can fix a bad room. Hard, reflective surfaces create echo and reverb that make your audio sound amateur. You don’t need professional acoustic treatment — even hanging heavy blankets or placing bookshelves full of books behind you can make a dramatic difference. Acoustic foam panels are affordable and easy to install. If you want to go deeper on this, check out my full Equipment Recommendations page, including my picks for microphones and accessories.
FAQ
Do I really need an expensive microphone to record a good course?
No. The Samson Q2U at ~$60–70 will give you professional-sounding audio if you use it correctly. What matters more than the price tag is mic technique — speak close to the mic (4–6 inches), use a pop filter, and record in a quiet room. A $400 mic used poorly will sound worse than a $60 mic used well.
USB or XLR — which do I need?
If you’re just starting out, USB is all you need. It plugs directly into your computer with no extra equipment. XLR is the professional standard, but it requires an audio interface ($100–300 extra). Mics like the Audio-Technica AT2040USB and Shure MV7+ offer both USB and XLR, giving you the best of both worlds.
Dynamic or condenser — what’s the difference for course creators?
Dynamic microphones are less sensitive and reject more room noise. They’re better for untreated rooms and home offices. Condenser microphones like the Blue Yeti are more sensitive and capture more detail, but they also pick up every sound in your room. For most course creators working from home, a dynamic mic is the safer choice.
What about recording on my phone or laptop?
Built-in laptop and phone mics are fine for quick videos, but they’re not suitable for a course you’re selling. If you need mobile recording, the Rode SmartLav+ clips to your shirt and plugs into your phone — it’s a massive upgrade over the built-in mic for ~$60–80.
How close should I sit to my microphone?
For dynamic microphones, 4–6 inches is ideal. For condensers, 6–8 inches. The closer you are, the richer your voice sounds and the less room noise gets picked up. Too close and you’ll get plosive issues and boomy bass. Experiment with your specific mic and listen back to test recordings until you find the sweet spot.
Bottom line: Don’t overthink this. Pick a mic that fits your budget and your recording environment, learn proper mic technique, and start recording. The Samson Q2U will get you started. The Shure MV7+ will serve you well for years. And the Shure SM7B is there when you’re ready to go pro. Your students’ ears will thank you.
Deeper reads: For individual mic reviews, check out my Samson Q2U review, Blue Yeti review, and Rode PodMic USB review. For the XLR vs USB debate, see XLR vs USB Microphone. And for the full recording workflow, my free Record & Edit Audio Courses covers everything from room treatment to editing.
Frequently Asked Questions
Do I need a pop filter with a dynamic microphone?
While dynamic microphones are less susceptible to plosives than condensers, a pop filter is still recommended for the cleanest recordings. The Shure MV7+ includes a built-in digital pop filter, but for mics like the Samson Q2U or SM7B, a $15 pop filter is cheap insurance.
What’s the best microphone for recording in a noisy apartment?
A dynamic microphone like the Audio-Technica AT2040USB or Rode PodMic USB is your best bet for noisy environments. Their tighter pickup patterns and lower sensitivity naturally reject background noise that would ruin recordings with a condenser mic.
Can I use a podcast microphone for course recording?
Absolutely—podcast microphones and course recording microphones are essentially the same thing. The Shure SM7B and Rode PodMic USB are both marketed as podcast mics but work excellently for course content.
How do I reduce echo without buying acoustic panels?
The cheapest solution is recording in a walk-in closet full of clothes, which absorbs sound reflections surprisingly well. You can also hang heavy blankets, add bookshelves with books behind you, or use furniture placement to break up reflective surfaces.
Should I buy a microphone with built-in DSP?
Built-in DSP, like what the Rode PodMic USB offers, can save you time in post-production by handling noise gating, compression, and EQ at the source. It’s worth considering if you want to minimize editing, but purists often prefer to process audio manually for more control.
You Might Also Like
Best Cameras for Online Courses (2026): From Webcam to Mirrorless
Your students will tolerate bad video. They won't tolerate bad audio. But good video sets you apart. Here's every camera option for course creators — from $80 webcams to $600 mirrorless.
Best USB Microphones Under $100 for Course Creators (2026)
You don't need to spend $300 on a microphone to sound professional. Here are the best USB mics under $100 that will make your course audio clean and clear.
Best Webcams for Course Creators (2026): My Top Picks for Every Budget
A webcam is the simplest way to upgrade your course video quality without learning a real camera. Here are the best webcams for recording courses, Zoom calls, and live sessions.