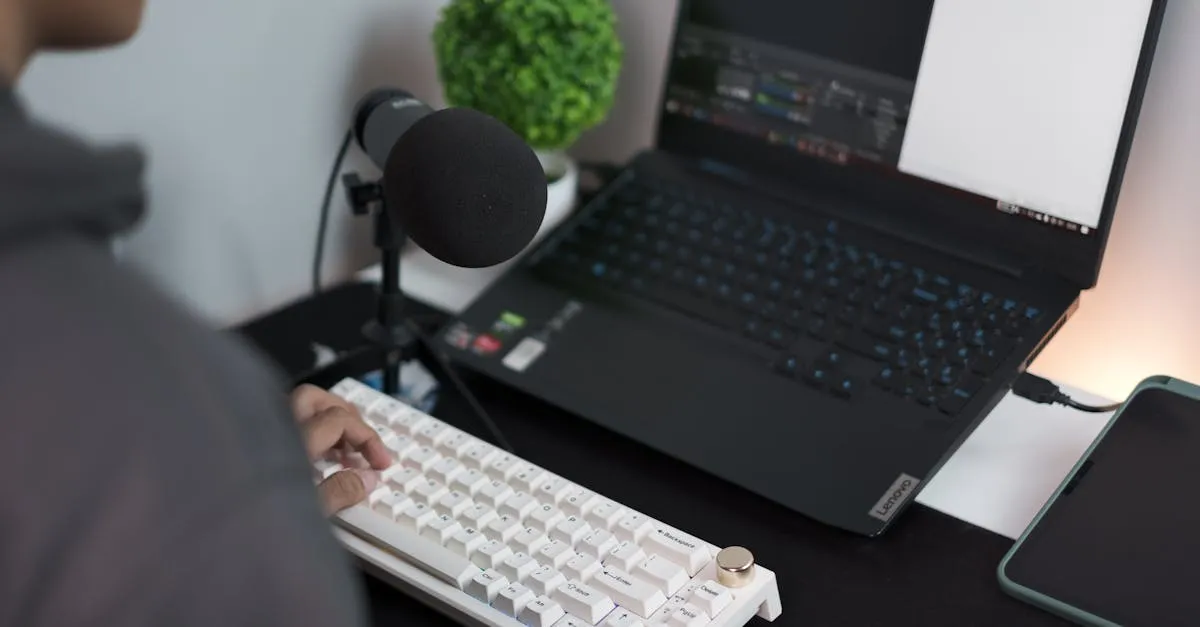
Best USB Microphones Under $100 for Course Creators (2026)
You don’t need a $300 microphone to sound professional in your online courses. I’ve been recording course content for years, and I can tell you: the gap between a $50 mic and a $300 mic is way smaller than most people think. What actually matters is your recording environment and knowing how to use what you’ve got.
When you’re starting out, your money is better spent on course content and platform costs than on gear. A decent USB microphone under $100, combined with some smart recording habits, will give you audio that sounds clean and professional to your students.
I’ve tested dozens of microphones in this price range. Here are the ones I’d actually recommend to any course creator on a budget.
Quick Comparison
| Microphone | Price | Type | Connection | Best For |
|---|---|---|---|---|
| Samson Q2U | ~$60-70 | Dynamic | USB + XLR | Best overall value |
| Blue Yeti | ~$100-130 | Condenser | USB | Versatility and ease of use |
| Rode VideoMicro II | ~$60 | Shotgun | 3.5mm (adapter) | On-camera recording |
| Rode SmartLav+ | ~$60-80 | Lavalier | TRRS (phone/tablet) | Mobile and talking-head |
| Fifine K688 | ~$50-60 | Dynamic | USB + XLR | Budget dynamic alternative |
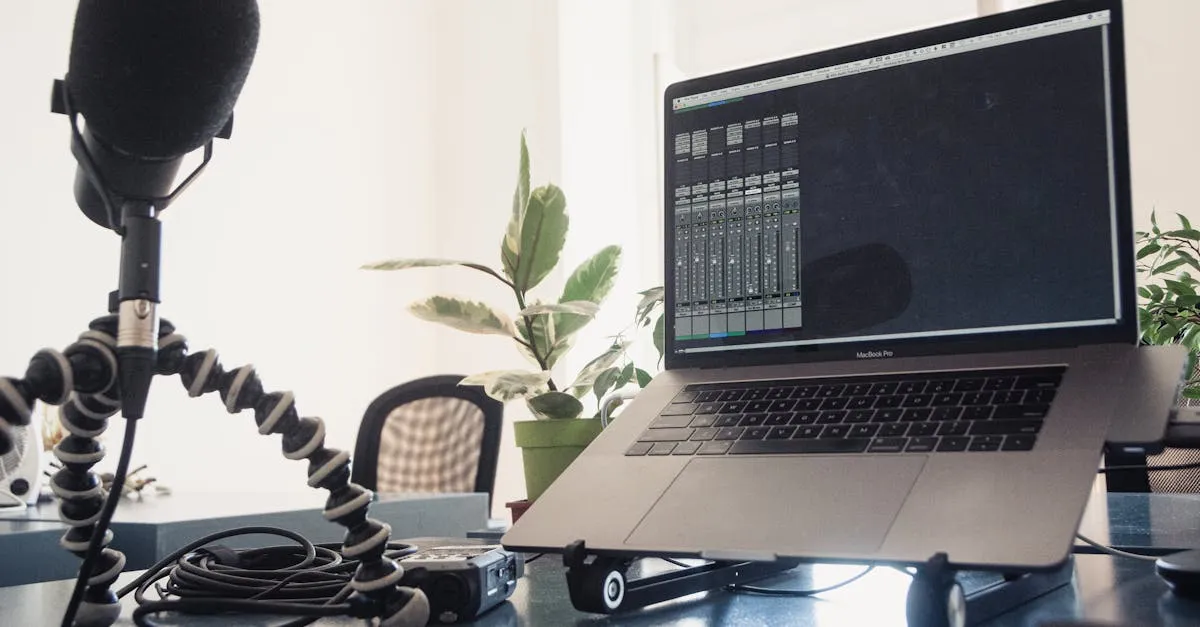
Samson Q2U — The Best Overall Value
Samson Q2UIf I could only recommend one microphone to a new course creator on a budget, it would be the Samson Q2U. This dynamic microphone plugs in via USB and just works — no drivers, no interface, no fuss. You plug it into your computer, select it as your audio input, and start recording. It’s that simple.
The Q2U is a dynamic microphone, which matters more than most people realize. Dynamic mics are less sensitive than condenser mics, meaning they pick up less background noise. If you’re recording in a spare bedroom with a window AC unit humming in the corner, a dynamic mic like the Q2U will naturally reject a lot of that ambient noise. Condenser mics in the same room would pick up everything — the AC, the refrigerator down the hall, your neighbor’s dog.
The real selling point of the Q2U is the dual connectivity. It has both USB and XLR outputs. Right now, you use USB straight into your computer. But if you ever upgrade to a dedicated audio interface down the road, the Q2U works with that too via XLR. You’re not buying a throwaway mic — you’re buying something that grows with you. At around $60-70, it’s genuinely hard to beat.
One thing to note: the Q2U is a side-address microphone, meaning you speak into the side of it, not the top. Aim the grille at your mouth from about 4-6 inches away and you’ll get a full, warm sound that’s perfect for voice-over and screencast content.
Blue Yeti — The Versatile Classic
Blue YetiFull disclosure: the Blue Yeti typically runs $100-130 these days, so it may land slightly above our budget depending on current pricing. But I’m including it because it’s one of the most popular USB microphones in the world for a reason, and if you catch it on sale (which happens regularly), it dips into our range.
The Yeti is a condenser microphone with four pickup patterns: cardioid, omnidirectional, bidirectional, and stereo. For course content, you’ll almost always use cardioid mode, which picks up sound from the front while rejecting noise from the sides and back. But having the other patterns available means you can use the same mic for interviews, roundtable discussions, or even field recording if you want.
The build quality is solid — it’s heavy, sits firmly on your desk, and the included stand is decent enough to get started. The onboard controls for headphone volume, mute, and gain are convenient and easy to reach. There’s zero latency monitoring through the headphone jack, which is essential if you’re recording screen-share content and need to hear your computer audio while you talk.
The trade-off with any condenser mic is sensitivity. The Yeti will pick up more room noise than the Q2U or Fifine K688. If your recording space is quiet and treated (or you’re recording in a closet — more on that below), the Yeti sounds great. If your space is echoey or noisy, you’ll hear it in your recordings. Know your room before you choose.
Rode VideoMicro II — For On-Camera Content
Rode VideoMicro IINot every course is a screencast. If you’re creating content where you’re on camera — fitness courses, cooking classes, hands-on tutorials — you need a different approach. The Rode VideoMicro II is a compact shotgun microphone that mounts directly on your camera or sits on a desk pointed at you.
This is technically not a USB microphone — it uses a 3.5mm TRS connection. But I’m including it because if you’re recording to a camera, a phone, or a computer with a 3.5mm input (or a simple $10 adapter), it’s one of the best budget options for clean on-camera audio. At around $60, it’s a serious value.
The VideoMicro II is an update to the original VideoMicro, and Rode improved the capsule for lower self-noise and a more natural sound. It runs on plug-in power from your camera or device — no batteries needed. It’s tiny, lightweight, and doesn’t get in the way of your shot. For course creators who want to step up from built-in camera audio without spending a fortune, this is the move.
Pair it with a simple boom arm or desk stand and point it just out of frame. The supercardioid pattern focuses on what’s in front of it while rejecting side noise. It won’t replace a dedicated studio mic for voice-over work, but for talking-head content, it’s surprisingly good.
Rode SmartLav+ — For Mobile and Talking-Head Recording
Rode SmartLav+Some of the best course content gets recorded on phones and tablets. If you’re doing walking tutorials, outdoor demonstrations, or any content where you’re moving around, a lavalier (clip-on) microphone is the way to go. The Rode SmartLav+ is a broadcast-grade lavalier that plugs into your phone or tablet’s headphone jack (or lightning/USB-C adapter).
At $60-80, the SmartLav+ delivers audio quality that sounds miles ahead of your phone’s built-in mic. It clips to your shirt, picks up your voice clearly, and rejects most ambient noise. Your students will hear you — not the wind, not the room echo, not the background chatter.
The omnidirectional capsule means you don’t have to worry about pointing it perfectly at your mouth. Clip it around chest level and you’re good. It comes with a foam pop shield to handle wind and plosives. If you’re recording course content outside or in a large room, this little mic solves the audio problem for less than the cost of a textbook.
Pair it with a free recording app like Rode Reporter or Voice Record Pro and you’ve got a mobile recording setup that costs under $80 total and sounds genuinely professional.
Fifine K688 — The Budget Dynamic Alternative
If you want the dynamic mic benefits of the Samson Q2U but want to spend even less, the Fifine K688 is worth a look. At $50-60, it’s a USB/XLR dynamic microphone that punches well above its price point.
The K688 has a similar form factor to the Q2U — it’s a handheld-style dynamic mic with USB-C output and an XLR port for future upgrades. Sound quality is solid for the price, with a warm, focused pickup that does a good job rejecting background noise. It also has a built-in headphone jack for zero-latency monitoring and a tap-to-mute touch panel on top, which is a nice touch.
Is it as refined as the Q2U? No. The Q2U has slightly better off-axis rejection and a more natural frequency response. But the K688 gets you 85-90% of the way there for $10-20 less. For a course creator who’s truly watching every dollar, it’s a legitimate option.
Fifine has been consistently improving their product quality over the past few years, and the K688 is evidence of that. It’s not a toy — it’s a real recording tool that happens to cost very little.
Budget Recording Tips That Cost Nothing
A $60 microphone in a treated room will sound better than a $300 microphone in a bad room. Here are some free tricks to improve your audio without spending a dime.
Record in a closet. I’m serious. Walk-in closets are packed with clothes that absorb sound reflections. The soft fabric acts like acoustic treatment, eliminating echo and reverb. Set up your laptop on a shelf, hang your mic from a hanger, and hit record. Your audio will sound like you spent hundreds on acoustic panels.
Use a free pop filter substitute. Plosives — those harsh “P” and “B” sounds that pop in your recordings — are the enemy of clean audio. A pop filter costs $8-15, but you can stretch a thin sock or pantyhose over a wire hanger and get the same effect. It looks ridiculous but works perfectly.
Get close to the mic. The inverse square law is your friend. When you’re 2 inches from the mic, your voice is much louder relative to the room noise than when you’re 12 inches away. Get close, speak at a comfortable volume, and let the proximity effect work in your favor. This alone will make a cheap mic sound expensive.
Turn off the AC. Background noise is the number one giveaway of amateur audio. Before you hit record, turn off fans, air conditioners, and anything else that hums. Close the windows. Put your phone on silent. Five seconds of quiet before you record makes a huge difference.
Use free software. Audacity is free and has everything you need for basic audio editing — noise removal, compression, normalization. DaVinci Resolve’s Fairlight audio editor is also free and more powerful than most paid DAWs. There’s no reason to pay for audio software when you’re starting out.
When It’s Time to Upgrade
A sub-$100 USB mic will serve you well through your first dozen courses. But eventually, you might notice the ceiling. Maybe you want cleaner gain, lower self-noise, or the flexibility of an XLR setup with a dedicated preamp. That’s when it makes sense to invest in something higher-end.
If you’re ready to explore the next tier, check out my Best Microphones for Online Courses guide. It covers options from $100 to $500+, including condenser and dynamic mics that pair with audio interfaces for studio-quality sound.
For more gear recommendations beyond microphones, browse the full Equipment section. And if you want step-by-step guidance on recording and editing your course audio, my Record & Edit Audio Courses course walks you through the entire process from setup to final export.
The Bottom Line
You don’t need expensive gear to create professional-sounding courses. The Samson Q2U at around $60-70 is all the microphone most course creators will ever need. Pair it with a quiet closet and a free copy of Audacity, and your audio will compete with creators spending five times as much.
If your content is on-camera, the Rode VideoMicro II or Rode SmartLav+ will give you clean, clear sound without blowing your budget. And if you want the most desk presence and flexibility, the Blue Yeti is a solid pick when you can catch it on sale.
Spend less on gear. Spend more on making great content. Your students care about what you teach, not what microphone you used to record it.
Frequently Asked Questions
Are budget USB microphones good enough for paid courses?
Yes, students care far more about clear audio and good content than expensive equipment. A Samson Q2U at $60-70, used properly in a quiet room, produces audio that sounds professional enough for any paid course.
What’s the difference between USB and USB-C microphones?
USB-C is simply the newer connector standard and doesn’t affect audio quality. The main practical difference is compatibility—USB-C works natively with newer Macs and many phones, while traditional USB-A requires an adapter on some modern devices.
Do I need an audio interface with a USB microphone?
No, that’s the whole point of USB microphones—they connect directly to your computer without requiring an external audio interface. The interface is built into the microphone itself.
Can I use a gaming headset for course recording?
Gaming headsets prioritize chat clarity and noise cancellation for multiplayer gaming, not recording quality. They typically sound thin and processed compared to a dedicated USB microphone, so I wouldn’t recommend them for content you’re selling.
How do I prevent my USB mic from picking up keyboard noise?
Position your microphone as far from your keyboard as possible, ideally on a boom arm that places it closer to your mouth and away from your hands. Using a dynamic mic like the Q2U or K688 also helps since they’re less sensitive to off-axis sounds.
You Might Also Like
Best Cameras for Online Courses (2026): From Webcam to Mirrorless
Your students will tolerate bad video. They won't tolerate bad audio. But good video sets you apart. Here's every camera option for course creators — from $80 webcams to $600 mirrorless.
Best Microphones for Online Courses (2026): USB, XLR, and Wireless
Bad audio kills more courses than bad video. I tested every microphone a course creator might need — from $50 budget picks to professional studio setups.
Best Webcams for Course Creators (2026): My Top Picks for Every Budget
A webcam is the simplest way to upgrade your course video quality without learning a real camera. Here are the best webcams for recording courses, Zoom calls, and live sessions.