XLR vs USB: Which Microphone Setup Is Right for Course Creators?
If you’re building an online course, audio quality isn’t optional — it’s the difference between students staying engaged and clicking away. Bad video is forgivable. Bad audio is not.
The first big decision you’ll make about audio is whether to go with a USB microphone or an XLR setup. I’ve used both extensively, and the answer isn’t as simple as “XLR is better.” It depends on how you work, who you’re recording with, and how far you plan to take your production.
Let me break it down so you can make the right call the first time.
USB Microphones: Plug In and Record
A USB mic has everything built in — the capsule, the preamp, the analog-to-digital converter. You plug it into your computer, select it as your audio input, and hit record. No extra gear, no drivers to install, no signal chain to worry about.
For most solo course creators, a good USB microphone will get you 90% of the way to professional audio. If you’re recording lectures at your desk, talking into a camera, and delivering content by yourself, USB is genuinely hard to beat on convenience.
What I like about USB:
- Zero setup friction. Unbox, plug in, record. You can be up and running in five minutes.
- Lower total cost. One purchase, done. No interface, no cables, no accessories to buy separately.
- Portability. Throw it in a bag and record from anywhere. I’ve recorded course modules from hotel rooms with a USB mic and a laptop.
The limitations:
- One mic, one connection. You can’t daisy-chain USB mics or easily record two people on separate tracks.
- No upgrade path. If you want better sound, you’re buying a whole new microphone. The preamp and converter are locked inside.
- Latency can be an issue. If you’re monitoring yourself through your computer, there’s often a slight delay that makes real-time monitoring awkward.
For a deeper dive into specific models that work well for course creation, check out my guide to the Best Microphones for Online Courses.
XLR Microphones: The Professional Standard
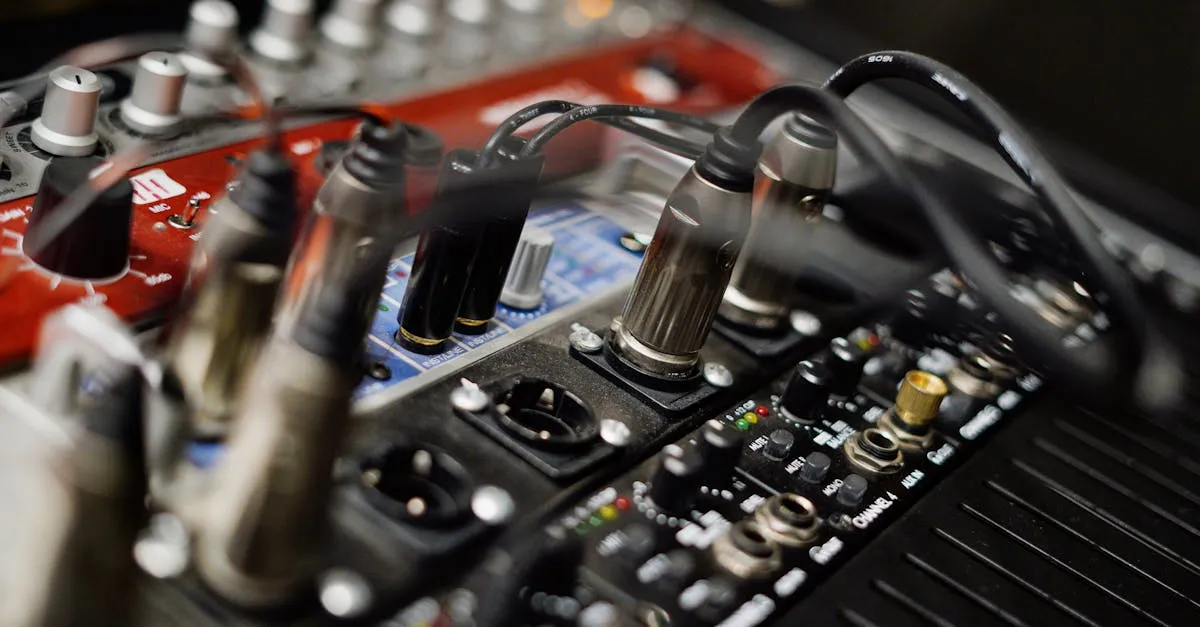
XLR is the connection standard used in every professional recording studio, broadcast facility, and podcast network on the planet. The microphone itself is just a transducer — it converts sound into an electrical signal. That signal travels through an XLR cable into an audio interface or mixer, which handles the preamp, the conversion, and the connection to your computer.
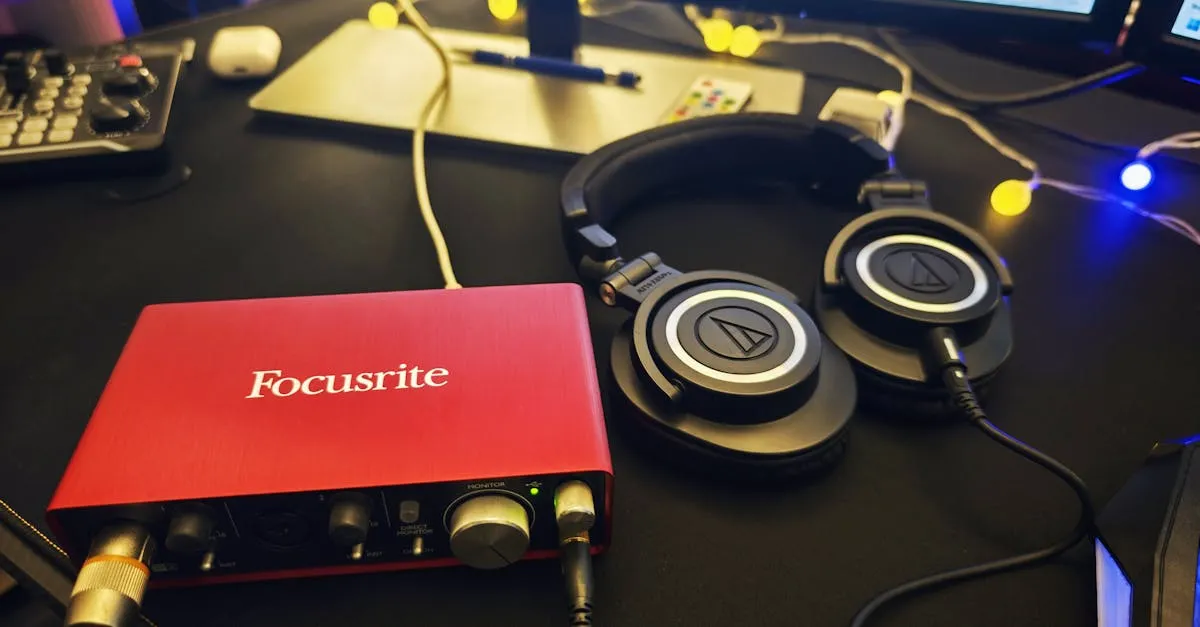
The interface is the key piece of the puzzle. It’s not just an adapter — it’s the hardware that determines how good your recordings actually sound. A cheap interface with a great mic will still sound mediocre. A good interface with a decent mic will sound surprisingly professional.
Why XLR wins for serious production:
- Unlimited flexibility. Any XLR mic works with any XLR interface. You can swap microphones without changing your signal chain, or upgrade your interface without replacing your mic.
- Multiple inputs. Need to record two hosts, a guest, or instruments? An interface with multiple XLR inputs handles that natively, with each channel on its own track.
- Better preamps. Dedicated interfaces from Focusrite, Røde, and Universal Audio have preamps that run circles around what’s built into USB mics. Cleaner gain, lower noise, more headroom.
- Hardware monitoring. Zero-latency monitoring means you hear yourself in real time with no delay — critical for long recording sessions.
The trade-offs:
- Higher startup cost. You’re buying a mic and an interface, plus cables. That’s a bigger initial investment.
- More gear to manage. XLR setups have more moving parts — cables, interface, sometimes a boom arm and shock mount that are sized differently.
- Slightly more learning curve. You need to understand gain staging, phantom power (for condenser mics), and basic signal flow.
If you’re planning to build out a dedicated recording space or produce content with multiple people, browse the Equipment section for full setup recommendations.
The Hybrid Solution: Start USB, Upgrade to XLR
Here’s where it gets interesting — and where I think most course creators should start.
Several microphones now offer both USB and XLR outputs in the same body. You plug in via USB today, and when you’re ready to upgrade to an XLR interface, you flip a switch and plug in an XLR cable. Same microphone. No money wasted.
The Samson Q2U is the budget king here. It costs around $60-70, sounds genuinely good, and has both USB and XLR connections. I’ve recommended this mic to more course creators than any other single piece of gear, and I’ve never heard a complaint.
Other hybrid options worth considering:
- Shure MV7+ — Based on the broadcast legend SM7B, with USB-C and XLR. Excellent sound, built-in DSP for USB mode.
- Røde PodMic USB — A dynamic mic with both connection types, designed specifically for content creators.
The strategy is straightforward: buy a hybrid mic, start on USB, and invest in an XLR interface later when your production demands it. You keep the microphone you already know and like, and you gain the flexibility and sound quality that comes with a proper interface.
When USB Is the Right Answer
I’m not going to pretend everyone needs XLR. If your situation matches these conditions, a USB mic is the smart choice:
- You’re a solo creator. One voice, one mic, one computer. No co-hosts, no guests, no interviews.
- You record at your desk. Your “studio” is your home office, and you don’t need a portable rig.
- You’re just starting out. Your priority is getting content published, not achieving broadcast perfection. A USB mic at $100 sounds dramatically better than your laptop or headset microphone.
- You travel light. If you’re recording course modules from different locations, a USB mic in a padded case is hard to beat.
In all of these scenarios, the difference between USB and XLR audio is marginal to imperceptible to your students. What matters is that you’re recording in a treated space, speaking at a consistent distance from the mic, and using proper gain levels. Technique beats gear every time.
When You Need XLR
XLR becomes the clear choice when your production goes beyond “one person at a desk.” Here are the scenarios where USB simply can’t keep up:
- Multiple hosts or guests. Recording two or more people on separate USB mics is a synchronization nightmare. With an XLR interface, each person gets their own channel, their own track, and their own gain control. Mix and edit in post without hassle.
- Podcast interviews. If your course includes interview-style content — and it should, because students love hearing from experts — you need XLR inputs for each participant.
- Professional studio setup. Once you’re investing in acoustic treatment, a dedicated recording space, and production-grade editing, XLR is the natural next step. Anything less becomes the bottleneck.
- Live streaming or webinars. A mixer like the Rødecaster Pro II gives you hardware faders, sound pads, real-time effects, and multi-channel recording — none of which USB can replicate.
- Long-term scalability. If you’re building a content business that will produce hundreds of hours of audio over years, invest in XLR now. The flexibility pays for itself.
Cost Comparison: What You’ll Actually Spend
Let me put real numbers on this. Here’s what you can expect to invest at each tier:
USB Setup: $60–$280
| Component | Budget | Mid-Range |
|---|---|---|
| Microphone | $60–$80 (Samson Q2U, Fifine) | $150–$280 (Shure MV7, Røde NT-USB+) |
| Cable | Included | Included |
| Boom arm (optional) | $20–$30 | $50–$100 |
| Pop filter | $10 | $15–$20 |
| Total | $60–$120 | $200–$400 |
XLR Setup: $200–$700
| Component | Budget | Professional |
|---|---|---|
| Microphone | $80–$130 (Røde PodMic, AT2020) | $350–$400 (Shure SM7B) |
| Audio interface | $100–$170 (Focusrite Scarlett Solo, MOTU M2) | $200–$350 (Universal Audio Volt 2, RME Babyface) |
| XLR cable | $10–$15 | $20–$30 |
| Boom arm | $25–$40 | $80–$120 |
| Pop filter or windscreen | $10–$15 | $15–$25 |
| Total | $225–$370 | $665–$925 |
Notice the overlap. A fully loaded USB setup ($280 mic, $100 arm, $20 pop filter — $400 total) costs about the same as a budget XLR rig. The difference is where the money goes. With USB, you’re paying for an all-in-one device. With XLR, you’re investing in a modular system that grows with you.
My Recommendation
Here’s what I tell every course creator who asks me this question:
Start with a hybrid mic on USB. The Samson Q2U at $60-70 is the lowest-risk entry point I know of. Record your first modules. Publish them. Get student feedback. If the audio sounds good — and it will — keep going.
Upgrade to XLR when you hit a wall. That wall usually looks like one of three things: you need a second mic, you want noticeably better sound quality, or you’re building a permanent studio space. At that point, buy an interface, switch your hybrid mic to XLR mode, and you’ve lost nothing.
Don’t overthink it. The best microphone is the one that’s turned on and recording. I’ve heard $60 mics that sounded better than $400 setups because the person behind the mic knew how to use it. Mic technique, room treatment, and consistent recording habits matter more than the connector on the back of your microphone.
If you want to go deeper on the full production pipeline — lighting, camera settings, editing workflows — my Produce Your Course Videos course walks through every step.
Start recording. Ship the course. Upgrade later.
Frequently Asked Questions
Main advantage of USB for course creators?
Zero setup friction. Unbox, plug in, start recording in five minutes with no interface, drivers, or signal chain. More portable and less upfront cost.
When to upgrade to XLR?
When you need multiple people recorded, interview content, a dedicated space, or hardware monitoring with zero latency. XLR becomes necessary beyond one person at a desk.
What is a hybrid microphone?
Like the Samson Q2U with both USB and XLR outputs. Start with USB, upgrade to XLR interface later without replacing the mic. Minimizes risk.
Cost comparison USB vs XLR?
Budget USB: $60-120. Budget XLR: $225-370. A fully loaded USB rig at $400 costs about the same as entry-level XLR. XLR invests in a modular system that grows.
Does audio quality matter more than video?
Yes. Viewers tolerate poor image quality but click away from poor audio within seconds. Muffled or echoey sound signals low value, while grainy video rarely causes dropout.
You Might Also Like
Best Cameras for Online Courses (2026): From Webcam to Mirrorless
Your students will tolerate bad video. They won't tolerate bad audio. But good video sets you apart. Here's every camera option for course creators — from $80 webcams to $600 mirrorless.
Best Microphones for Online Courses (2026): USB, XLR, and Wireless
Bad audio kills more courses than bad video. I tested every microphone a course creator might need — from $50 budget picks to professional studio setups.
Best USB Microphones Under $100 for Course Creators (2026)
You don't need to spend $300 on a microphone to sound professional. Here are the best USB mics under $100 that will make your course audio clean and clear.