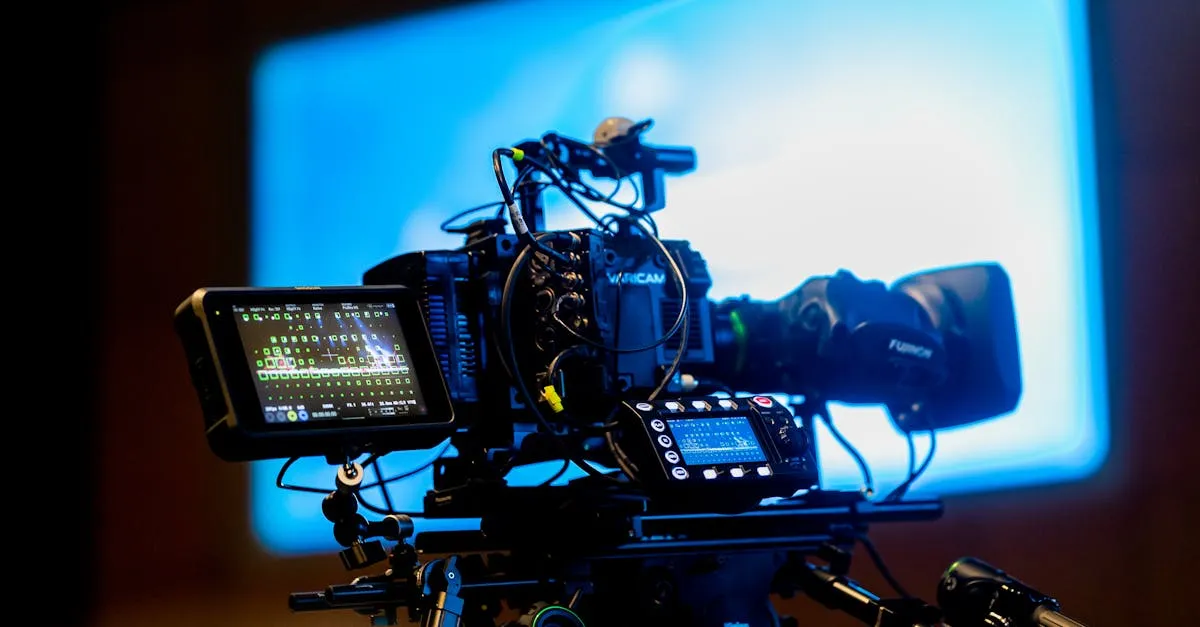
Produce Your Course Videos
Record and edit professional course videos with whatever gear you have — smartphone, webcam, or mirrorless camera. Covers audio, lighting, slides, editing, captions, and a repeatable workflow you'll use for every course.
What You’ll Learn
- Choose the right gear — Three budget tiers from $0 to professional setup, and why most course creators need only the first two
- Record with confidence — Batch recording, slide design, getting comfortable on camera, and the “don’t stop” rule
- Edit without overwhelm — DaVinci Resolve, ScreenFlow, Camtasia, or CapCut — pick one, learn the basics, ship your videos
- Make your course accessible — Captions, subtitles, and proper export settings for any hosting platform
- Build a repeatable workflow — A production process you can run for every course you create
Course Structure
| Section | Lessons | Topic |
|---|---|---|
| Welcome | 0 | What you’ll learn and the “audio over video” thesis |
| Before You Start | 1 | Prerequisites and what you need first |
| Gear & Setup | 2–5 | Camera, audio, lighting — what you actually need |
| Recording | 6–9 | Slides, formats, the recording session, on-camera confidence |
| Editing & Export | 10–13 | File organization, editing software, the basic edit, captions |
| Your Workflow | 14 | A repeatable production process |
| Close | 15 | Where to go from here |
The Audio-Over-Video Principle
Here’s something most new course creators don’t realize: your viewers will tolerate mediocre video, but they will not tolerate bad audio.
A well-lit, crisp 4K video with echoey, muffled, hissy audio feels amateur. A grainy webcam recording with clean, clear audio feels professional. Your brain processes audio quality as a proxy for credibility — if the speaker sounds clear, you assume they know what they’re talking about.
This course is built around that principle. We’ll cover video and lighting, yes. But the audio sections are where you should invest the most attention.
Who This Course Is For
- You’ve planned your course (or you’re planning it now) and you need to produce the actual video content
- You’re intimidated by the tech side and want someone to walk you through it
- You’ve been putting off recording because you don’t have the “right” gear
- You want a system you can repeat for every course you build
What you don’t need: A studio, a $2,000 camera, a teleprompter, or years of video editing experience. You need a smartphone, a decent microphone, and the willingness to hit record.
Time to complete: 45 minutes of reading, then 1–2 weeks of production for your first course.
Start with the Welcome lesson and take action on each step.
Before You Start
Gear & Setup
What You Actually Need
The minimum viable setup for course videos, with three budget tiers. Most course creators only need the first two.
Camera Options: Smartphone, Webcam, or Mirrorless?
A practical comparison of camera options for course videos. When each makes sense, and why 4K is unnecessary.
Audio Matters More Than Video
Why viewers tolerate mediocre video but bail on bad audio. Video-specific audio tips and where to find the full audio setup guide.
Lighting That Looks Professional
From free window light to three-point setups — how to look good on camera without spending a fortune on lighting gear.
Recording
Design Your Slides First
One idea per slide, readable fonts, and a master template. Why designing all slides before recording saves hours of rework.
Choose Your Recording Format
Slides + audio, talking head, screen share, or hybrid — when to use each recording format and how to pick the right one for your content.
The Recording Session
Your pre-flight checklist, batch recording strategy, the don't-stop rule, and how to mark mistakes for easy editing later.
Getting Comfortable on Camera
Your first recordings will be rough. That's normal. Practical tips for delivering naturally, using bullet points instead of scripts, and building confidence over time.
Editing & Export
File Organization (Do This Before You Edit)
The folder structure, naming conventions, and backup strategy that saves hours of frustration when you're editing a 14-lesson course.
Choose Your Editing Software
DaVinci Resolve, ScreenFlow, Camtasia, CapCut, or Premiere Pro — which editor is right for your course videos, and why you should pick one and stick with it.
The Basic Edit: Cut, Clean, Export
The 80/20 editing workflow — trim mistakes, level audio, add text overlays, and export. No fancy effects needed.
Captions, Subtitles & Accessibility
Why captions are non-negotiable for course videos, how to generate them automatically, and how to edit them for accuracy.
Related Courses
Record & Edit Audio/Podcast Courses
Create audio courses and podcast-style content — from microphone selection and room treatment to recording, editing with free software, AI voice narration, and publishing. The authoritative source for audio knowledge at Course.Coach.
Choose Your Course Format
Video, email, PDF, audio, live cohort, mini-course, or hybrid? Pick the right format for your topic, audience, and tech comfort level — and understand the path each choice opens.
Create Videos Without Being on Camera
AI avatars, voice cloning, and slide-based video — three ways to produce professional course videos without ever turning on a camera.
Related Reading
Best Webcams for Course Creators (2026): My Top Picks for Every Budget
A webcam is the simplest way to upgrade your course video quality without learning a real camera. Here are the best webcams for recording courses, Zoom calls, and live sessions.
Do You Need a 4K Camera for Online Courses? (Probably Not)
Course platforms compress your video anyway. Students watch on phones. And 4K files are enormous. Here's why 1080p is still the sweet spot for course creators — and when 4K actually matters.
Canon EOS R50 Review (2026): Beginner-Friendly Mirrorless for Course Creators
The Canon R50 is the most beginner-friendly mirrorless camera you can buy. At around $700 with a lens, it's Canon's answer to the Sony ZV-E10 — with better autofocus but fewer lenses.