The Recording Session
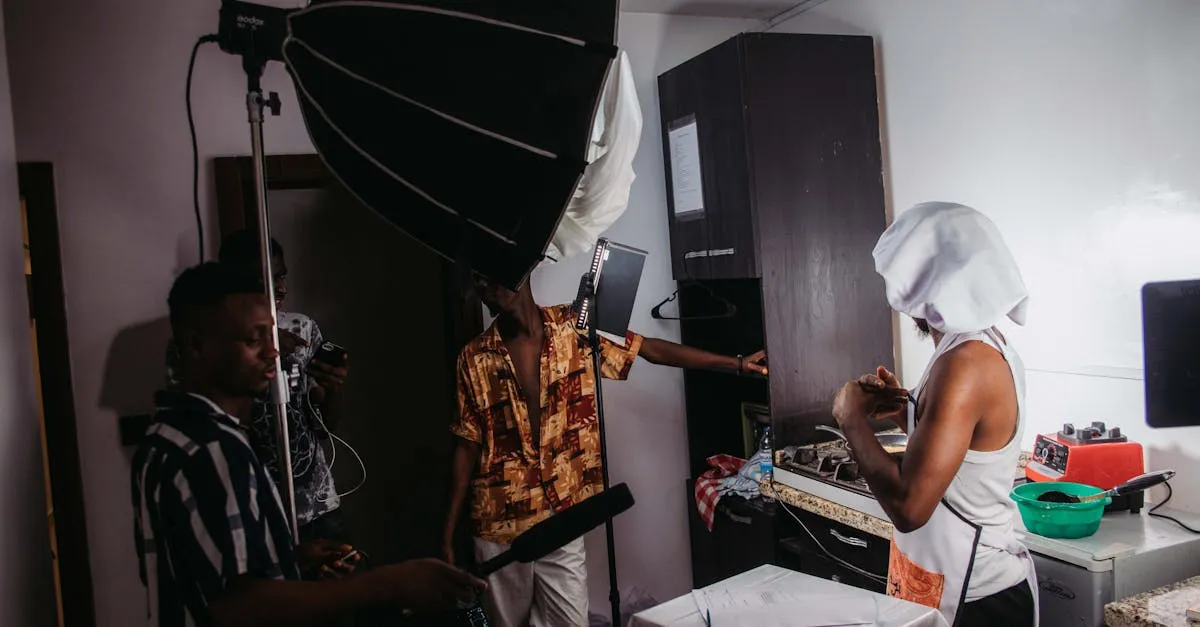
This lesson is about what happens when you sit down to record. Not the equipment — we covered that. Not the slides — you designed those already. The actual process of hitting record and teaching your lesson.
A good recording session is smooth, efficient, and produces usable footage. A bad recording session eats hours, leaves you frustrated, and makes you dread the next one.
Here’s how to make every session a good one.
Before You Hit Record: The Pre-Flight Checklist
Run through this checklist before every recording session. It takes 2 minutes and saves you from ruined recordings.
Environment:
- Door closed (pets, family, deliveries)
- Phone on silent (not vibrate — silent)
- Fans, AC, and appliances that hum are off
- Window closed if there’s outside noise
- Notifications silenced on your computer (Do Not Disturb mode)
Equipment:
- Camera positioned at eye level (not looking up at you or down at you)
- Camera framed: head and shoulders, or head to waist, with some headroom
- Microphone connected and positioned (lapel clipped, USB mic at mouth level)
- Battery charged / power connected
- Storage space available (check you have room for the recording)
- Screen resolution set to 1920 × 1080 (for screen recordings)
Content:
- Slides open and ready
- Lesson notes or bullet points visible (second screen, printed, or tablet)
- Water nearby (dry mouth is distracting)
- You’ve read through the lesson once before recording
Test:
- Record a 10-second test clip
- Play it back with headphones
- Check: audio is clear, no echo, no hum, no clipping
- Check: framing looks good, lighting is even, no weird shadows
- Delete the test clip and start recording
Do this checklist religiously for your first 10 recordings. After that, it becomes automatic.
Batch Recording
The single biggest time-saving tip in this entire course: record multiple lessons in one session.
Every time you set up to record — position the camera, adjust the mic, check the lighting, get into the right headspace — you’re spending 15–20 minutes on preparation before you even start. If you record one lesson per session, you’re spending that setup time 14 times over a 14-lesson course.
If you batch record, you set up once and record 3–5 lessons in a row. That setup cost gets amortized across multiple lessons.
How to batch record:
- Design all slides for 3–5 lessons before the session
- Review your bullet points for each lesson
- Set up your equipment once — camera, mic, lighting, slides
- Record lesson 1 — Teach it start to finish
- Take a 5-minute break — Stand up, stretch, get water
- Open the slides for lesson 2
- Record lesson 2
- Repeat for lessons 3, 4, 5…
Batch recording tips:
- Wear the same outfit for the entire session (continuity between lessons)
- Record lessons that are similar in format back-to-back (all slide lessons, then all talking head lessons)
- Stop when you feel your energy dropping. Better to record 3 energetic lessons than 5 tired ones.
- Don’t batch more than 5 lessons in one session. Quality drops after that.
The Don’t-Stop Rule
Here’s the rule that transforms your recording experience: don’t stop recording when you make a mistake.
When you stumble over a word, lose your train of thought, or say something wrong, don’t stop the recording. Instead:
- Pause for 2 seconds (silence makes a visible gap in the audio waveform)
- Clap your hands or snap your fingers (this creates a sharp audio spike that’s easy to find in editing)
- Back up to the start of the sentence or paragraph
- Start again from there
- Keep recording
This approach has several advantages:
- You stay in flow. Stopping and restarting breaks your concentration and energy.
- You save time. The 3-second pause and clap mark takes less time than stopping, reviewing, and re-recording.
- You keep your natural energy. The best delivery happens when you’re in the zone, not when you’re doing take 17.
In editing, you’ll find those claps and pauses, cut out the mistakes, and the viewer never knows you stumbled.
Framing and Background
Framing: Position the camera at eye level. Not below (unflattering angle looking up your nose) and not above (you look small and subordinate). The camera should be at the same height as your eyes.
The standard framing for course videos is head and shoulders or head to chest. Leave a small gap above your head (called “headroom”) — about the height of your fist.
Background: Your background should be clean but not sterile. A bookshelf, a plant, a plain wall with one piece of art — these all work. What doesn’t work: a messy room, a bed, a kitchen, or anything that distracts from what you’re saying.
Check your framing by taking a screenshot of your camera view before recording. Look at the edges of the frame — is there anything in the background you don’t want viewers to see?
What to Wear
This is a small thing that matters more than you’d think on camera:
- Avoid thin stripes and tight patterns — They create a visual effect called moiré that looks like the pattern is moving on camera
- Avoid bright white — It can overexpose and draw the eye away from your face
- Avoid noisy fabrics — Polyester, corduroy, and stiff fabrics create rustling sounds that your microphone picks up
- Wear solid colors — Dark and medium tones look best on camera. Blue, green, gray, burgundy, navy.
- Avoid large logos — Unless it’s your own brand
Recording Energy
Your energy level on camera doesn’t need to be “YouTube personality” enthusiastic. But it should be noticeably higher than your normal conversation energy.
The camera absorbs about 20% of your energy. What feels like “a bit much” in person reads as “engaged and interested” on screen. What feels “normal” in person reads as “tired and bored” on screen.
Tips for maintaining energy:
- Stand while recording if possible (you naturally project more energy standing)
- Use hand gestures (they translate well on camera and add visual interest)
- Smile when you start each lesson (it affects your tone of voice even after the smile fades)
- Imagine you’re teaching one specific student, not a camera
- Keep lessons under 15 minutes (energy naturally flags in longer recordings)
Your Action Step
Block out a 2–3 hour recording session. Set up your equipment, run through the pre-flight checklist, and batch record your first 3–5 lessons. Use the don’t-stop rule for mistakes. Get through them, clap and move on.
The goal isn’t perfection. It’s completion.
Next up: getting comfortable on camera.
Keep going — you're making progress through Produce Your Course Videos.
Need help? Email me ↗