Getting Comfortable on Camera

Let’s address the elephant in the room: most people don’t enjoy watching themselves on camera. Your voice sounds weird. Your face looks different than you think. You notice every “um,” every awkward pause, every time you looked away from the lens.
This is universal. Every course creator, YouTuber, and video instructor went through this phase. It doesn’t mean you’re bad at this. It means you’re new at this.
Here’s how to get past the awkwardness and deliver content that feels natural.
Your First 10 Recordings Will Be Rough
Accept this upfront. Your first 5–10 recorded lessons will not be your best work. You’ll be stiff. You’ll forget what you planned to say. You’ll say “um” more than you’d like. You might feel silly talking to a camera in an empty room.
This isn’t a problem to fix. It’s a phase to move through. The only way through it is to keep recording.
Think about the first time you drove a car, taught a class, or gave a presentation. You weren’t smooth then either. You got better by doing it repeatedly. Camera work is the same.
The fix: Record 5 short practice videos (2–3 minutes each) on a topic you know well. Don’t edit them. Don’t publish them. Just record, watch once to see what you’d improve, and delete. This gets the worst of the awkwardness out of your system before you record your actual course.
Bullet Points, Not Scripts
The biggest on-camera mistake new creators make is reading a script. Written language and spoken language are different. When you read a script, you sound like you’re… reading a script. The cadence is wrong. The emphasis is wrong. It sounds stilted and unnatural.
Instead, use bullet points — a list of the key ideas you want to cover in the lesson, in order, with a few words of detail for each one.
Script (don’t do this):
“Welcome to lesson seven. In this lesson, we’re going to cover the importance of file organization for your course videos. File organization is something that many course creators overlook, but it’s actually one of the most important aspects of an efficient production workflow.”
Bullet points (do this):
- Welcome to lesson 7
- Topic: file organization
- Why most creators skip this
- Why it’s actually critical
- The folder structure that works
Bullet points give you structure without trapping you in written-language cadence. You know what comes next, but you say it naturally — because you’re saying it, not reading it.
Tips for using bullet points:
- Put them on a second monitor, printed paper, or tablet next to your camera
- Position them as close to the camera lens as possible — this keeps your eye line looking at the camera
- Use 5–8 bullet points per lesson (not 20 — that’s a script in disguise)
- Glance at them between points, not mid-sentence
The “One Student” Trick
When you record, imagine you’re teaching one specific student. Not a classroom full of people. Not an audience of thousands. One person who needs exactly what you’re teaching.
Pick someone you know — a friend, a colleague, a former student, a client — and teach the lesson directly to them. Use their name in your head (not out loud). Picture their facial expressions. Imagine them nodding along or looking confused.
This changes everything about your delivery:
- Your pace becomes conversational instead of performative
- Your language becomes clear and direct instead of academic
- You naturally pause to let concepts sink in
- You use relatable examples because you’re thinking about a real person
This isn’t a trick — it’s how the best teachers actually teach. They’re not broadcasting. They’re connecting.
Eye Contact with the Lens
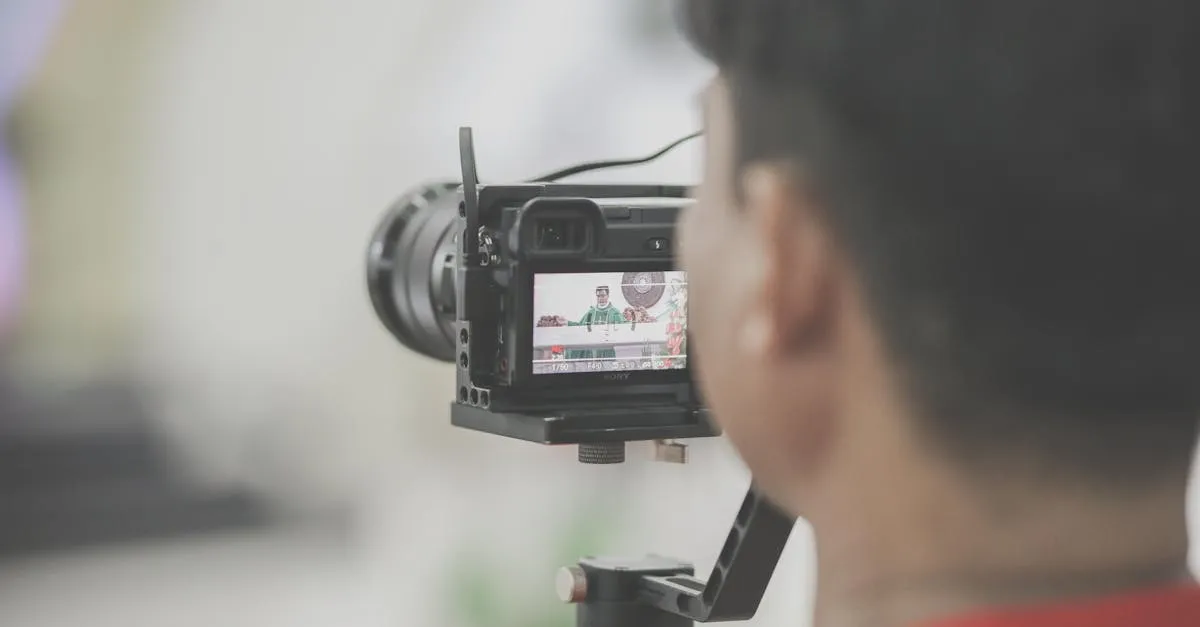
Eye contact is one of the most powerful connection signals on camera. When you look directly at the lens, the viewer feels like you’re looking at them.
When you look at your screen (to check slides, read notes, or see yourself), the viewer feels like you’re looking past them. It breaks the connection.
The fix: Put a small sticker or piece of tape next to your camera lens as a visual reminder to look there. When you need to check your notes or slides, do it between points — not while you’re speaking.
If you’re using a phone as your camera, the lens is in the corner. Train yourself to look at that corner, not at the center of the screen where your face is.
Dealing with Nerves
Physical nervousness — shaky voice, sweating, racing heart — is normal. Your body interprets “performing on camera” as a high-stakes situation. Here are physical techniques that work:
Box breathing: Inhale for 4 seconds, hold for 4 seconds, exhale for 4 seconds, hold for 4 seconds. Repeat 4 times before you start recording. This activates your parasympathetic nervous system and calms the physical stress response.
Power posture: Sit or stand with your shoulders back, chest open, and chin slightly up for 2 minutes before recording. Your posture affects your hormones — expansive posture reduces cortisol (stress) and increases confidence.
Move before recording: Do 10 jumping jacks, walk around the room, or do some stretching. Physical movement burns off nervous energy.
Accept that nerves don’t show on camera as much as you think. Your internal experience of nervousness is much more intense than what the viewer sees. That shaky voice you hear? It’s barely perceptible to others. The slight tremor in your hands? It’s invisible in the final video.
When to Use a Teleprompter
If you absolutely cannot break the habit of scripting your content, a teleprompter app can help. These apps scroll text on your screen at a readable pace while your camera records through the same screen.
Free options:
- Teleprompter apps for phone (iOS: PromptSmart Pro, Android: PromptSmart)
- Browser-based teleprompters (search “free online teleprompter”)
The risk: Teleprompters make it easy to sound robotic. If you use one, write your script in conversational language, practice reading it aloud before recording, and force yourself to look up from the text periodically.
For most course creators, bullet points are the better option. But a teleprompter is better than not recording at all.
Your Action Step
Record three 3-minute practice videos using only bullet points (no script). Pick a topic you could teach in your sleep. Don’t edit them. Watch each one once. Notice what you’d improve, then delete them and move on.
The goal isn’t a perfect recording. The goal is proving to yourself that you can do this.
Next up: we move from recording to post-production, starting with the thing every creator wishes they’d done from day one — file organization.
Keep going — you're making progress through Produce Your Course Videos.
Need help? Email me ↗