Lighting That Looks Professional
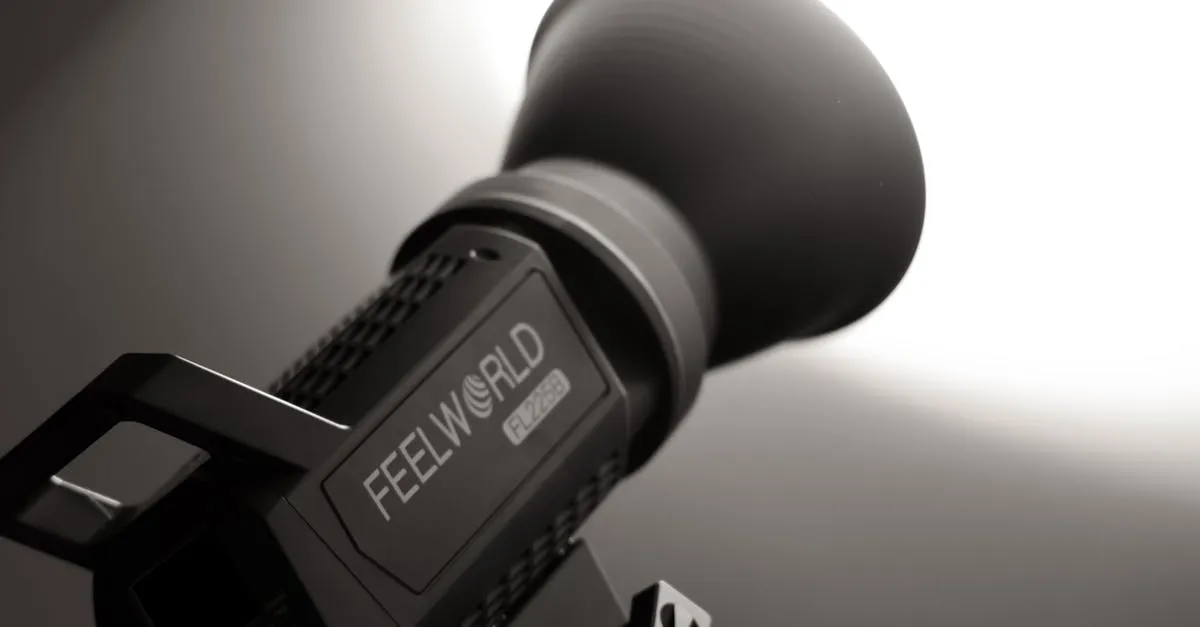
Bad lighting makes you look tired, washed out, or shadowed — even when you’re none of those things. Good lighting makes you look sharp and professional — even on a webcam.
The good news: the best lighting source in the world is free. It’s outside your window.
The Window Light Trick (Free)
Here’s how to use natural light for course recordings:
- Face the window. Don’t put the window behind you — that creates a silhouette. Don’t put it to one side — that creates harsh shadows across your face. Face it directly.
- Position yourself about 3–4 feet from the window. Close enough that the light fills your face, far enough that it’s not harsh.
- Use indirect light when possible. Direct sunlight creates harsh shadows and makes you squint. A cloudy sky or a window with sheer curtains gives you soft, even light — which is actually more flattering.
- Turn off overhead lights. Mixing daylight (cool/blue) with indoor lighting (warm/yellow) creates weird color shifts on camera. Use the window as your only light source.
Window light from the front produces soft, even illumination that looks professional on any camera. It’s the setup used by countless YouTubers and course creators.
The catch: You can only record during the day, and the light changes throughout the day. If you record at night or want consistent lighting regardless of weather, you’ll need artificial lights.
Ring Light Kits ($20–60)
A ring light is a circular light that you position in front of you, usually with your camera sitting in the center of the ring. It provides even, front-facing light with a distinctive circular catchlight in your eyes.
Why ring lights work for course creators:
- Even, flattering light from directly in front of you
- Eliminates shadows under your eyes and nose
- Compact and easy to set up
- Many come with phone holders built in
10-inch ring light ($20–30): Fine for phone and webcam recording. Sits on a desk. Adjustable brightness and color temperature.
14–18 inch ring light ($40–60): Larger, brighter, more even coverage. Better if you’re sitting further from the camera or using a mirrorless camera.
Ring light tips:
- Set the brightness to 60–80% — not maximum. Too-bright ring light looks artificial.
- Match the color temperature to your room (usually around 4000–5000K for a neutral white)
- Position it slightly above eye level, angled down toward your face
Softbox Kits ($50–120)
Disclosure: I earn a commission if you buy or sign up through my links — at no extra cost to you.
Softboxes are fabric enclosures that go over a light, diffusing it to create soft, even illumination. A basic two-softbox kit gives you professional-looking lighting for less than $100.
Neewer 2-Softbox Kit ($50–70): The budget standard. A Neewer Softbox Kit gives you two softboxes, stands, and bulbs. Sets up in 10 minutes. Produces significantly better light than a ring light for the same price.
Why softboxes beat ring lights:
- More even coverage (no ring-shaped catchlight in your eyes)
- More versatile positioning
- Can light a larger area (helpful if you move around or show a whiteboard)
- Look more professional in the final video
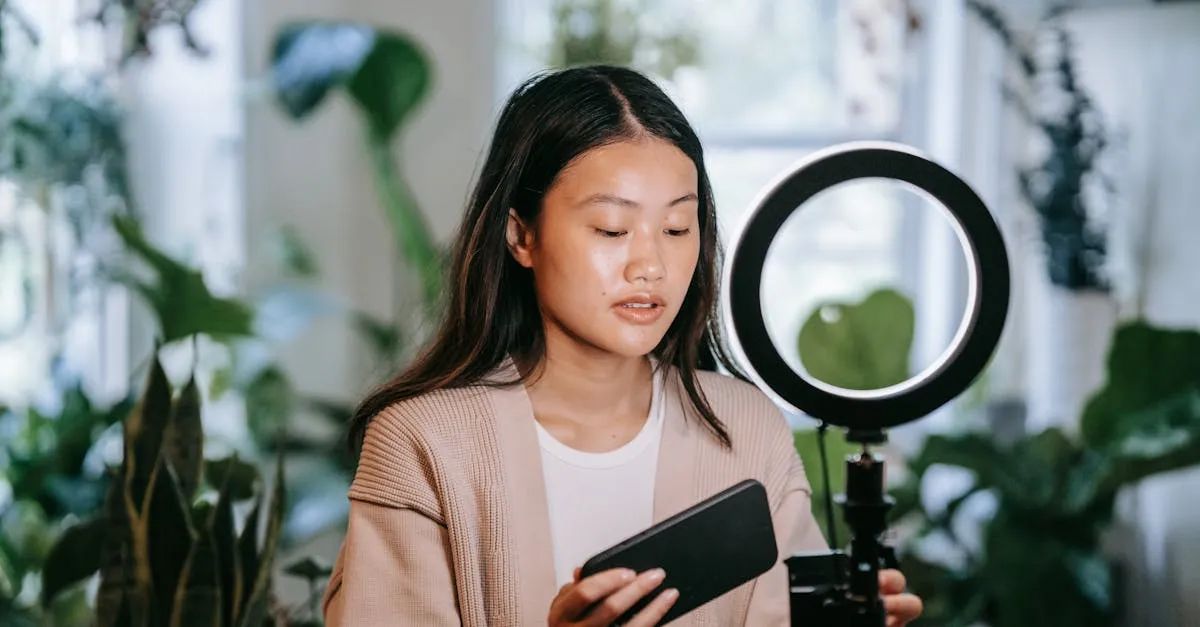
Three-Point Lighting Basics
Professional video uses a three-point lighting setup. You don’t need all three lights for course videos, but understanding the concept helps you position whatever lights you have.
Key light — Your main light source, positioned at a 45-degree angle to one side, slightly above eye level. This creates dimension and shape on your face. A window, ring light, or one softbox serves as your key light.
Fill light — A softer, less powerful light on the opposite side of the key light. This fills in shadows so one side of your face isn’t dramatically darker than the other. A second softbox on lower brightness, or even a white poster board that bounces your key light back toward your face.
Back light (hair light) — A small light behind you, aimed at the back of your head and shoulders. This separates you from the background and adds a professional edge. A desk lamp aimed at the wall behind you, or a small LED panel.
The One-Light Version
For most course recordings, you only need the key light. Position your key light (window, ring light, or softbox) at a 45-degree angle to one side, slightly above eye level, and that’s it. The shadow on the opposite side of your face actually looks natural and dimensional — not flat.
Common Lighting Mistakes
Overhead lighting only: Creates shadows under your eyes, nose, and chin. If your only option is an overhead light, supplement it with something in front of you — even a desk lamp pointed at a white wall to bounce light onto your face.
Backlit (light behind you): Your camera exposes for the bright background, making you a dark silhouette. Always have your strongest light source in front of you, not behind you.
Mixed color temperatures: Daylight is blueish (~5600K). Indoor bulbs are yellowish (~2700–3000K). Mixing them creates a weird, inconsistent look on camera. Pick one and turn off the other.
Too much light: Over-lighting looks as bad as under-lighting. You want to see some shadow and dimension on your face — flat, shadowless lighting looks clinical.
Quick Recommendations
| Situation | Lighting Setup |
|---|---|
| Recording during the day | Face a window. Done. |
| Recording at night, on a budget | One ring light at 70% brightness |
| Recording regularly, want consistency | Two-softbox kit |
| Want professional results | Two softboxes + small back light |
Your Action Step
Before your next recording session, try the window light trick. Face a window, turn off other lights in the room, and record a 30-second test. Compare it to your usual setup. The difference will be obvious.
If you record at night or need consistency, order a ring light or softbox kit. Everything else can wait.
Next up: we’re moving from gear to the recording process, starting with slide design.
Keep going — you're making progress through Produce Your Course Videos.
Need help? Email me ↗