File Organization (Do This Before You Edit)
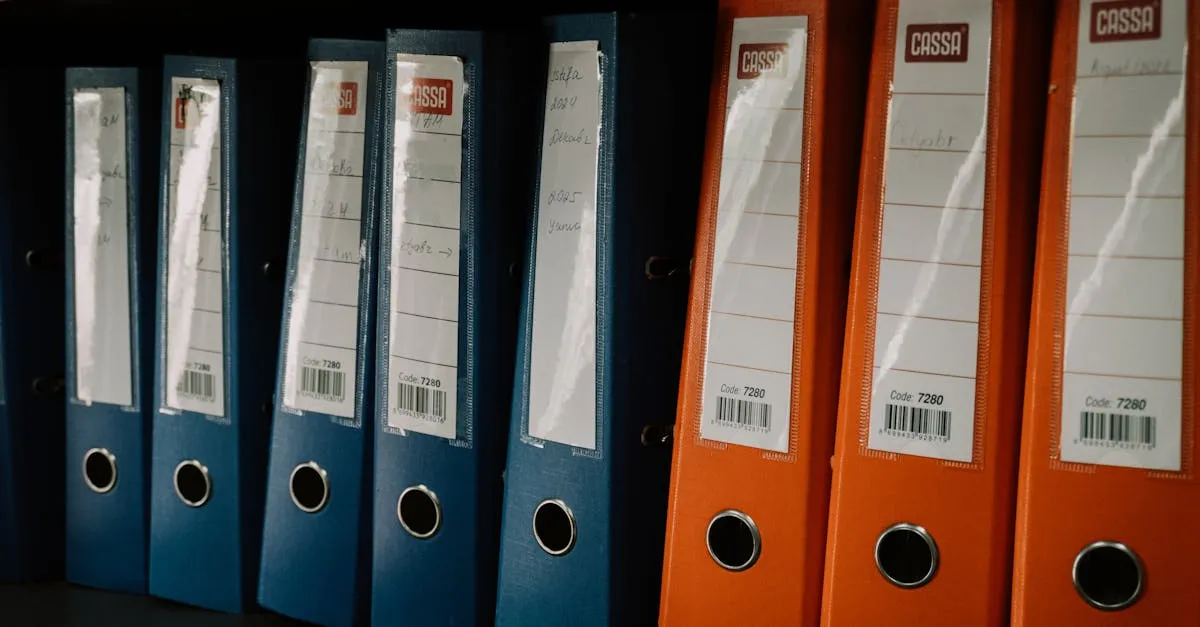
This lesson isn’t exciting. File organization never is. But it’s the single most frequently mentioned regret of experienced course creators: “I wish I’d organized my files from the start.”
When you’re editing lesson 2 of a 14-lesson course, disorganization is annoying. When you’re editing lesson 11 and trying to find a specific clip from lesson 4 that you need to re-record, disorganization is a nightmare. When you need to update a course six months after launch and can’t find the original project files, disorganization is catastrophic.
Do this once. Use it forever.
The Folder Structure
Every course you create should follow the same folder structure. Here’s the template:
Course Name/
├── 00-Course-Assets/
│   ├── Brand/
│   │   ├── Logo.png
│   │   └── Colors-and-fonts.pdf
│   ├── Templates/
│   │   ├── Slide-template.key
│   │   └── Intro-outro-template.mp4
│   └── Music/
│       └── Background-music.mp3
├── 01-Module-Name/
│   ├── 00-Welcome/
│   │   ├── Raw/
│   │   │   ├── Camera-footage.mp4
│   │   │   └── Screen-recording.mp4
│   │   ├── Edit/
│   │   │   └── Project-file.daVinci
│   │   ├── Export/
│   │   │   └── 01-00-Welcome-FINAL.mp4
│   │   └── Assets/
│   │       ├── Slides.key
│   │       └── Images/
│   ├── 01-Lesson-Name/
│   │   ├── Raw/
│   │   ├── Edit/
│   │   ├── Export/
│   │   └── Assets/
│   └── 02-Next-Lesson/
│       ├── Raw/
│       ├── Edit/
│       ├── Export/
│       └── Assets/
├── 02-Next-Module/
│   └── ...
└── Exports-FINAL/
    └── (all final MP4s ready for upload)
What Goes Where
Raw/ — Unedited files straight from your camera or screen recorder. Never modify these. If you need to re-edit, you always have the originals.
Edit/ — Your editing project files (DaVinci Resolve, ScreenFlow, Camtasia, etc.). These reference the raw files but don’t modify them.
Export/ — The final MP4 for each lesson, ready for upload. Only put finished, approved exports here.
Assets/ — Slides, images, graphics, and any other supporting files specific to that lesson.
00-Course-Assets/ — Shared files used across the entire course: your logo, slide templates, intro/outro video, background music.
Exports-FINAL/ — A flat folder at the course level containing all final exports. When it’s time to upload to your course platform, you grab everything from this one folder.
Naming Conventions
Inconsistent naming is the fastest way to lose track of files. Use a naming convention and stick to it for every lesson, every course.
Format: {Module}-{Lesson}-{Title}-{Version}
Examples:
01-00-Welcome-FINAL.mp401-01-What-You-Need-RAW.mp401-01-What-You-Need-EDIT.drp02-05-Three-Point-Lighting-FINAL.mp4
Rules:
- Module and lesson numbers are always two digits (01, not 1)
- Use hyphens between words (not spaces or underscores)
- RAW, EDIT, and FINAL suffixes make it immediately clear what the file is
- The title should match your lesson title so you can find it by name
When you’re scanning a folder of 40 video files trying to find “that one lesson about audio,” you’ll be grateful for this convention.
Why This Matters More Than You Think
Let’s say your course has 14 lessons. Each lesson has a camera recording, a screen recording, an editing project, and a final export. That’s 56 files minimum — and that’s before you add slides, images, music, and alternate takes.
Without organization, those 56+ files end up scattered across your desktop, downloads folder, and random project folders. You’ll spend 10 minutes looking for a specific clip every time you need it.
With organization, you know exactly where everything is. “Module 2, lesson 3, raw camera footage” → 02-03-Audio-Matters/RAW/Camera-footage.mp4. Two seconds to find it.

The 3-2-1 Backup Rule
Your course files represent hours — potentially weeks — of work. A hard drive failure without a backup means starting over from scratch.
The 3-2-1 rule:
- 3 copies of every important file
- 2 different media types (internal drive + external drive, or local + cloud)
- 1 offsite copy (cloud storage or a drive stored at a different location)
Practical implementation:
- Work on your computer’s internal drive (copy 1)
- Back up to an external hard drive weekly (copy 2, different media)
- Sync the Exports-FINAL folder to cloud storage (copy 3, offsite)
Cloud options: Google Drive (15GB free), Dropbox (2GB free), iCloud (5GB free), or a paid plan if your files are large (video files add up fast).
What to back up: At minimum, back up your Raw and Edit folders. The exports can be recreated from the edit files, and assets (slides, images) should live in your cloud storage by default.
When You Need to Re-Record
Six months after launch, you’ll likely need to update a lesson. Software changes. Information becomes outdated. You want to add a section.
If your files are organized, re-recording one lesson takes 30 minutes: find the original slides in Assets, re-record the section, edit, export, replace the video on your platform.
If your files are a mess, re-recording one lesson takes 3 hours: find the slides (where are they?), find the original project file (which one was this?), recreate the editing setup, re-record, figure out export settings, and upload.
Organization is an upfront investment that pays dividends every single time you touch the course after launch.
Your Action Step
Before you edit a single lesson, create the folder structure for your entire course. Copy your slide files into the Assets folders. Move your raw recordings into the Raw folders. Set up the naming convention.
It takes 20 minutes. It saves hours.
Next up: choosing your editing software.
Keep going — you're making progress through Produce Your Course Videos.
Need help? Email me ↗