What You Actually Need
You don’t need a studio. You don’t need a $2,000 camera. You don’t need professional lighting. Here’s what you actually need to record course videos that look and sound professional.
The Minimum Viable Setup
If you own a smartphone made in the last five years and can spend $20–50 on a microphone, you have everything you need to start recording today.
Phone + lapel mic + a quiet room. That’s it. That’s the entire setup.
Modern smartphones shoot 1080p video that looks perfectly fine for course content. A $30 lapel mic plugged into your phone’s headphone jack (or Lightning/USB-C adapter) gives you audio that sounds 10x better than the built-in microphone. And a quiet room with some soft surfaces (carpet, curtains, bookshelves) eliminates echo.
You can record an entire course this way. Many successful course creators have.
Three Budget Tiers
Here’s a breakdown of setups at three price points, from “I have almost no budget” to “I’m ready to invest.”
Disclosure: I earn a commission if you buy or sign up through my links — at no extra cost to you.
Tier 1: Bare Minimum ($0–50)
| Item | What | Cost |
|---|---|---|
| Camera | Your smartphone | $0 |
| Microphone | Lapel mic (Deity V.Lav, Rode SmartLav+, or similar) | $20–40 |
| Lighting | Window light (face a window, no direct sun) | $0 |
| Tripod | Phone tripod or stack of books | $0–15 |
| Editing | CapCut (free) or DaVinci Resolve (free) | $0 |
Total: $20–55
This setup produces course videos that are indistinguishable from courses selling for $500+. The phone camera handles video. The lapel mic handles audio. Window light handles lighting. Free software handles editing.
Tier 2: Solid Setup ($200–400)
| Item | What | Cost |
|---|---|---|
| Camera | Webcam (Logitech C920 or Brio) or mirrorless (Sony ZV-E10Sony ZV-E10 used) | $70–350 |
| Microphone | USB mic (Samson Q2USamson Q2U or Audio-Technica ATR-2100x) | $50–80 |
| Lighting | Ring light kit or softbox kit | $25–80 |
| Tripod | Desktop tripod or InnoGear Boom Arm | $20–40 |
| Editing | DaVinci Resolve (free) or ScreenFlow ($199, Mac) | $0–199 |
Total: $165–720
The jump from Tier 1 to Tier 2 is mostly about convenience and consistency. A dedicated webcam or mirrorless camera stays in position between recording sessions. A USB mic sits on your desk, always ready. A ring light means you’re not dependent on daylight.
Tier 3: Professional ($800+)
| Item | What | Cost |
|---|---|---|
| Camera | Mirrorless (Sony ZV-E10 II, Canon R50) | $500–900 |
| Microphone | Shotgun mic (Rode VideoMicro II) or premium USB (Shure MV7+) | $100–280 |
| Lighting | Two softboxes + hair light | $100–200 |
| Background | Backdrop or bookshelf styling | $30–100 |
| Editing | DaVinci Resolve Studio ($295) or Premiere Pro ($23/mo) | $0–295 |
Total: $730–1,745
This is for creators who are producing courses regularly and want every session to look polished. It’s a nice-to-have, not a need-to-have. Don’t invest here until you’ve completed at least one course and know you’ll keep going.
The Gear Trap
Here’s the mistake most new course creators make: they spend weeks researching cameras, reading reviews, watching comparison videos, and building Amazon wishlists — instead of recording their course.
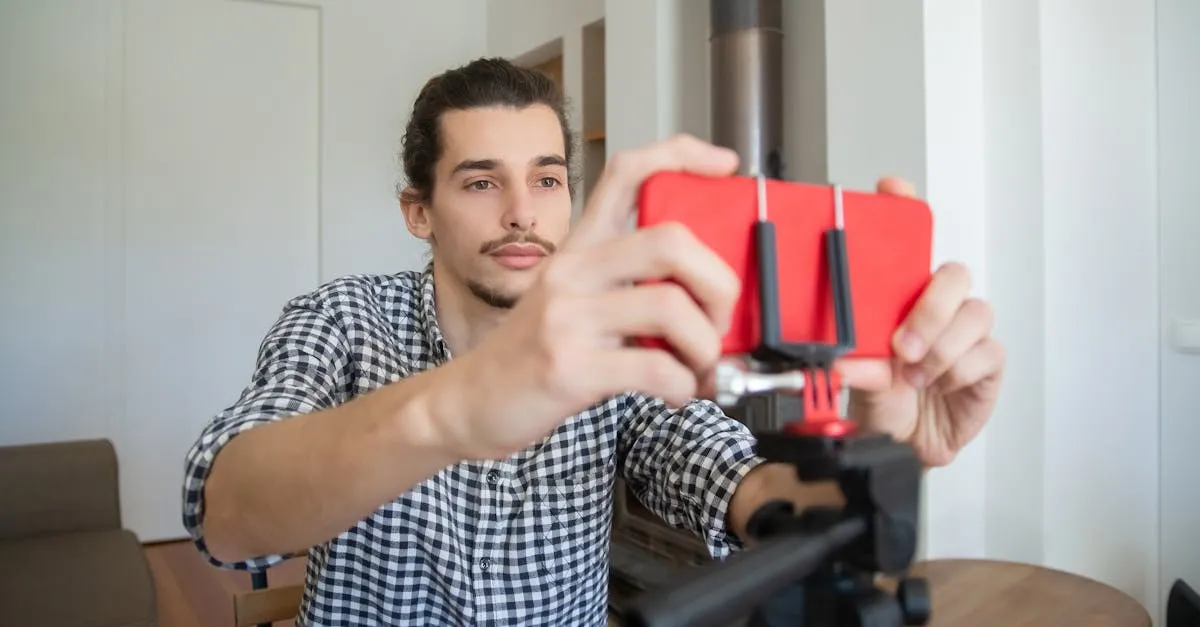
The gear trap is real. It feels productive (you’re “preparing!”) but it’s actually procrastination with a shopping cart.
Buy the minimum. Record five lessons. Then decide if you need anything else. You’ll learn more about what you actually need from five recording sessions than from fifty hours of product research.
What Makes the Biggest Difference
If you can only invest in one thing, make it a microphone. Not a camera. Not lighting. A microphone.
A $30 lapel mic plugged into a phone produces audio that’s night-and-day better than any built-in mic on any camera. And as we covered in the welcome lesson — audio quality is what your viewers notice first.
The second best investment? A quiet recording space. We’ll cover room treatment in the audio lesson. But the short version: soft surfaces absorb echo. Hard surfaces amplify it. Record in a room with carpet, curtains, and furniture — not a bare-walled office or kitchen.
Your Action Step
Look at your budget. Pick a tier. Order the mic (that’s the one thing worth ordering before you record anything else). Everything else can wait.
Next up: camera options in more detail.
Keep going — you're making progress through Produce Your Course Videos.
Need help? Email me ↗