Choose Your Recording Format
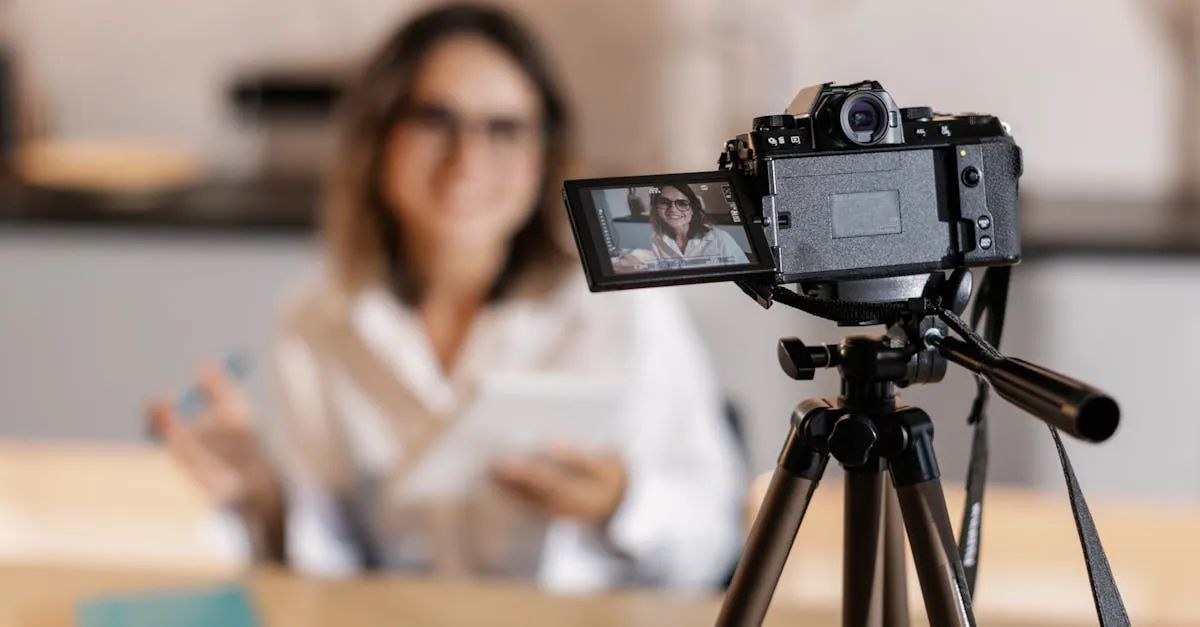
There’s no single “best” recording format for course videos. The right choice depends on your content, your comfort level, and what helps your students learn most effectively.
Here are the four main formats, when each works best, and why you might want to mix them.
Format 1: Slides + Audio (Simplest)
You display your slides on screen while narrating over them. No camera, no face. Just your voice and visuals.
Best for:
- Teaching concepts, frameworks, and theories
- Step-by-step processes with diagrams
- Any content where the visual is the teaching (charts, workflows, templates)
- Creators who are uncomfortable on camera
Pros: Fastest to produce, easiest to edit, no camera or lighting setup needed, slides are already designed.
Cons: Can feel impersonal if overused, no face-to-face connection, harder to convey personality and enthusiasm.
How to record: Open your slides in fullscreen. Start a screen recording. Narrate as you advance through slides. Edit out mistakes. Export.
Format 2: Slides + Talking Head (Most Popular)
Your slides fill most of the screen, with a small video of your face in a corner or along one edge. This is the format used by many of the most successful online courses.
Best for:
- Most course content — it’s the versatile default
- Building personal connection while still teaching visually
- Maintaining viewer engagement over longer lessons
- Courses where your credibility and personality are part of the value
Pros: Balance of visual teaching and personal connection, viewers can see your expressions and emphasis, feels professional without being intimidating to produce.
Cons: Requires a camera setup, requires reasonable lighting, slightly more complex editing (syncing camera and screen).
How to record: Start a screen recording of your slides. Simultaneously record your camera (using your phone, webcam, or mirrorless camera). In editing, overlay the camera footage on top of the screen recording in a corner. Scale it to about 15–20% of the frame.
Format 3: Talking Head Only
You on camera, talking directly to the viewer. No slides, no screen share — just you and your message.
Best for:
- Welcome and orientation lessons
- Storytelling and personal anecdotes
- Motivational content and mindset lessons
- “What next” and closing lessons
- Short lessons (under 5 minutes) where the message is simple
Pros: Most intimate format, feels personal, builds strong connection and trust, requires no screen recording setup.
Cons: Doesn’t work for teaching detailed processes, can feel awkward if you’re not comfortable on camera, relies heavily on your delivery energy.
How to record: Frame yourself from the waist up (or chest up). Look into the camera lens, not at the screen. Record. Edit out mistakes.
Format 4: Screen Share (For Tutorials)
You share your screen and walk through a process in real time — setting up software, building a page, writing code, editing a document.
Best for:
- Software tutorials and walkthroughs
- Demonstrating tools and platforms
- Teaching any process that happens on a computer
- Showing rather than telling
Pros: Most practical for technical content, students can follow along exactly, easy to record (just screen + audio).
Cons: Can be boring if you don’t add commentary, dates quickly when software changes, hard to follow if you move too fast.
How to record: Open the software you’re demonstrating. Start a screen recording. Narrate what you’re doing as you do it. Zoom in on relevant areas during editing so viewers can see details clearly.
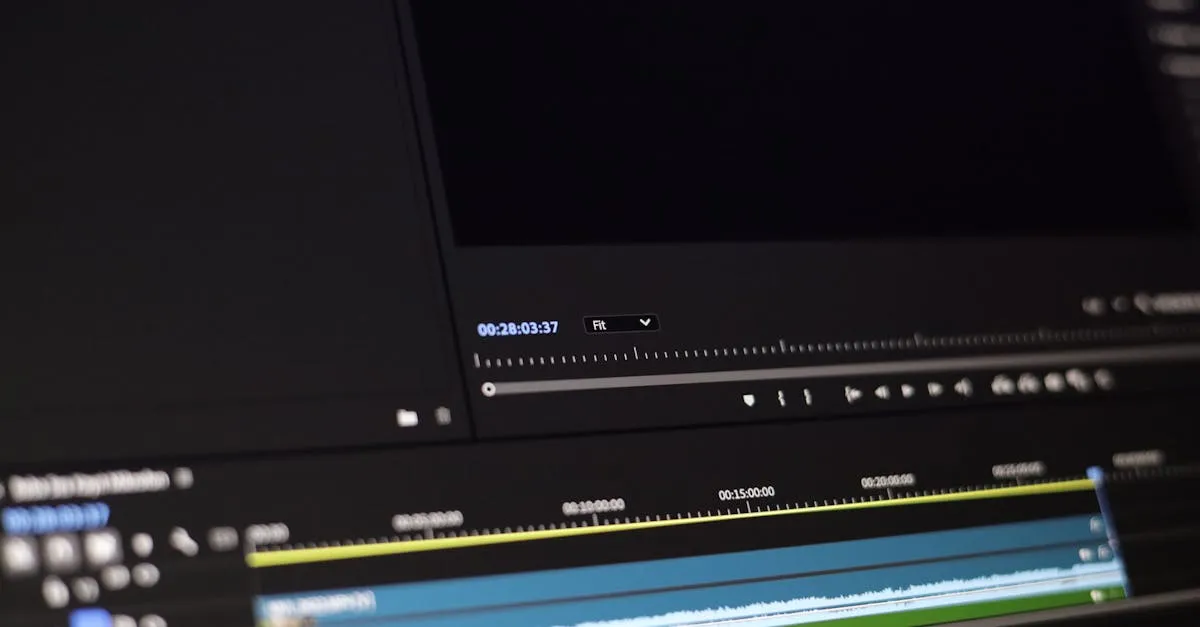
The Hybrid Approach (Recommended)
The best courses don’t use one format for every lesson. They mix formats based on content:
- Welcome lesson: Talking head (builds connection)
- Concept lessons: Slides + talking head (teaching with personality)
- Tutorial lessons: Screen share + audio (showing the process)
- Story lessons: Talking head (intimate and personal)
- Closing/what-next lesson: Talking head (direct and personal)
You don’t need to plan this in advance for every lesson. A good rule of thumb: if the lesson is about ideas, use slides. If it’s about actions, use screen share. If it’s about you (your story, your encouragement, your personal advice), use talking head.
Aspect Ratio and Resolution
Regardless of format, your final videos should be:
- Resolution: 1920 × 1080 (1080p)
- Aspect ratio: 16:9 (widescreen)
- Frame rate: 30fps
This is the standard for online course platforms. Every hosting service, every LMS, and every video player handles 1080p at 16:9 without issues.
If you’re recording a phone screen (for mobile app tutorials), record in landscape orientation to match the 16:9 frame.
Your Action Step
Look at your course outline. For each lesson, note which format fits best:
- S = Slides + audio
- ST = Slides + talking head
- T = Talking head only
- SC = Screen share
You’ll probably find that most lessons use one or two formats. That’s fine — consistency within a lesson type is more important than variety for variety’s sake.
Next up: the recording session itself.
Keep going — you're making progress through Produce Your Course Videos.
Need help? Email me ↗