The Basic Edit: Cut, Clean, Export
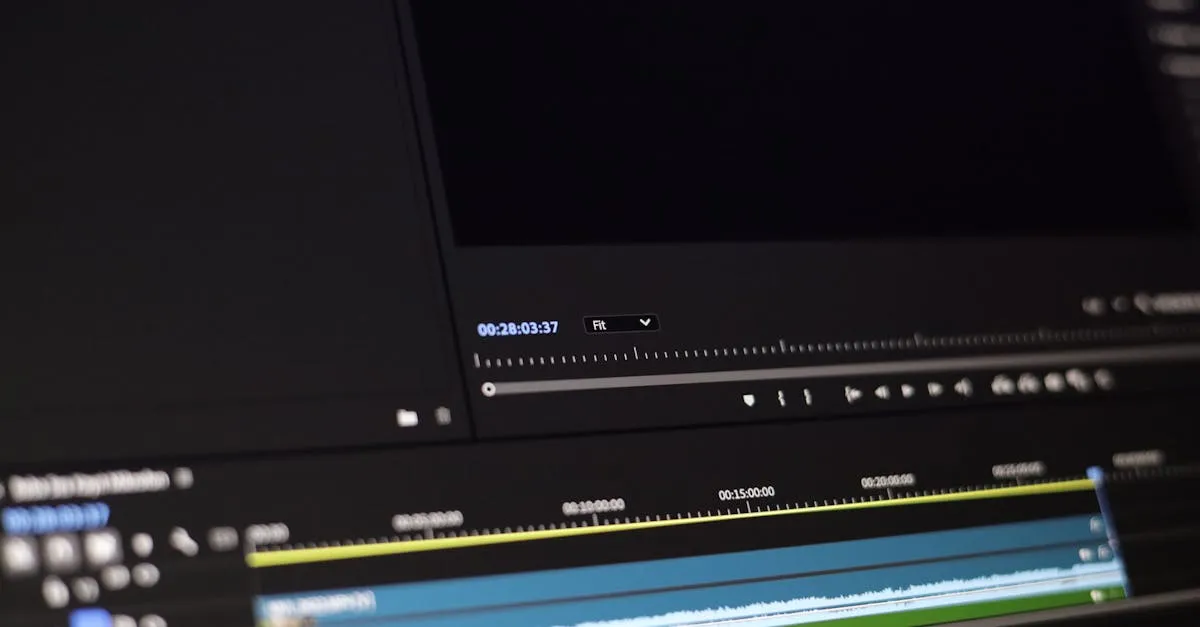
Video editing for course content follows the 80/20 rule: 80% of the quality comes from 20% of the editing effort. The last 20% (color grading, transitions, motion graphics) is nice-to-have polish that most viewers won’t notice.
Here’s the 20% that matters — the basic edit workflow you’ll use for every lesson.
Step 1: Import and Sync
Start a new project in your editor. Import all the raw files for this lesson:
- Camera footage (if you recorded yourself)
- Screen recording (if you recorded your screen)
- Audio file (if you recorded audio separately from video)
Syncing camera and screen recording: If you recorded both camera and screen simultaneously, line them up on parallel tracks. The easiest way to sync: clap your hands once at the start of the recording (as described in the recording session lesson). Find the audio spike from the clap on both tracks and align them.
Syncing separate audio: Same technique. Clap at the start. Align the audio spikes. Delete the camera’s built-in audio track and use the external mic track instead.
Step 2: Cut the Mistakes
This is where you spend most of your editing time — and where the don’t-stop rule from the recording lesson pays off.
Find the audio spikes: If you clapped or snapped your fingers at mistakes during recording, look for the tall spikes in the audio waveform. Each spike marks a mistake.
Cut each mistake:
- Position the playhead just before the clap
- Watch and listen to identify what went wrong
- Find where you restarted (the correct version)
- Cut from the mistake to the restart
- Delete the gap
Cut dead air: Remove long pauses, throat clears, and “um” moments. A natural pause is 1–2 seconds. Anything longer than 3 seconds can usually be cut.
Cut the beginning and end: Remove the “okay, let me start” and “I think that’s it” at the edges. Start the video on your first real word and end on your last meaningful sentence.
The goal: A tight edit where every second serves the lesson. No filler, no dead air, no false starts. You’re not cutting personality — you’re cutting friction.
Step 3: Layer Your Tracks
If you’re doing the slides + talking head format:
- Put the screen recording on the bottom track (full frame)
- Put the camera footage on the top track
- Scale the camera footage down to 15–20% of the frame
- Position it in a corner (bottom-right is common)
- Add a rounded rectangle mask or border if your editor supports it
The talking head overlay should be small enough that it doesn’t obscure important slide content, but large enough that viewers can see your facial expressions.
When to hide the talking head: During diagrams, charts, or detailed visuals where the viewer needs the full screen. You can cut the camera track during these sections — the viewer sees the full slide for the relevant moment, then the talking head returns.
Step 4: Level Your Audio
Audio leveling is the most impactful editing step for perceived quality. Even if you do nothing else, level your audio.
Normalize audio: Most editors have a “normalize” function that brings the overall volume to a consistent level. Target -3dB to -1dB for your final output.
Reduce noise: If your recording has background hiss, fan noise, or room tone, use your editor’s noise reduction tool. Select a quiet section of the recording (where you’re not speaking) and use it as a noise profile. Apply reduction conservatively — too much noise reduction makes your voice sound robotic and underwater.
Remove peaks: If there are sudden volume spikes (a loud laugh, an emphatic point), reduce those specific peaks to match the surrounding audio level. Most editors have a “limiter” effect for this.
Check on headphones: Always check your final audio with headphones, not speakers. Headphones reveal issues that speakers mask — subtle echo, background hum, plosives (harsh “p” and “b” sounds).
Step 5: Add Text Overlays
Text overlays reinforce key points and give visual learners something to read. Use them sparingly — not every sentence needs text.
When to add text:
- Key terms and definitions (display the term on screen as you introduce it)
- Important numbers and statistics
- Section headers (“Part 2: Choosing Your Microphone”)
- Action items (“Your turn: Record a 30-second test”)
Text overlay rules:
- Large enough to read on a phone screen (minimum 48pt equivalent)
- High contrast (white text on dark background, or dark text on light background)
- Brief (3–7 words, not a sentence)
- On screen long enough to read twice (about 5 seconds for a short phrase)
- Placed in the lower third of the screen (not covering your face or important visuals)
Step 6: Intro and Outro (Keep Them Short)
An intro sequence at the start of each video establishes your brand. An outro at the end can direct viewers to the next lesson.
Intro: 3–5 seconds. Your course name, your name, or a branded graphic. Maybe a short music sting. Anything longer than 5 seconds is annoying — viewers will skip it or, worse, close the video.
Outro: 5–10 seconds. “Next lesson: [title]” with a quick visual. Or just a branded end card. Keep it simple.
Don’t add these to every video individually. Create one intro and one outro template, then add them to each lesson during editing. Consistency across all videos in the course.
Step 7: Export Settings
Export your edited video with these settings:
| Setting | Value |
|---|---|
| Format | MP4 (H.264 codec) |
| Resolution | 1920 × 1080 |
| Frame rate | 30fps |
| Video bitrate | 5,000–8,000 kbps (5–8 Mbps) |
| Audio codec | AAC |
| Audio bitrate | 128–192 kbps |
| Audio sample rate | 48kHz |
These settings work for every major course platform and video host. They produce clear video at a reasonable file size — typically 50–150MB per 10-minute lesson.
Export tip: Export to the Export folder in your file structure, using the naming convention (01-05-Lesson-Title-FINAL.mp4).
The 80/20 Edit Checklist
For each lesson:
- Import and sync all tracks
- Cut mistakes and dead air
- Layer tracks (talking head over screen recording)
- Level audio (normalize + noise reduction)
- Add text overlays for key points
- Add intro/outro
- Export at 1080p, 30fps, MP4
- Watch the export once all the way through (yes, the whole thing)
That last step is important. Watch the final export, not the editor preview. The export is what your students will see. If there’s a glitch, audio dropout, or sync issue, you’ll catch it here — before you upload.
When Good Enough Is Good Enough
Your first edit will take 45–60 minutes per lesson. After 5–10 lessons, it’ll take 15–30 minutes. The learning curve is real, but it’s short.
Don’t spend 3 hours perfecting one lesson when you have 13 more to edit. A clean edit with good audio beats a heavily polished edit that took 10x longer. Ship the clean edit. Move on. You can always re-edit later.
Next up: captions and accessibility.
Keep going — you're making progress through Produce Your Course Videos.
Need help? Email me ↗