Audio Matters More Than Video
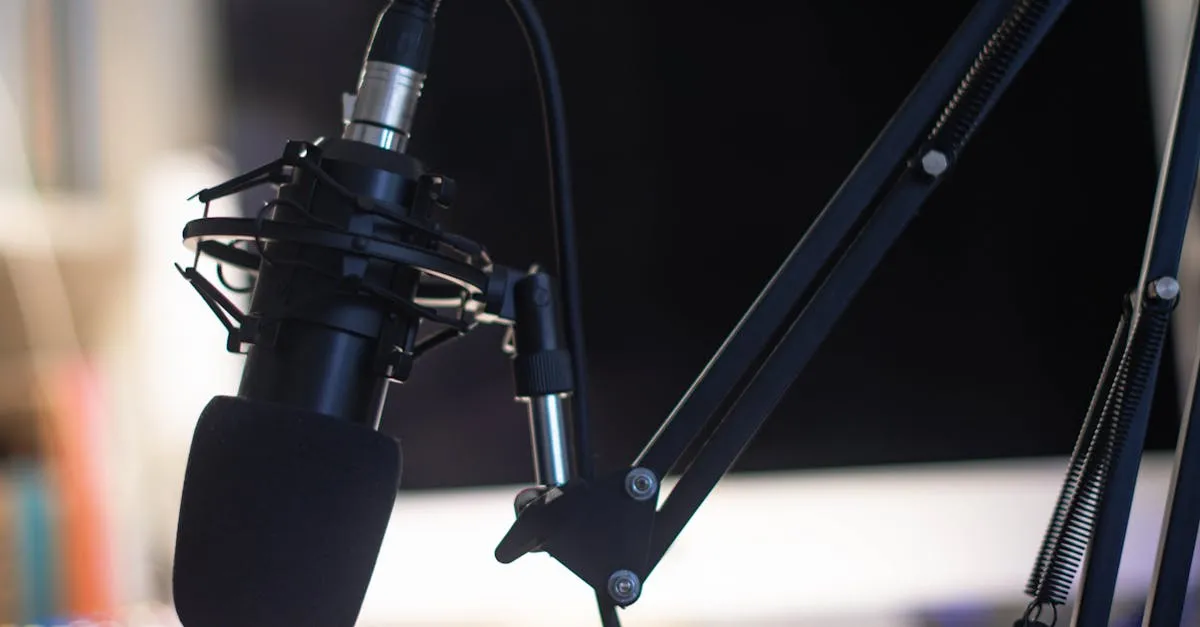
This is the most important lesson in this course. Not because it’s the longest or the most technical — but because it covers the single thing that separates “professional-sounding course” from “sounds like it was recorded in a bathroom.”
Audio quality is the difference.
Why Audio Is the Dealbreaker
Your brain processes audio differently than video. When video quality drops — grainy footage, poor lighting, shaky framing — viewers adjust. They lean in, they accept it, they keep watching.
When audio quality drops — echo, hiss, muffled speech, background noise — viewers don’t adjust. They leave. Poor audio creates a subconscious feeling that the content itself is low quality, even when the information is excellent.
Studies on multimedia learning have consistently shown that unclear audio increases cognitive load. Listeners have to work harder to understand what’s being said, which leaves less mental bandwidth for actually learning the material.
Translation: bad audio makes your teaching less effective.
The Full Audio Setup Guide
Microphone selection, room treatment, recording technique, audio editing, and AI voice narration are covered in depth in Record & Edit Audio/Podcast Courses. That course is the authoritative source for all audio knowledge at Course.Coach.
If you haven’t set up your audio yet, start with these lessons from that course:
Disclosure: I earn a commission if you buy or sign up through my links — at no extra cost to you.
- Choose Your Microphone — Three budget tiers, USB vs XLR, the Samson Q2USamson Q2U recommendation
- Room Treatment for Clean Audio — The duvet trick, closet recording, acoustic panels
- Free Recording Software Setup — Audacity and GarageBand configuration
This lesson covers the video-specific audio considerations that the audio course doesn’t address.
Audio for Video: Choosing the Right Mic Type
Video courses have different audio needs than audio-only courses. Your microphone choice depends on how you’re filming:
Lapel (Lavalier) Mics — Best for Talking Head
A lapel mic clips to your shirt and stays close to your mouth regardless of where you move. The cable (or wireless transmitter) is easy to hide under clothing.
Budget ($20–40):
- Deity V.Lav — Works with smartphones via TRRS connector
- Rode SmartLav+ — Reliable, consistent, smartphone-compatible
- Purple Panda lapel mic kit — Includes adapters for phone, camera, and computer
Mid-Range ($60–100):
- Hollyland Lark M1 — Compact wireless system with good noise cancellation
Pro ($150+):
- Rode Wireless GORode Wireless GO II (~$299 as of September 2026) — Wireless system with onboard recording backup. Clip the transmitter to your shirt, plug the receiver into your camera.
- Sennheiser ME 2-II — Industry standard for broadcast
- DPA 4060 — Used in film and television production
USB Microphones — Best for Screen Recordings
If you’re recording slides + audio (no camera), a USB mic on your desk is ideal. See the full USB mic recommendations in the microphone lesson.
Shotgun Mics — Best for Mirrorless Cameras
A shotgun mic mounts on top of your mirrorless camera and picks up sound from the direction it’s pointing. Good for on-camera work when you don’t want a visible lapel mic.
Rode VideoMicro II ($60) — Compact, no battery needed (powered by camera), good audio for the price.
Rode VideoMic Pro+ ($230) — Step up with better sound quality and a rechargeable battery.
Syncing Separate Audio with Video
If you record audio separately from your camera (using a USB mic or audio recorder instead of the camera’s built-in mic), you need to sync the audio and video in your editing software.
The clap method: At the start of each recording, clap your hands once sharply on camera. This creates a visible frame in the video and an audible spike in the audio. In your editor, align the two spikes. That’s it — your audio and video are synced.
In DaVinci Resolve: Place your audio track and video track on parallel timelines. Find the clap spike in both, drag until they align.
In ScreenFlow/Camtasia: Import both files. The software often auto-syncs based on audio waveforms. If not, find the clap and align manually.
Audio Settings for Video Recording
No matter what mic you use:
- Record in a lossless format if possible — WAV or AIFF. You’ll compress to AAC during video export.
- Set your levels so your voice peaks around -12dB to -6dB — Not into the red. Clipping (distortion from levels too high) can’t be fixed in editing.
- Do a 10-second test recording before every session — Play it back with headphones. Listen for echo, hum, background noise, or distortion.
- Use a pop filter — If you’re using a USB mic, a $10 pop filter eliminates harsh “p” and “b” sounds (plosives).
Audio Leveling in Video Editors
Most video editors have built-in audio tools. After cutting your video:
- Normalize audio to -3dB to -1dB (DaVinci: Effects → Normalize Audio Levels)
- Reduce noise if needed (DaVinci: Fairlight tab → Noise Reduction)
- Check on headphones — always verify audio quality with headphones, not speakers
For deeper audio cleanup (noise removal, compression, de-essing), see Noise Removal and Audio Cleanup in the audio course.
Your Action Step
If you haven’t already, read the microphone selection and room treatment lessons from the audio course. Set up your mic and room, then record a 30-second test with your camera rolling.
Listen back with headphones. If your voice is clear and the room isn’t echoey, you’re ready to record your course.
Next up: lighting.
Keep going — you're making progress through Produce Your Course Videos.
Need help? Email me ↗