
How to Create an Online Course: The Complete Step-by-Step Guide (2026)
Most people who want to create an online course get stuck before they start.
They spend weeks researching platforms. They obsess over which microphone to buy. They rewrite their course outline fourteen times. And six months later, they still haven’t recorded a single lesson.
I know because I’ve watched it happen thousands of times. As a former college dean who’s trained over 39,000 professionals, I’ve seen every mistake course creators make — and I’ve made plenty of them myself.
This guide is the antidote.
I’m going to walk you through the exact 10 steps I use to create online courses, from picking your topic to enrolling your first 10 students. No theory. No fluff. Just the process that works.
If you want a deeper dive into planning before you start building, check out my Plan Your Course course — it walks through this entire framework with worksheets and templates.
Let’s get into it.
Step 1: Pick Your Topic
The biggest mistake first-time course creators make? Picking a topic they think will sell instead of one they can actually teach.
Here’s how to get it right.
Start With What People Already Ask You
Think about the questions you answer over and over. The things colleagues, clients, or friends come to you for. Those repetitive questions are your course topic hiding in plain sight.
When I ran a college division, I kept getting the same questions from new instructors about how to structure a syllabus. That repetition told me everything I needed to know about what people wanted to learn.
Ask Yourself Three Questions
- What have I taught before? If you’ve trained coworkers, led workshops, or mentored people, you already have a course topic.
- What do I know that most people don’t? Your professional expertise is valuable precisely because it’s uncommon.
- What could I talk about for an hour without notes? If you can ramble about it enthusiastically, you’ve got the depth to teach it.
Validate With Real People — Not Google Trends
Don’t open a keyword tool and call it research. Keyword tools tell you what people search for, not what they’ll pay to learn. There’s a big difference.
Talk to actual humans. Post in a Facebook group or LinkedIn community and ask: “Hey, I’m thinking about teaching [topic]. Would this be useful to you? What’s your biggest struggle with [topic]?”
Better yet, have five 15-minute conversations with people in your target audience. Ask them what they’ve tried, where they got stuck, and what they wish existed. Those conversations will teach you more about your course topic than any amount of desk research.
The responses tell you two things: whether the demand exists and what your course should actually cover. Pay close attention to the specific language people use to describe their problems — you’ll use those exact words on your sales page.

Step 2: Validate Before You Build
This step separates course creators who make money from those who don’t.
The Pre-Sell Test
Before you record a single lesson, try to sell the course. Create a simple description of what you’ll teach and offer it at a discounted “founder’s price.” If nobody buys, you just saved yourself months of work on something nobody wanted.
Here’s what I tell every new course creator: Don’t build until someone says “shut up and take my money.”
That sounds dramatic, but it’s the honest truth. If you can’t find 10 people willing to pay for your course before it exists, you won’t magically find 100 after it’s built.
How to Find Your 10 People
- Your existing network. Email, social media, professional contacts. Start here. These people already trust you, and trust is the hardest part of any sale.
- Online communities. Facebook groups, Reddit, LinkedIn groups, Discord servers where your target students hang out. Don’t just drop a link — participate first, build some goodwill, then mention your course.
- Direct outreach. Message 20-30 people who fit your ideal student profile. Ask them about their challenges first, listen carefully, then pitch your course as the solution.
- Past clients or students. If you’ve done any teaching, coaching, or consulting, go back to people you’ve already helped. They’re the most likely to say yes.
If you get 3-5 yeses, you have enough validation to start building. If you get zero, don’t panic — it usually means your topic is either too broad or too niche. Narrow or widen accordingly, then try again.
For a complete validation framework with email scripts and outreach templates, my Validate and Launch course covers this in detail.
Step 3: Define the Transformation
Nobody buys a course for information. They buy it for a result.
Write Your Course Promise
Fill in this sentence:
“After completing this course, you’ll be able to [specific action] — even if [common objection].”
Examples:
- “After completing this course, you’ll be able to pass the California notary exam — even if you’ve never worked in legal services.”
- “After completing this course, you’ll be able to edit and publish a podcast episode — even if you’ve never used audio software.”
Why This Matters
Your transformation is the backbone of everything: your outline, your sales page, your marketing. When you’re tempted to add a lesson that doesn’t directly serve the transformation, cut it.
Students don’t want to learn everything you know. They want the shortest path from where they are to where they want to be.
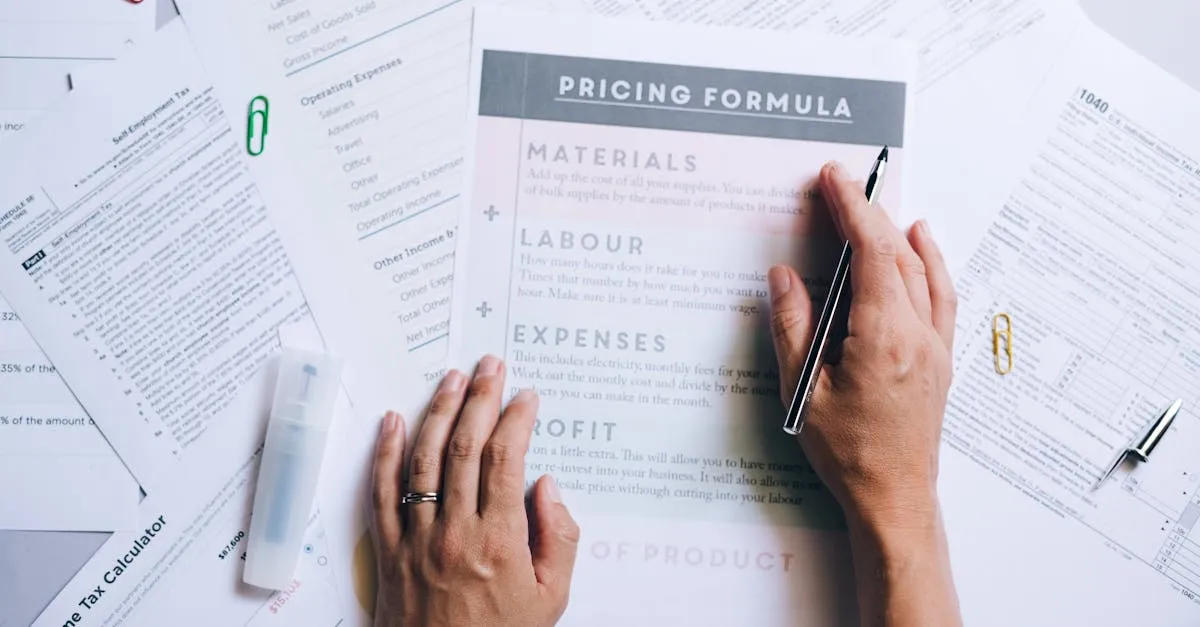
Step 4: Outline Your Course
A good course outline is like a good syllabus: it builds logically, hits milestones, and doesn’t overwhelm students.
The Structure That Works
Keep it to 7 modules maximum, 5-8 lessons per module. Any more and students drop off. Any fewer and you’re probably overcharging.
Lead With a Quick Win
Your first module should deliver a result in the first 30-60 minutes. Not the final result — a quick result that builds confidence and keeps students engaged.
If you’re teaching a notary course, Module 1 might be “Submit Your Application” — something students can complete immediately. Save the exam prep for later modules.
Outline Format
For each module, write down:
- Module title (outcome-focused, e.g., “Set Up Your Recording Studio” not “Equipment Overview”)
- Lesson titles (3-8 per module)
- One sentence describing what students can do after completing the module
- Estimated time to complete the module (aim for 45-90 minutes each)
This takes 30-60 minutes if your transformation is clear. If you’re struggling, your transformation from Step 3 isn’t specific enough. Go back and tighten it.
A common mistake at this stage: including everything you know. Resist the urge. Your course should be the shortest path to the transformation, not a comprehensive encyclopedia. Every lesson that doesn’t directly move students toward the promised outcome is a lesson that increases drop-off rates.
Step 5: Choose Your Format
You don’t need to commit to one format forever, but you need to pick one to start.
The Options
- Talking head video. You on camera, teaching directly. Best for courses where your personality and credibility are part of the value.
- Screen-share video. Record your screen while demonstrating software, processes, or frameworks. Best for technical or tool-based courses.
- Slide-based video. Present slides with voiceover. Best for conceptual or framework-heavy content.
- Text + screenshots. Written lessons with images. Fastest to produce, lowest perceived value.
- Audio-only. Podcast-style lessons. Good for supplementary content or courses students consume on the go.
- Hybrid. Mix formats based on what each lesson needs. This is what I recommend for most courses.
What I Recommend
Start with talking head for intro/credibility lessons and screen-share for walkthrough lessons. You can always add polish later. Done beats perfect every time.
One thing I see constantly: new course creators spend weeks deciding between formats when the format barely matters to students. What matters is that the content is clear, organized, and actionable. A well-structured screen-share course will outsell a poorly structured cinema-quality production every single time.
For a deep comparison of formats with examples, my Choose Your Format course breaks this down with recommendations for every type of course.
Step 6: Record Your Content
This is where most people freeze. They think they need a studio, professional lighting, and cinema-quality video.
You don’t.
Audio Matters More Than Video
Students will forgive mediocre video. They will not forgive bad audio. A muffled, echoey, or distorted voice track makes your course feel amateur, no matter how good the content is.
Invest in a decent microphone first. The Samson Q2U is the microphone I recommend to almost every beginner. It’s a USB/XLR dynamic mic that sounds professional for under $70. I reviewed it in detail in my best microphones for online courses post — it consistently outperforms mics that cost three times as much for course recording.
Video Can Be Simple
Your phone’s camera is fine. Seriously. Modern smartphones shoot better video than the professional cameras I used ten years ago.
If you want to level up, the Logitech C922 webcam is a solid step up from a laptop camera without requiring any setup. Plug it in, prop it at eye level, and you’re good.
For a full equipment breakdown at every budget, check out my Equipment Recommendations page.
Recording Tips That Actually Matter
- Record in modules, not all at once. Finish one module, edit it, and move on. This keeps your energy up and lets you adjust as you go.
- Stand up while recording. Your voice has more energy and authority when you’re standing. Try it — the difference is immediately noticeable.
- Do a test recording first. Record two minutes, play it back, check the audio levels. Fix problems before you record 45 minutes of unusable footage.
- Use a teleprompter or bullet points. Don’t script every word — it makes you sound robotic. Write bullet points for each lesson and talk through them naturally. If you stumble, pause for two seconds and restart the sentence. You can edit out the stumble later.
- Record in a small, quiet room with soft surfaces. Closets work surprisingly well. The fabric absorbs echo and gives you that tight, professional sound. Fancy foam panels are optional; a blanket behind the camera does the same job.
My Produce Course Videos course covers the full recording workflow — setup, lighting, audio settings, and the editing process I use for every course.
Step 7: Pick Your Platform
This is where people waste the most time. They spend weeks comparing features, reading reviews, and watching YouTube comparisons.
I’ll make it simple.
The Short Answer
If you want an all-in-one platform that handles your course, website, email marketing, CRM, and sales funnels in one place, use GoHighLevel. It’s what I use, and it eliminates the need to stitch together five different tools.
If you want a dedicated course platform without the marketing suite, Teachable, Kajabi, and Thinkific are all solid options. Each has trade-offs I break down in my best online course platforms comparison.
The Decision Framework
Ask yourself:
- Do you already have a website and email tool? If yes, a dedicated course platform (Teachable, Thinkific) may be enough. You’ll just need to connect your existing tools.
- Are you starting from scratch? If yes, an all-in-one like GoHighLevel saves you months of integration headaches. It handles your website, course hosting, email marketing, CRM, payment processing, and sales funnels all in one dashboard.
- Do you need a free option to start? Thinkific has a solid free tier that lets you launch without upfront costs. It’s limited, but it’s enough to validate your course before investing in a paid platform.
- Do you plan to build a course business with multiple offers? If yes, think about scalability from the start. GoHighLevel and Kajabi both handle bundling, upsells, and membership models well.
Pick one and move on. You can always migrate later. The platform matters far less than the content and the marketing.
Step 8: Build Your Sales Page
Your sales page is your 24/7 salesperson. It needs to do the heavy lifting when you’re not there to pitch in person.
The 12 Sections Every Course Sales Page Needs
- Hero section — Course name, one-sentence promise, and a call-to-action button.
- The problem — Describe the exact pain your student is experiencing. Make them nod their head.
- The solution — Introduce your course as the bridge from problem to outcome.
- The transformation — Spell out exactly what changes. “Before this course, you’re [stuck state]. After, you’re [empowered state].”
- What’s inside — Module-by-module breakdown with lesson counts and time estimates.
- Who it’s for — Be specific. “This course is for [audience] who want to [outcome].”
- Who it’s NOT for — This builds trust and reduces refunds. Name the people who shouldn’t buy.
- Your credentials — Why should they learn from you? Share relevant experience, results, and numbers.
- Social proof — Testimonials, case studies, student results. Even 3-5 early reviews make a difference.
- Bonuses — Stack additional value. Templates, checklists, community access, coaching calls.
- Pricing — Clear, confident pricing. One or two options maximum. Don’t apologize for the price.
- FAQ — Address the top 5-6 objections. “What if I’m a beginner?” “How long do I have access?” “Is there a refund policy?”
Write It Before You’re Ready
Your sales page doesn’t need to be perfect to start selling. Write a solid first draft, launch, and improve it based on the questions students ask before they buy. Those questions are pure gold — every objection a potential student raises is a section you should add to your page.
Also: don’t overthink the design. A clean, simple page with strong copy converts better than a flashy page with weak copy. Focus on the words first.
My Write Your Sales Page course walks through each of these 12 sections with templates, examples, and copy prompts so you’re never staring at a blank page.
Step 9: Launch to Your Audience
You don’t need a massive email list or a huge social following to launch. You need a clear offer and the willingness to ask people to buy it.
Four Launch Strategies (Pick One)
1. Email Launch If you have an email list — even a small one — this is your highest-converting channel. Send a 5-7 email sequence over 10-14 days that walks subscribers through the problem, the solution, and the offer. My Email Marketing for Course Creators course covers the exact sequences I use.
2. Social Media Launch Post about your course on the platforms where your audience already is. Share behind-the-scenes content, student wins, and direct invites. Don’t be shy about selling — if you believe your course helps people, you have an obligation to tell them about it.
3. Webinar Launch Host a free live training that delivers real value, then pitch your course at the end. This works exceptionally well for higher-priced courses ($297+) because students experience your teaching before they buy.
4. Challenge Launch Run a 5-day free challenge related to your course topic. Each day delivers one small win. On day 5, invite participants to continue with your full course. Challenges build engagement and urgency simultaneously.
The Launch Mindset
Your first launch won’t be perfect. That’s fine. The goal is to get your course out there, enroll real students, and learn from the experience. Every successful course creator I know launched before they felt ready.
Here’s something that might surprise you: a “failed” launch that enrolls 5 students at $200 each still puts $1,000 in your pocket and gives you 5 testimonials, real student feedback, and proof that your course sells. That’s not failure. That’s the foundation of everything that comes next.
My Launch Your Course course covers each of these strategies in depth, with email templates, social media schedules, and webinar scripts you can adapt.
Step 10: Get Your First 10 Students
The first 10 students are the hardest. After that, momentum builds.
Here’s how to get them.
Direct Outreach
Message 30-50 people individually. Not a blast — individual, personal messages. Reference something specific about them or their situation. Explain how your course helps. Ask if they’re interested.
A 20-30% response rate with a 50% conversion rate = 3-5 students from every 30 messages. Do that twice and you’ve hit 10.
Beta Pricing
Offer your first students a significant discount (50-60% off) in exchange for three things:
- Honest feedback — What’s confusing? What’s missing? What’s too slow?
- A testimonial — Written or video, once they’ve completed the course.
- A referral — One person they know who would benefit from the course.
This makes the first 10 students your best product improvement team and your future marketing engine.
Deliver an Exceptional Experience
Your first 10 students should get more attention, not less. Respond to their questions quickly. Ask for their input on additional content. Make them feel like founders — because they are.
Consider setting up a private group or chat channel just for your founding students. Give them direct access to you. Ask them what’s working and what isn’t. Their feedback will shape your course into something far better than what you could create alone.
These early students become your case studies, your testimonials, and your referral network. They’re the ones who will tell their colleagues, “You need to take this course.” Treat them like gold and they’ll become your most powerful marketing asset.
What I’d Do If I Were Starting Today
If I were creating my first online course right now, here’s exactly what I’d do:
- Pick a topic I already get asked about constantly.
- Talk to 20 people who might want to learn it.
- Pre-sell it to 5-10 of them at half price.
- Outline 5 modules with a quick-win first module.
- Record it using my phone and a Samson Q2U mic.
- Host it on GoHighLevel.
- Write a sales page using the 12-section framework.
- Email my list with a 5-email launch sequence.
- Personally message 50 people I know.
- Enroll 10 students, get feedback, collect testimonials, and iterate.
Total timeline: 4-6 weeks from idea to enrolled students.
Not months. Not years. Weeks.
You Already Know Enough to Start
If you’ve read this far, you already know more about creating an online course than most people who call themselves course creators. Not because this guide is extraordinary — but because most people never get past the research phase.
The course creators who succeed aren’t the ones with the best equipment or the biggest platforms. They’re the ones who start. They pick a topic, validate it with real people, record imperfect lessons, and put them up for sale. Then they improve based on what students actually need — not what they assume students need.
You know something valuable. People have told you they want to learn it. The only thing standing between you and your first online course is a decision to begin.
Pick a topic. Talk to 10 people. Record the first lesson. Everything else you’ll figure out along the way.
That’s exactly how I built my first course, and it’s how over 39,000 professionals I’ve trained have built theirs.
Now it’s your turn.
Frequently Asked Questions
How long does it take to create an online course from scratch?
4-6 weeks using the author’s framework, assuming you’re not overthinking equipment, sticking to 5-7 modules, and launching before everything feels perfect.
Best way to validate a course idea?
Pre-sell before creating any content by offering a discounted founder’s price. If you can’t find 10 people willing to pay before the course exists, it likely won’t sell after it’s built.
How many modules should a course have?
7 modules maximum with 5-8 lessons per module. Any more and students drop off; any fewer and you may be underdelivering.
Do I need professional equipment?
No. Your smartphone camera plus a $60 Samson Q2U microphone is sufficient. Audio quality matters far more than video quality.
What platform for hosting?
The author uses GoHighLevel as an all-in-one platform for course hosting, website, email marketing, CRM, and sales funnels.
You Might Also Like

Can You Create an Online Course Without Being on Camera? (Yes, Here's How)
Camera shy? You don't need to show your face. Screen recordings, slide presentations, AI avatars, and audio-only courses all work. Here are the 4 formats that don't require a camera.

How Long Should Your Online Course Be? (Here's What the Data Says)
Short answer: as long as it takes to deliver the transformation you promised. Long answer: here's what completion rates, student feedback, and 39,000+ trained professionals have taught me.
How Much Does It Cost to Create an Online Course? (The Real Numbers)
The honest cost breakdown from $0 to $5,000+. Most course creators spend way less than they think — and waste money on the wrong things. Here's where to invest and where to save.