Smartphone vs Webcam vs Mirrorless: What Should Course Creators Record With?
Every week someone asks me the same question: “What camera should I use to record my course?”
And every week I give the same answer: “What are you recording, and what do you already own?”
That’s the real conversation. Not specs. Not sensor sizes. Not what some YouTuber with a $5,000 rig told you to buy. What matters is matching the tool to the job — and not spending money you don’t need to spend.
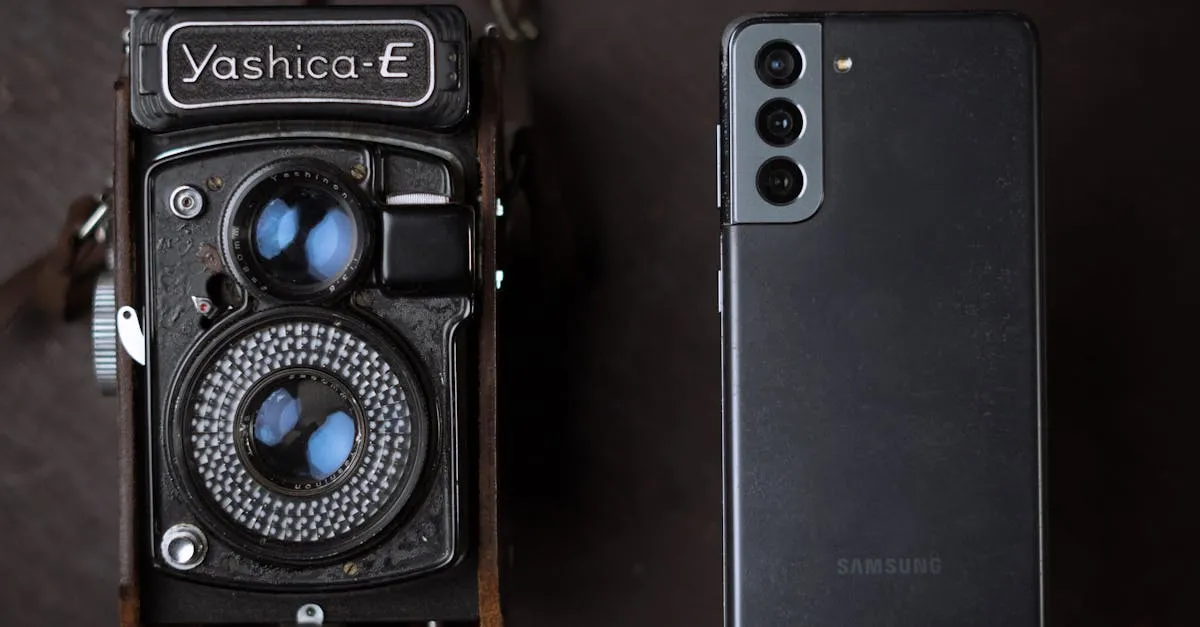
I’ve recorded courses on all three: smartphones, webcams, and mirrorless cameras. Each has a clear use case. Each has real limitations. Here’s the honest breakdown so you can pick the right one (or the right combination) for your course.
The Three Options at a Glance
Before we get into the weeds, here’s the 10,000-foot view:
| Smartphone | Webcam | Mirrorless | |
|---|---|---|---|
| Cost | $0 (you own it) | $80–150 | $500–800+ |
| Video Quality | Very good (4K on most modern phones) | Adequate (1080p) | Excellent (4K+ with cinematic quality) |
| Setup | Clip mount or tripod | Plug into USB, done | Rig with lens, memory card, power |
| Best For | Solo talking-head, on-location, getting started | Permanent desk setup, screen-share courses | Multi-angle, cinematic, brand-level production |
| Learning Curve | None | None | Moderate to steep |
Now let’s dig into each one.
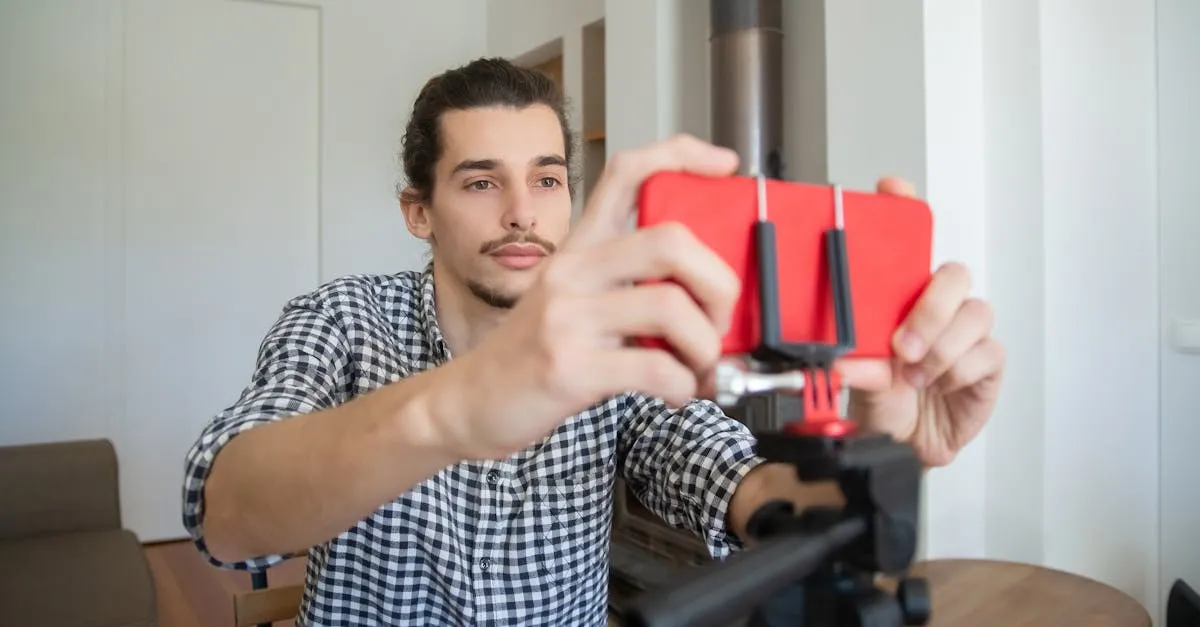
Option 1: Your Smartphone ($0)
You already own it. That’s not a small thing.
An iPhone 14 or newer, or any recent flagship Android (Samsung Galaxy S23+, Google Pixel 7+), shoots 4K video that looks genuinely good. Not “good for a phone” — just good. Your students won’t know or care what you recorded on.
What I Like
- Zero additional cost. You’re not buying anything. That’s money you can put toward a good microphone, lighting, or actually building your course.
- Always with you. You can record a lesson anywhere — your office, your kitchen table, a coffee shop, outside. No “I need to set up my rig” friction.
- 4K is standard now. Most phones from the last two to three years shoot 4K at 30fps. Some do 4K60 or even log profiles for color grading.
- Fast iteration. Record, airdrop to your laptop, edit, publish. No card readers, no special software, no file conversion headaches.
The Limitations
- No real shallow depth of field. Computational portrait mode exists, but it looks fake on video. You won’t get that creamy background blur without a real lens.
- Low-light performance is mediocre. Small sensor, small pixels. In a dim room, your footage gets noisy fast. You need good lighting (which you should have anyway, but still).
- No interchangeable lenses. You’re stuck with whatever focal length your phone gives you. For most talking-head work that’s fine, but you can’t swap to a wide-angle for a whiteboard lesson.
- Ergonomics. Holding a phone for a 30-minute lesson is awkward. A cheap tripod or desk mount solves this, but it’s an extra thing to think about.
- Storage fills up fast. 4K video eats storage. If your phone is nearly full, you’ll be managing space constantly.
When Your Phone Is the Right Answer
- You’re recording your first course and want to start now, not after a shopping trip.
- Your course is a talking-head format with screen sharing.
- You record in a well-lit room (or are willing to buy a $30 ring light).
- You’re testing a course idea and don’t want to invest in gear before validating it.
Bottom line: Your phone is good enough for 90% of online courses. I mean that literally. If your course is you talking to camera with slides or screen share, a modern phone is all you need.
Option 2: A Dedicated Webcam ($80–150)
A webcam is the “always ready” option. It sits on top of your monitor, plugged in, and you just hit record. No mounting, no battery anxiety, no “where did I put my phone.”
The Logitech C922 has been the default recommendation for years, and for good reason — it works, it’s affordable, and the quality is acceptable for talking-head video.
What I Like
- Plug and play. USB in, recognized instantly by Zoom, OBS, Loom, whatever you use. No drivers, no configuration.
- Always in position. Mounted on your monitor, aimed at your face, ready to go. Zero setup time for every recording session.
- Consistent framing. Once you set it up, it stays put. Same angle, same distance, every time. That consistency matters when you’re recording 30+ lessons.
- Separates your phone. You can keep using your phone for scripts, notes, or Slack while recording. No awkward “where do I put my phone” dance.
The Limitations
- Fixed focus and focal length. You can’t zoom. You can’t blur your background optically. What you see is what you get.
- Small sensor. Dynamic range and low-light performance are worse than your phone. A well-lit room is not optional — it’s required.
- Mostly 1080p. Some webcams advertise 4K, but the upscaled results rarely look better than native 1080p. You’re not getting cinematic footage from a webcam.
- Audio is unusable. The built-in mic on every webcam I’ve ever used sounds terrible. You’ll need a separate microphone regardless.
When a Webcam Is the Right Answer
- You record at a desk in a permanent setup.
- Your course is screen-share heavy with a small talking-head overlay.
- You want the fastest possible “open laptop, hit record” workflow.
- You do live sessions (Zoom, coaching calls) and want consistent video quality.
Bottom line: A webcam is a convenience purchase, not a quality upgrade over your phone. You buy it because you want your camera to live on your desk and always be ready — not because it looks better than your phone. In most cases, it doesn’t.
Option 3: A Mirrorless Camera ($500–800+)
This is the “I want it to look like a Netflix documentary” option.
A mirrorless camera with a decent lens gives you shallow depth of field, excellent low-light performance, interchangeable lenses, and manual control over every aspect of the image. The Sony ZV-E10 and Canon EOS R50 are two of the best entry-level options for course creators right now.
What I Like
- Shallow depth of field. That creamy, blurred background that makes your video look professional? A mirrorless with a wide-aperture lens (f/1.8 or wider) gives you that naturally. No fake filters.
- Low-light performance. APS-C or full-frame sensors are dramatically better in dim conditions. You can shoot in a room with a single window and still get clean footage.
- Interchangeable lenses. Wide-angle for whiteboard lessons, telephoto for close-up demonstrations, prime lenses for that cinematic look. You adapt the camera to the shot, not the other way around.
- Manual control. Lock your exposure, set your white balance, control your focus. Your footage looks the same from take one to take fifty.
- Professional perception. Fair or not, people associate production quality with content quality. A well-shot mirrorless setup can elevate how your course is perceived.
The Limitations
- Cost adds up fast. Camera body, lens, memory cards, batteries, power supply (for long recordings), a cage or rig, a better tripod… you can easily double the sticker price in accessories.
- Learning curve. You need to understand exposure, focus, white balance, and lens selection. It’s not complicated, but it’s not nothing either.
- Overkill for most talking-head courses. If you’re sitting at a desk talking to camera, a mirrorless camera produces noticeably better footage than a phone — but your students probably won’t notice or care. The content matters more.
- Setup and teardown. It’s not plug-and-play. You need to mount it, set your exposure, focus, frame your shot, and manage recording media. This takes time.
- File management. Mirrorless cameras produce large files (especially in 4K). You’ll need a workflow for importing, backing up, and organizing footage.
When a Mirrorless Is the Right Answer
- Your course is a premium product with a premium price point, and the production quality needs to match.
- You need multiple camera angles (wide shot, close-up, overhead).
- You shoot on location — classrooms, workshops, real-world demonstrations.
- You’re building a brand where visual quality is part of the value proposition.
- You plan to create a library of courses and want a setup that scales.
Bottom line: A mirrorless camera is an investment in production quality. It makes your course look better — but it doesn’t make your course better. Content, structure, and teaching clarity matter infinitely more than pixel count.
My Recommendation: The Smart Upgrade Path
Here’s the order I tell every course creator to follow:
Step 1: Start With Your Phone
Record your first course on your phone. Spend $50–100 on a decent microphone (this matters more than the camera) and another $30 on a ring light or desk lamp. That’s it. Done.
Your phone gives you good video, zero learning curve, and no excuses to delay recording. I’ve seen courses shot entirely on iPhones that generated six figures. The camera didn’t hold anyone back.
If you want a deeper dive into specific camera picks across all budgets, check out my Best Cameras for Online Courses guide.
Step 2: Buy a Good Mic Before a Better Camera
I’m going to say this again because it’s the most common mistake: upgrade your microphone first.
Students will forgive mediocre video. They will not forgive bad audio. A $50 lav mic or a $100 USB condenser will do more for your course quality than a $800 camera body.
Step 3: Add a Webcam for Convenience
If you’re recording at a desk regularly and you’re tired of mounting/unmounting your phone, a Logitech C922 or similar webcam is a practical $100 investment. It’s not a quality upgrade — it’s a workflow upgrade. Your phone probably looks better, but the webcam is always there, always ready.
Step 4: Upgrade to Mirrorless When You Hit a Wall
Move to a mirrorless camera when you can articulate why your phone isn’t good enough. “I need shallow depth of field for my demonstration shots.” “I’m shooting in a large room and need a wider lens.” “I want two camera angles for my premium course.”
If your answer is “I just want it to look better” — you’re not ready. Spend that money on course content, marketing, or a better microphone instead.
When you are ready, the Sony ZV-E10 is my top pick for course creators. It’s purpose-built for video, has excellent autofocus, and the APS-C sensor gives you that professional look without full-frame pricing. The Canon EOS R50 is a strong alternative if you prefer Canon’s color science and menu system.
The Honest Truth
I’ve watched course creators spend weeks researching cameras and zero time scripting their lessons. That’s backwards.
Your camera is a tool. A smartphone is a perfectly capable tool for most courses. A mirrorless camera is a better tool for specific situations. A webcam is a convenient tool for desk-bound creators.
None of them will write your content, structure your modules, or teach your students anything of value. That part’s on you.
Start with what you have. Record something. Ship it. Upgrade when the gear — not your ego — tells you to.
For more on building out your full recording setup, browse the Equipment section, or see my full equipment guide, or walk through the entire production workflow in my Produce Your Course Videos course.
Frequently Asked Questions
Is my smartphone really good enough?
Yes. A modern phone from the last 2-3 years shoots 4K that looks genuinely good for talking-head content. Students won’t know or care what device you used.
When does a webcam make sense over my phone?
It’s a convenience purchase, not a quality upgrade. Ideal if you record at a permanent desk setup and want the camera always mounted and ready.
Main advantage of mirrorless?
Shallow depth of field for blurred backgrounds, excellent low-light performance, and interchangeable lenses. This quality jump is mostly noticeable to you, not your students.
Why buy a better mic before upgrading camera?
Students forgive mediocre video but bad audio makes people click away immediately. A $50-100 mic upgrade does more than an $800 camera body.
When have I outgrown my smartphone?
When you can articulate a specific limitation like needing shallow depth of field or multiple angles. If you just want it to look better, spend on content or marketing instead.
You Might Also Like
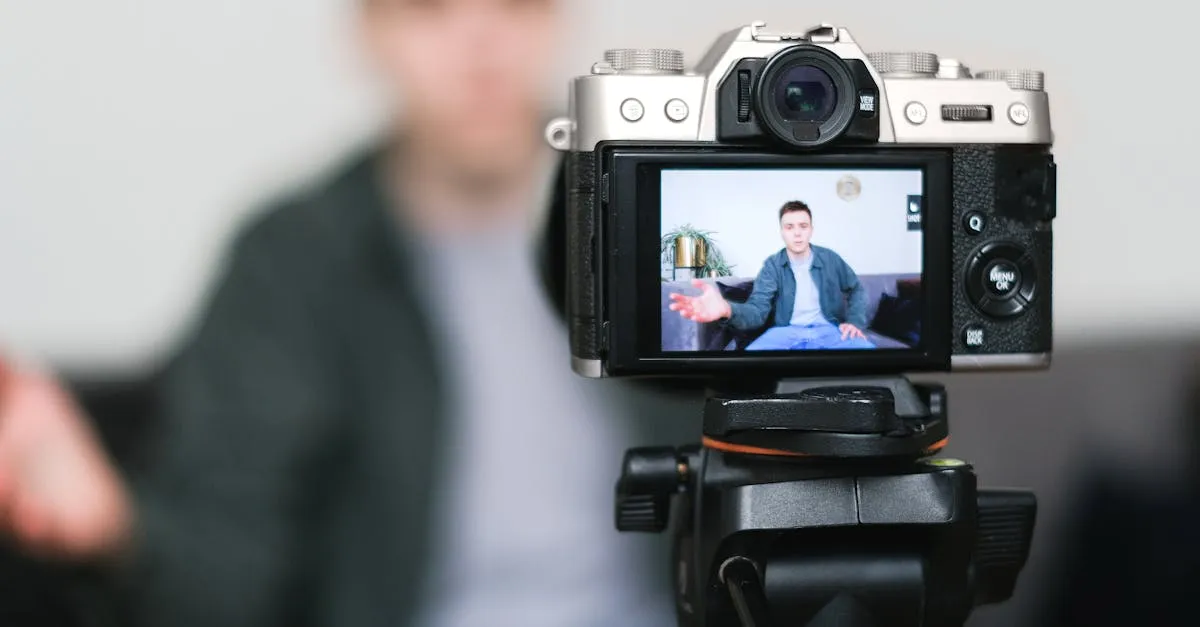
Best Cameras for Online Courses (2026): From Webcam to Mirrorless
Your students will tolerate bad video. They won't tolerate bad audio. But good video sets you apart. Here's every camera option for course creators — from $80 webcams to $600 mirrorless.
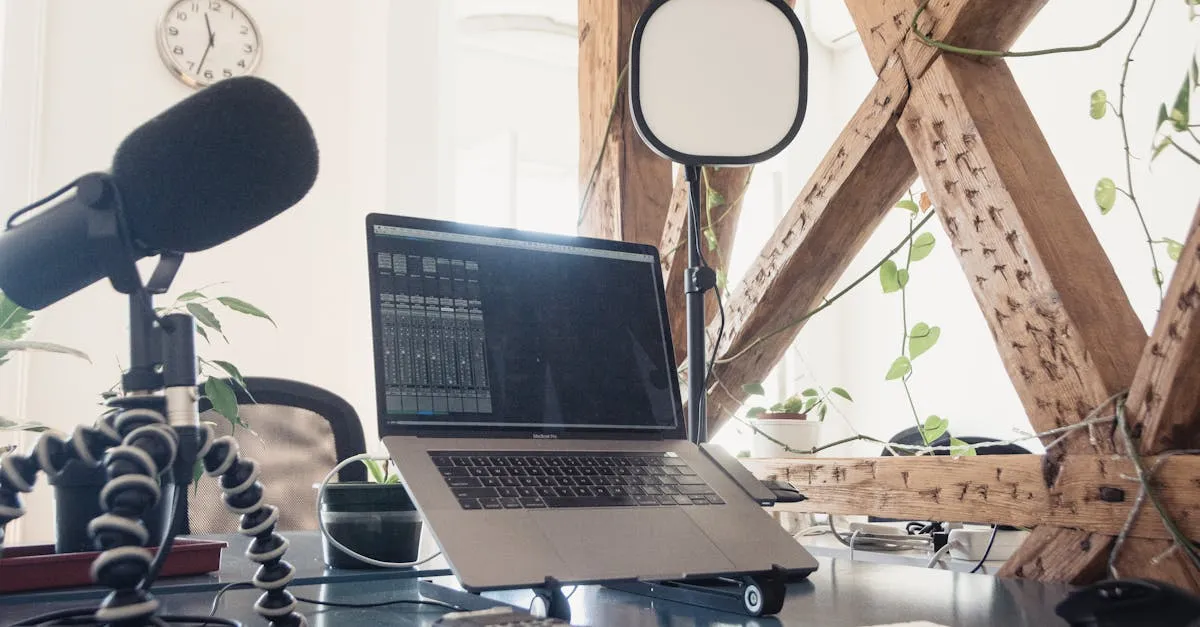
Best Microphones for Online Courses (2026): USB, XLR, and Wireless
Bad audio kills more courses than bad video. I tested every microphone a course creator might need — from $50 budget picks to professional studio setups.
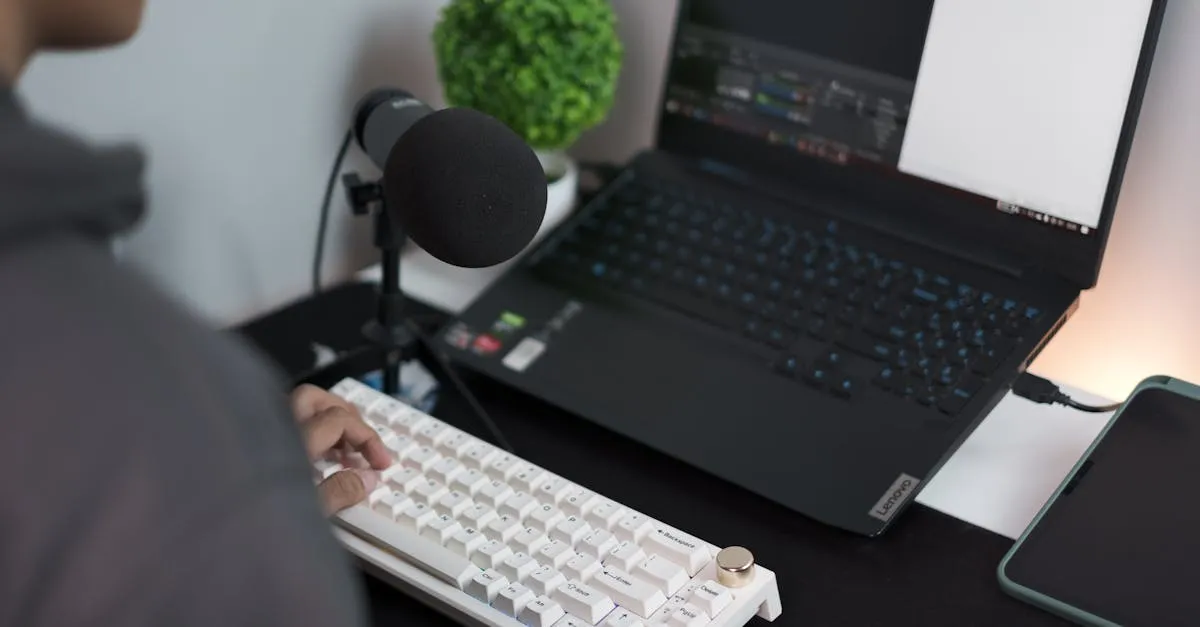
Best USB Microphones Under $100 for Course Creators (2026)
You don't need to spend $300 on a microphone to sound professional. Here are the best USB mics under $100 that will make your course audio clean and clear.