How to Record Course Videos on a Budget (Under $200 Total)
I’ve watched too many course creators stall before they even start because they’re convinced they need a studio. They research cameras for weeks, comparison-shop lighting rigs, and then never hit record.
Here’s the truth: you can record professional-looking course videos for under $200 total. And if you already own a smartphone — which you do — you can get started for $60.
I’m going to walk you through the exact setup I recommend to new course creators, what to spend money on, what to skip, and the one thing you absolutely cannot cheap out on.
The Budget Breakdown
Let’s start with the numbers so you can see this isn’t clickbait.
| Item | Budget Option | Cost |
|---|---|---|
| Audio | Samson Q2U | $60 |
| Video | Your smartphone | $0 |
| Lighting | Window light | $0 |
| Recording software | OBS Studio | $0 |
| Editing software | DaVinci Resolve | $0 |
| Total | $60 |
That’s the baseline. Now, if you want to step up from there:
| Item | Upgrade | Cost |
|---|---|---|
| Video | Logitech C922 webcam | $80 |
| Lighting | Elgato Key Light | $130 |
| Max Total | $270 |
But honestly, the $60 mic + free everything else is enough to launch. Let me explain each piece.
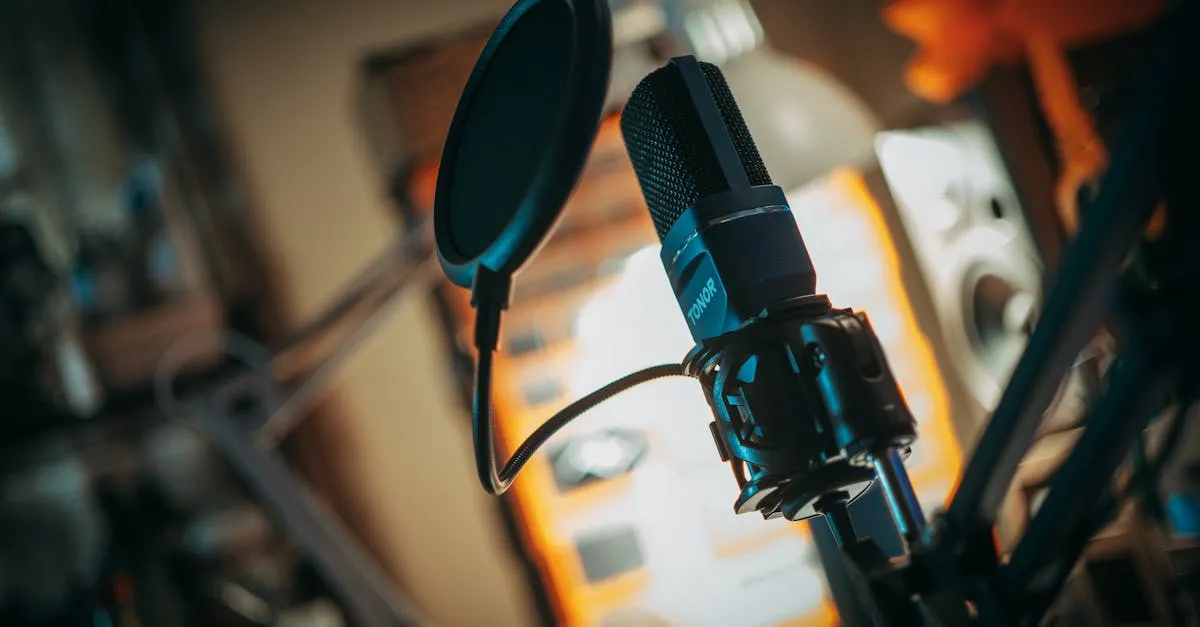
Audio: The One Thing You Cannot Cheap Out On
If you take nothing else from this post, remember this: bad audio kills courses. Bad video does not.
Students will tolerate a grainy webcam. They will not tolerate echo, hiss, popping P-sounds, or audio that sounds like you recorded it in a tin can. I’ve seen beautifully produced courses with mediocre video outperform slick-looking courses with terrible audio every time.
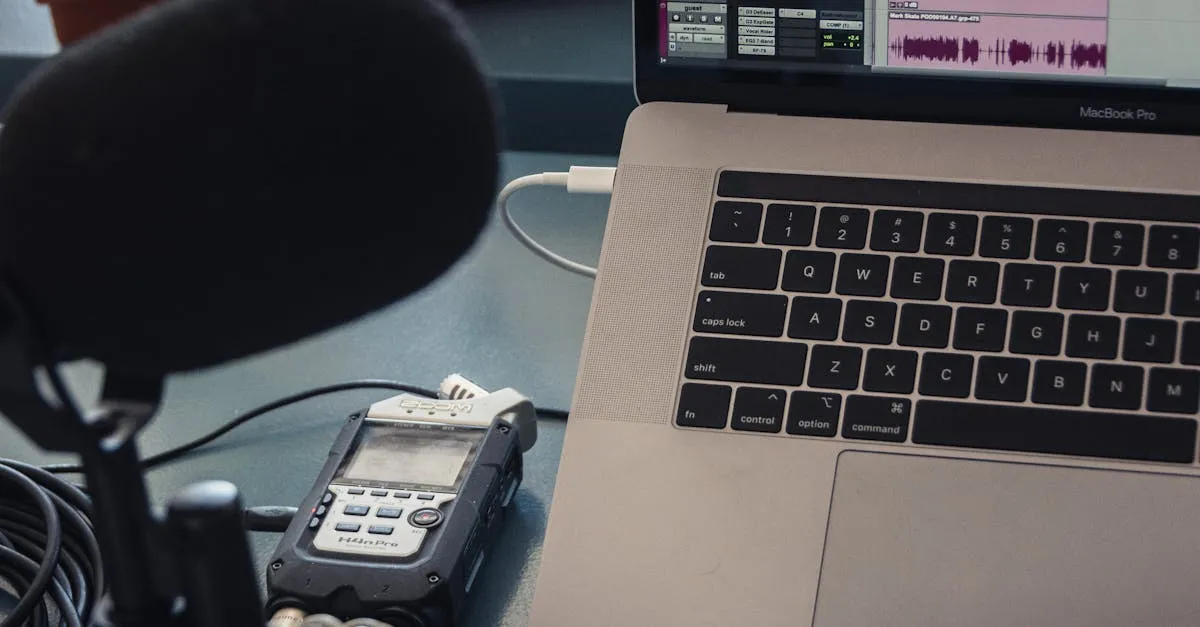
The Mic I Recommend: Samson Q2U ($60)
Samson Q2UThe Samson Q2U is the best value microphone in existence for course creators. Here’s why:
- USB and XLR — Plug it straight into your computer via USB today. If you ever upgrade to an audio interface later, the XLR connection is ready. You won’t need to buy another mic.
- Dynamic capsule — It rejects background noise better than condenser mics at twice the price. If your “studio” is a spare bedroom with a window facing a street, this matters.
- Built-in headphone jack — Zero-latency monitoring so you can hear yourself while recording.
- Sounds professional — I’ve A/B tested this against mics costing five times as much. For spoken voice, the difference is surprisingly small.
Sixty dollars. That’s it. This is the single best investment you can make in your course.
What NOT to Buy for Audio
- Your laptop’s built-in microphone — It picks up fan noise, room echo, and sounds like a conference call. Hard pass.
- Gaming headsets — The mic quality is fine for Discord, not for a course people are paying for.
- Blue Yeti or other USB condensers — They pick up everything. Your fridge, your AC, your neighbor’s dog. In an untreated room, they’re actually worse than the Q2U.
Want to go deeper on mics? I wrote a full breakdown in my Best Microphones guide.
Video: Your Phone Is Probably Fine
I know this feels wrong. You’re creating a professional course and I’m telling you to use your phone? Yes. Because modern smartphones shoot better video than the dedicated cameras that cost $500 five years ago.
Smartphone Setup ($0)
Here’s how to make your phone look good:
- Use the back camera, not the selfie camera. The rear lens is significantly better on every phone.
- Shoot in 1080p at 30fps. You don’t need 4K for an online course. It just makes file sizes enormous.
- Prop it up — Use a stack of books, a cheap phone tripod, or literally anything that holds it steady at eye level. No handheld shooting.
- Clean the lens — You’d be amazed how many people forget this. A dirty lens makes a $1,000 phone look like a potato.
- Airplane mode — Nothing ruins a take like a notification sound or a call coming in.
Webcam Upgrade: Logitech C922 ($80)
Logitech C922If you’re doing a lot of talking-head videos at your desk — especially screen recordings where you want a picture-in-picture — a dedicated webcam is more convenient than mounting your phone every time.
The C922 shoots 1080p at 30fps, has decent autofocus, and works plug-and-play with every operating system. It’s not cinematic, but it’s clean and consistent, which is what matters.
For a full comparison of camera options at every price point, check out my Best Cameras post.
Lighting: The Biggest Visual Upgrade
Here’s something most people don’t realize: lighting improves video quality more than the camera does.
A $50 webcam with good lighting looks better than a $500 camera with bad lighting. I’ve proven this to skeptical course creators more times than I can count.
Free Option: Window Light ($0)
The sun is free and it’s an incredible light source. Here’s how to use it:
- Face the window. The light should hit your face, not your back. If the window is behind you, you’ll be a silhouette.
- Use indirect light. Direct sunlight creates harsh shadows. Position yourself so the light comes through sheer curtains or bounces off a white wall.
- Record at the same time of day. The light will be consistent across your videos. Morning and late afternoon light is softer and more flattering than noon sun.
Paid Upgrade: Elgato Key Light ($130)
Elgato Key LightIf you record at night, in a windowless room, or just want consistent lighting regardless of weather and time, the Elgato Key Light is worth every penny.
- Controllable via app — Adjust brightness and color temperature from your phone.
- Edge-lit LED — No hotspots, even diffusion, clean professional look.
- Mounts to your desk — No floor stand to trip over, no C-stand to assemble.
It’s the most expensive single item on this list, but it’s the difference between “recorded on a webcam” and “looks like a real production.”
Software: Free and Professional-Grade
You do not need to pay for recording or editing software. Period.
Recording: OBS Studio (Free)
OBS Studio is what streamers use, and it’s perfect for course recording. Here’s what I recommend setting up:
- Canvas resolution: 1920x1080 — Standard HD.
- Output format: MKV with automatic remux to MP4. If OBS crashes mid-recording, MKV preserves the file. MP4 can corrupt.
- Encoder: x264 or hardware encoder — Use your GPU’s hardware encoder (NVENC, AMD AMF, or Apple VideoToolbox) if available. Falls back to CPU if not.
- Audio source: Your Samson Q2U — Make sure OBS is capturing the USB mic, not your laptop’s built-in.
- Separate audio tracks — Set OBS to record microphone and desktop audio on separate tracks. This makes editing way easier.
OBS handles webcam recording, screen capture, and picture-in-picture layouts. It’s all you need.
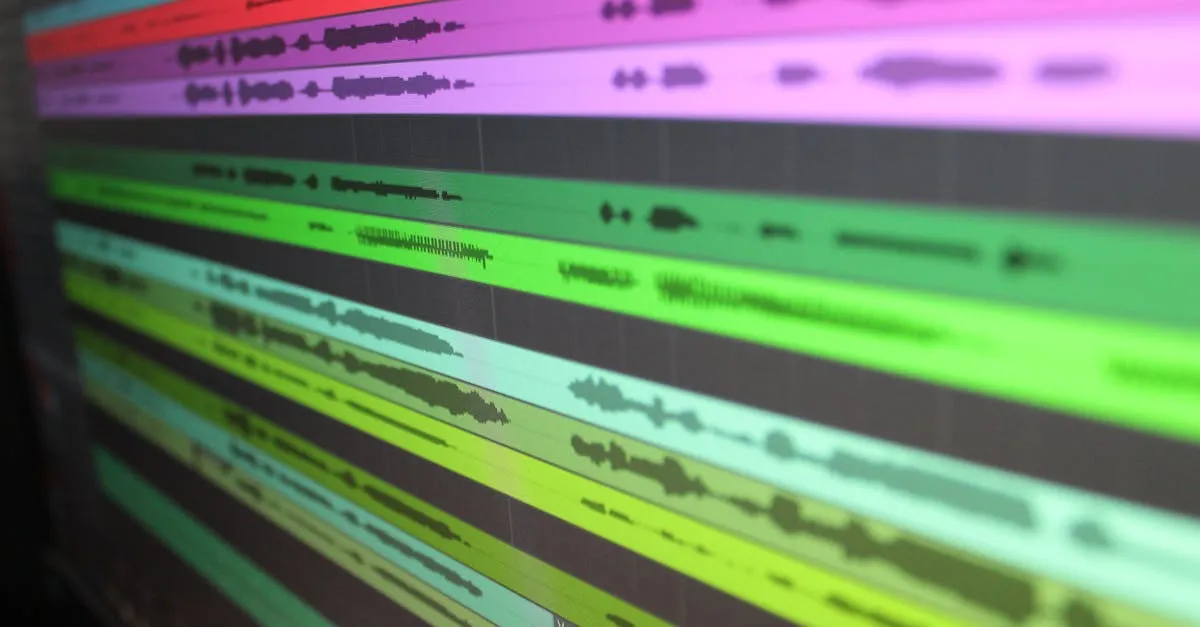
Editing: DaVinci Resolve (Free)
DaVinci Resolve is the free editor that embarrasses paid alternatives. Hollywood colorists use the Studio version. The free version has everything a course creator needs:
- Multi-track editing — Cut your video, audio, and screen recordings independently.
- Noise reduction — Clean up room echo and background noise without plugins.
- Color correction — Fix white balance and make your footage look consistent.
- Export presets — Optimized exports for web platforms.
The learning curve is real. DaVinci Resolve is professional software. But there are hundreds of free tutorials on YouTube that’ll get you editing in under an hour.
My Recommended Recording Workflow
Here’s the exact process I’d follow with this budget setup:
- Set up your space. Face a window (or position your Key Light at 45 degrees). Clear the background clutter. A clean wall is fine.
- Plug in your Samson Q2U. Set it as your system audio input. In OBS, select it as your microphone source.
- Frame your shot. Whether it’s your phone on a tripod or your C922, get your head and shoulders centered with some headroom. Eye level with the lens.
- Do a test recording. Thirty seconds. Play it back. Check the audio levels, the framing, the lighting. Fix problems now, not after recording 45 minutes of footage.
- Record. Don’t aim for perfection. If you stumble over a word, pause for two seconds and say the line again. You’ll cut it in editing.
- Edit in DaVinci Resolve. Trim the dead air, cut the mistakes, normalize your audio to -14 LUFS (the standard for speech), and export.
- Upload. Done.
The whole process gets faster every time you do it. Your first video will take longer than it should. Your tenth will feel routine.
Common Mistakes That Waste Money
Before you go, let me save you from the traps I’ve watched new course creators fall into:
Buying a $200+ camera before a $60 mic. I covered this already but it bears repeating. Audio first. Always.
Renting a studio space. Unless your course is specifically about high-end video production, your home office with a Q2U and good lighting will look professional enough. Students are there for the content.
Buying editing software. DaVinci Resolve is free. Adobe Premiere is $22/month. Apple Final Cut is $300. You literally don’t need to spend money here.
Obsessing over 4K. Online courses are watched on phones, tablets, and laptops. 1080p is plenty. 4K quadruples your file sizes and storage needs for zero perceptible difference on most student screens.
Waiting until you have the “right” gear. The perfect setup doesn’t exist. The course you publish with a $60 mic and your phone is infinitely more valuable than the course you never record because you’re still researching equipment.
What Comes Next
Once you’ve got your budget setup running and a few videos recorded, you might want to level up. That’s fine — do it incrementally. Upgrade one thing at a time and actually notice the difference before buying the next thing.
If you want a structured walkthrough of the entire video production process — not just the gear, but planning, scripting, and recording techniques — check out my Produce Course Videos course.
And if you’re not ready to be on camera at all, I have a whole course on Create Videos Without Camera that covers screen recordings, slide-based videos, and other formats that don’t require a single piece of equipment.
For the full list of gear I recommend at every budget level, visit my Equipment page.
The Bottom Line
You need one thing to record course videos: a decent microphone. The Samson Q2U at $60 gets you there. Everything else — camera, lighting, software — has a free option that works.
Don’t let equipment research become procrastination. Buy the mic, use your phone, hit record. Your course is waiting.
Frequently Asked Questions
Minimum spend for professional videos?
$60 for a Samson Q2U mic, smartphone for video, window light, and free software like OBS Studio and DaVinci Resolve.
Why does audio matter more than video?
Students tolerate basic video, but bad audio with echo or distortion makes your course feel amateur and causes them to stop watching.
Best beginner microphone?
Samson Q2U at $60. USB and XLR connections, dynamic capsule that rejects background noise, professional enough to compete with mics costing five times as much.
Improve video without a new camera?
Lighting. Face a window for free natural light. A $50 webcam with good lighting beats a $500 camera with bad lighting.
Is 4K worth it?
No. Courses are watched on phones and laptops where 1080p is plenty. 4K quadruples file sizes for zero perceptible difference on student screens.
You Might Also Like
Can You Create an Online Course Without Being on Camera? (Yes, Here's How)
Camera shy? You don't need to show your face. Screen recordings, slide presentations, AI avatars, and audio-only courses all work. Here are the 4 formats that don't require a camera.
How Long Should Your Online Course Be? (Here's What the Data Says)
Short answer: as long as it takes to deliver the transformation you promised. Long answer: here's what completion rates, student feedback, and 39,000+ trained professionals have taught me.
How Much Does It Cost to Create an Online Course? (The Real Numbers)
The honest cost breakdown from $0 to $5,000+. Most course creators spend way less than they think — and waste money on the wrong things. Here's where to invest and where to save.