Create Your AI Avatar
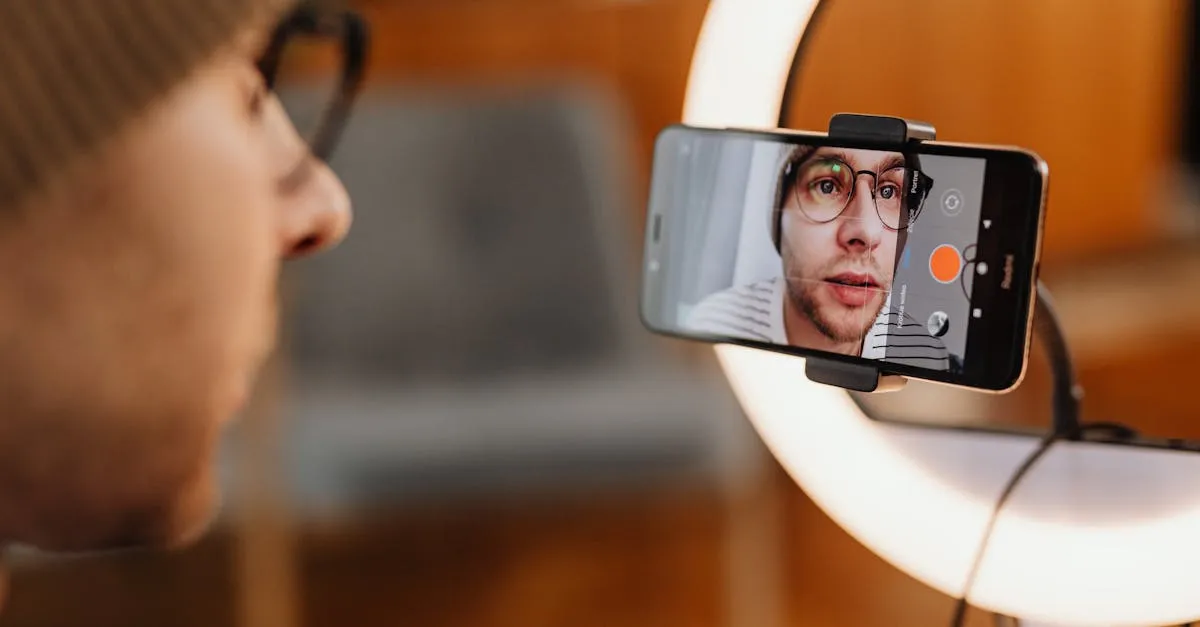
Two types of avatars: stock presenters that come with the platform, and custom avatars that look like you. Stock avatars work fine. Custom avatars are where the magic happens.
Stock Avatars: The Quick Start
Every platform (HeyGen, Colossyan, Synthesia) ships with a library of pre-made presenters. You pick one, paste your script, and generate a video. Takes two minutes.
The catch: it’s not you. For some courses, that’s fine — professional training, software tutorials, compliance content. Students care about the information, not the face delivering it.
But if you’re building a personal brand (and after Build Your Personal Brand, you should be), a custom avatar gives you the best of both worlds: your face, your voice, zero camera time after the initial setup.
Custom Avatar: Your Digital Twin
The setup takes about 30 minutes. Here’s how it works.
Step 1: Record a 2-Minute Reference Clip
This is the most important thing you’ll do in this entire course. Your avatar quality depends on this clip.
What to film:
- Face the camera directly, looking straight into the lens
- Speak naturally for about 2 minutes — introduce yourself, talk about your topic, vary your tone
- Include a range of expressions: smile when you’re excited, look serious when you’re making an important point
- Use your normal speaking pace — don’t slow down or exaggerate
Technical requirements:
- Good, even lighting — natural window light works great
- Solid or simple background — no busy patterns or logos
- Record on your phone in 1080p (most modern phones default to this)
- Quiet room — no background noise, music, or other people talking
- No glasses if possible — they can cause rendering artifacts on some platforms
What to say: Anything. You’re not recording content for the course. You’re giving the AI examples of how your face moves when you talk. Talk about your morning. Explain your topic. Read a paragraph from a book. The content doesn’t matter — the motion does.
Step 2: Upload and Wait
Upload your clip to HeyGen (or Colossyan, or Synthesia). The platform processes it and creates a model of your face, expressions, and speaking patterns. This takes about 30 minutes to an hour.
Step 3: Generate Your First Video
Once your avatar is ready, paste any script into the platform, select your custom avatar, and hit generate. In 2–5 minutes, you’ll have a video of “yourself” delivering that script.
The HeyGen Shortcut: Photo to Video
Don’t want to film a reference clip? HeyGen’s Avatar IV model can create a talking avatar from a single photo. Upload any clear headshot — professional portrait, candid shot, even a selfie — and it generates video.
The quality isn’t quite as good as a full custom avatar trained on video, but it’s surprisingly close. And it takes 30 seconds instead of 30 minutes.
This is perfect for:
- Testing whether you like the AI avatar approach before committing to a full clone
- Creating quick intro videos or promotional clips
- Generating video when you don’t have time for the full setup
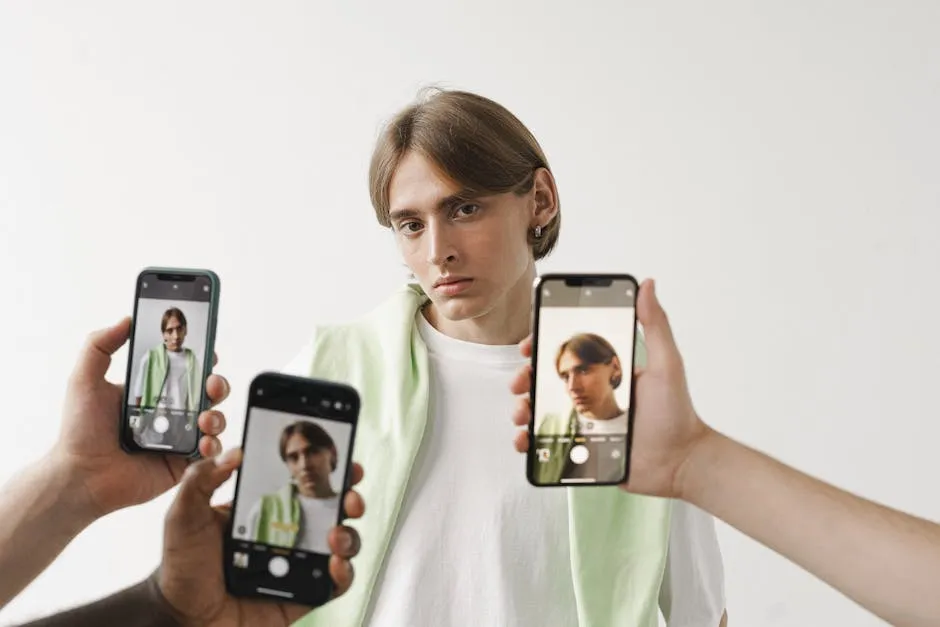
Pro Tips for Better Avatars
- Wear what you’d wear in a real course video. If you’d teach in a polo shirt, film in a polo shirt. The avatar should look like your professional self.
- Keep your head relatively still. Too much movement degrades quality. Small nods and turns are fine. Constant head-bobbing is not.
- Record more than you need. Some platforms let you record a 5-minute clip instead of 2. More data = better quality.
- Check your results immediately. Generate a 30-second test video right after your avatar is ready. If something looks off, re-record the reference clip before you build your whole course.
- Don’t chase perfection. The AI smooths out small imperfections. Your avatar won’t look exactly like a live video, and that’s fine. Students care about your content.
How Often to Update Your Avatar
Every 6–12 months, consider re-recording your reference clip. If you’ve changed your hairstyle, grown a beard, or updated your look, your avatar should match. Most creators re-clone once a year as part of a course content refresh.
Keep going — you're making progress through Create Videos Without Being on Camera.
Need help? Email me ↗