The Simplest Path: Voice + Slides
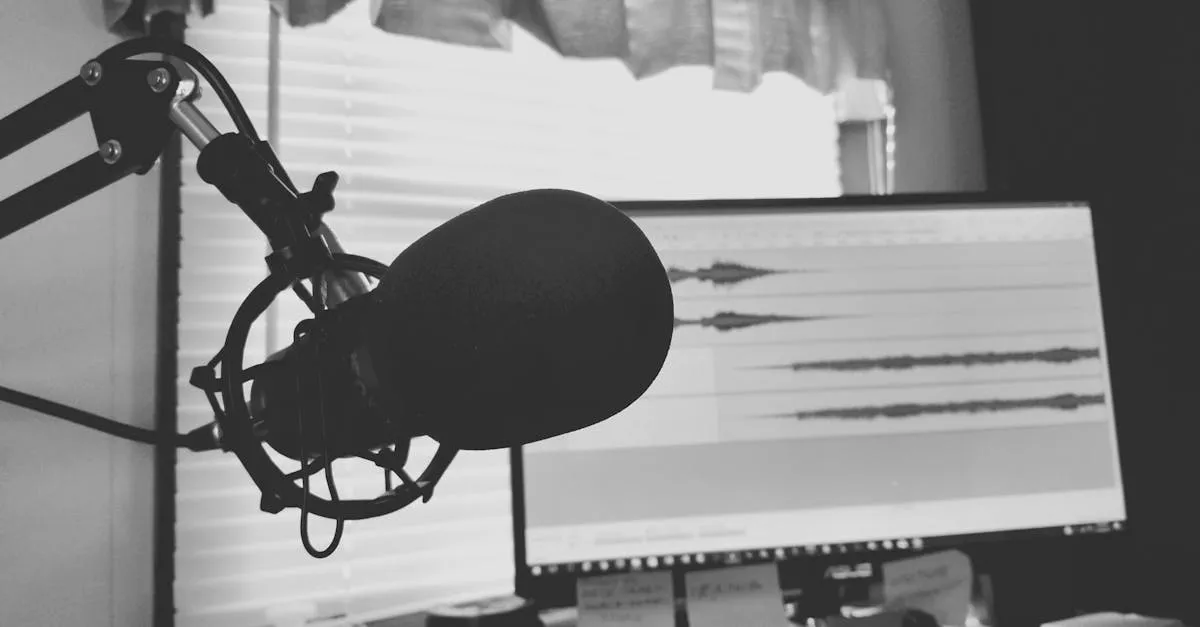
Forget AI for a minute. The simplest way to produce a video course without a camera costs nothing and takes as long as it takes you to talk through your slides.
Some of the best-selling online courses ever made are just slides and a voice. No face. No fancy production. No AI. The content carries the course.
This approach works for three reasons:
- Students can hear your genuine voice — authentic, warm, real
- Slides focus attention on the information, not the presenter
- You can record a lesson in the time it takes to present it
The Tools You Need
Free Options
Loom (free tier) — Hit one button, record your screen + microphone, stop when you’re done. Loom uploads automatically and gives you a shareable link. The simplest possible recording setup.
QuickTime Player (Mac, free) — File → New Screen Recording. Built into every Mac. No editing, but it works.
OBS Studio (free, Mac/Windows/Linux) — Open-source screen recording and streaming. More setup than Loom, but more control over audio and video settings. Used by professional streamers worldwide.
Paid Options
ScreenFlow ($129, Mac) — Records your screen, camera (optional), and microphone. Full editing suite. Add text overlays, zoom effects, and callouts. The standard for Mac-based course creators.
Camtasia ($299, Windows/Mac) — Industry-standard screen recording and editing. Templates, annotations, transitions, and effects. More expensive but more capable.
Descript (free tier, $24/month Pro) — Records screen and audio, then lets you edit video by editing the transcript. Delete a sentence from the transcript, and it disappears from the video. Also removes filler words (“um,” “uh”) with one click.
The Workflow
Step 1: Create Your Slides
Use whatever you’re comfortable with:
- Google Slides (free) — Simple, collaborative, cloud-based
- PowerPoint (included with Office) — Familiar, feature-rich
- Keynote (free, Mac) — Clean design, smooth animations
- Canva (free tier) — Beautiful templates, designed for non-designers
Design rules for video slides:
- One idea per slide. If a slide has three points, make it three slides.
- Minimal text. You’re talking. The slides support your words; they don’t replace them.
- Use visuals. Diagrams, charts, screenshots, and icons work better than walls of text.
- Keep it consistent. Same font, same colors, same layout across all slides. You’re building a course, not a design portfolio.
- Large text. Students watch on phones. If they can’t read your slides at phone size, the text is too small.
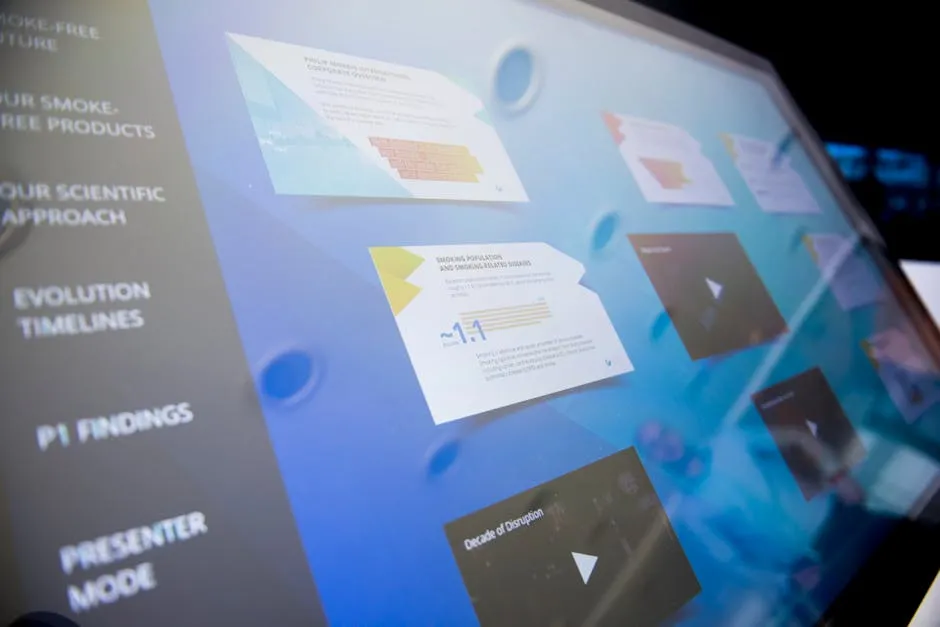
Step 2: Open Your Recording Tool
Launch Loom, ScreenFlow, OBS, or whatever you picked. Set up your audio input (use a real microphone if you have one — even a $20 lapel mic sounds better than your laptop’s built-in mic).
Step 3: Present and Record
Open your slides full-screen. Hit record. Present your slides while talking through them.
Made a mistake? Don’t stop. Pause for two seconds (this makes the mistake easy to find and cut later), then repeat the sentence correctly. Keep going.
Step 4: Trim the Edges
Cut the beginning (the part where you were “getting ready”) and the end (the part where you said “okay, I think that’s it”). Every basic video editor can do this, including Loom’s built-in trim tool.
Step 5: Export and Upload
Export as MP4. Upload to your course platform. Done.
Dealing with Mistakes
You will mess up. Everyone does. Here’s how to handle it:
- Minor stumbles (slight mispronunciation, brief pause) — Leave them in. They make you sound human.
- Wrong information — Pause for two seconds, state the correct information, keep recording. Cut the mistake in editing.
- Lost your place — Pause, take a breath, find your spot. Two seconds of silence is easy to cut.
- Complete disaster — Stop recording. Start the lesson over. It happens. The second take is always better anyway.
If you’re using Descript, you can edit out mistakes by deleting them from the transcript. The video edits itself. This alone makes Descript worth considering if you plan to produce a lot of slide-based content.
When to Upgrade from This Approach
Slide-based recording is free and authentic. But at some point, you might want more:
- Faster iteration — AI voice cloning lets you fix mistakes by editing text instead of re-recording
- More polished look — AI avatars give you a professional presenter without needing to be on camera
- Multi-language versions — AI tools make translation and localization practical
The path looks like this:
- Start with slides + your real voice (today, for free)
- Earn some revenue from your course
- Upgrade to ElevenLabs voice cloning ($22/month) to speed up production
- Add AI avatars (HeyGen, $24/month) when you want the most polished look
Each step is optional. You can stop at step 1 and have a great course. Many successful creators have.
Keep going — you're making progress through Create Videos Without Being on Camera.
Need help? Email me ↗