Automation Workflow Basics
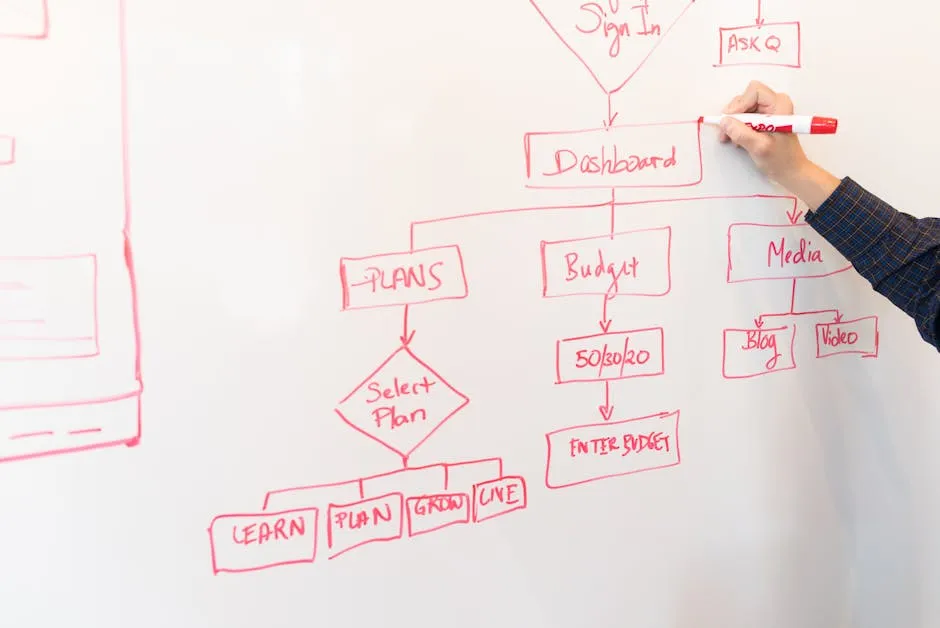
Your funnels capture leads and present offers. But funnels without follow-up are just fancy websites. Workflows are what turn leads into students.
In this lesson, you’ll learn the building blocks of GHL’s workflow system (disclosure: I earn a commission if you sign up through my link — at no extra cost to you).
Where Workflows Live
Go to Automations > Workflows in your GHL dashboard. This is your automation command center.
Click “Create Workflow” and you’ll see the visual builder — a canvas where you drag elements and connect them in a flow.
The Four Building Blocks
Every workflow is made of four types of elements:
1. Triggers (The Starting Line)
A trigger is the event that starts the workflow. GHL offers dozens of triggers:
| Trigger Type | Example |
|---|---|
| Form submitted | Someone fills out your opt-in form |
| Tag added | You manually tag a contact, or another workflow adds a tag |
| Appointment booked | Someone schedules a sales call |
| Appointment status | Appointment completed, canceled, or no-show |
| Email opened | Contact opens a specific email |
| Link clicked | Contact clicks a specific link in an email |
| Pipeline stage change | A lead moves to a new stage in your sales pipeline |
| Purchase made | Someone buys your course |
| Course progress | Student completes a module or lesson |
| Inbound message | Contact sends an SMS, email, or chat message |
| Custom event | Triggered via API or webhook |
| Date/time | Runs on a schedule (daily, weekly, specific date) |
Choose one trigger per workflow. The workflow runs every time that trigger fires for a contact.
2. Actions (What Happens)
Actions are the things the workflow does:
| Action Type | What It Does |
|---|---|
| Send email | Deliver a personalized email |
| Send SMS | Send a text message |
| Add tag | Categorize the contact |
| Remove tag | Remove a categorization |
| Update contact | Change a field (name, phone, custom fields) |
| Create task | Assign a to-do to a team member |
| Add note | Add a note to the contact record |
| Add to campaign | Enroll in an email campaign |
| Remove from campaign | Unenroll from a campaign |
| Create appointment | Schedule a meeting |
| Internal notification | Alert your team (email, SMS, or in-app) |
| Move pipeline stage | Change the contact’s stage in a pipeline |
| Start/stop another workflow | Chain workflows together |
| Webhook | Send data to an external tool |
3. Conditions (Branching Logic)
Conditions create different paths based on who the contact is or what they’ve done:
If/Else branches:
- If tag “purchased” exists → send welcome email
- If tag “purchased” does not exist → send nurture email
Common conditions:
- Has a specific tag? (or doesn’t)
- Has a specific custom field value?
- Opened a previous email?
- Clicked a previous link?
- Is in a specific pipeline stage?
- Submitted a specific form?
Conditions let you build one workflow that handles multiple scenarios instead of creating separate workflows for every situation.
4. Wait Steps (Timing)
Wait steps control the pacing of your workflow:
| Wait Type | Example |
|---|---|
| Wait X minutes/hours/days | ”Wait 24 hours, then send next email” |
| Wait until specific time | ”Wait until 9:00 AM in contact’s timezone” |
| Wait until specific date | ”Wait until [launch date]“ |
| Wait until event | ”Wait until they open the email” (with a time limit fallback) |
Pacing matters. Send three emails in one hour and you’ll get unsubscribes. Space them out over days and you build trust.
How They Connect
Here’s a simple welcome workflow:
TRIGGER: Form "lead-magnet-opt-in" submitted
  → ACTION: Add tag "lead-magnet-downloaded"
  → ACTION: Send email "Here's your free guide"
  → WAIT: 24 hours
  → ACTION: Send email "Did you get it?"
  → WAIT: 48 hours
  → ACTION: Send email "Want to go deeper?"
  → CONDITION: Did they click the sales page link?
    → YES: Add tag "sales-page-visited"
    → NO: Wait 24 hours, send "Last thing..."
Each element connects to the next with a line. You can branch, loop back, and create as many paths as you need.
Best Practices for Workflows
Keep Workflows Focused
One workflow = one goal. Don’t build a single workflow that handles welcome, nurture, sales, and re-engagement. Build separate workflows that connect via tags:
- Workflow 1: Welcome (triggered by opt-in) → ends by adding “nurture” tag
- Workflow 2: Nurture (triggered by “nurture” tag) → ends by adding “pitch-ready” tag
- Workflow 3: Pitch (triggered by “pitch-ready” tag)
Test Before Activating
GHL lets you test workflows with internal contacts. Always test before going live:
- Create a test contact with your own email
- Manually trigger the workflow
- Walk through every step as a recipient
- Check timing, links, and personalization
- Fix issues, then activate
Use Naming Conventions
Name your workflows clearly:
welcome-lead-magnet-optinnurture-5-day-sequencelaunch-cart-open-sequencepost-purchase-onboarding
Future you will thank present you.
In the next lesson, we’ll build the most important workflow: your welcome sequence.
Keep going — you're making progress through Build Funnels & Automations in GoHighLevel.
Need help? Email me ↗