Why Audio Makes or Breaks Your VSL
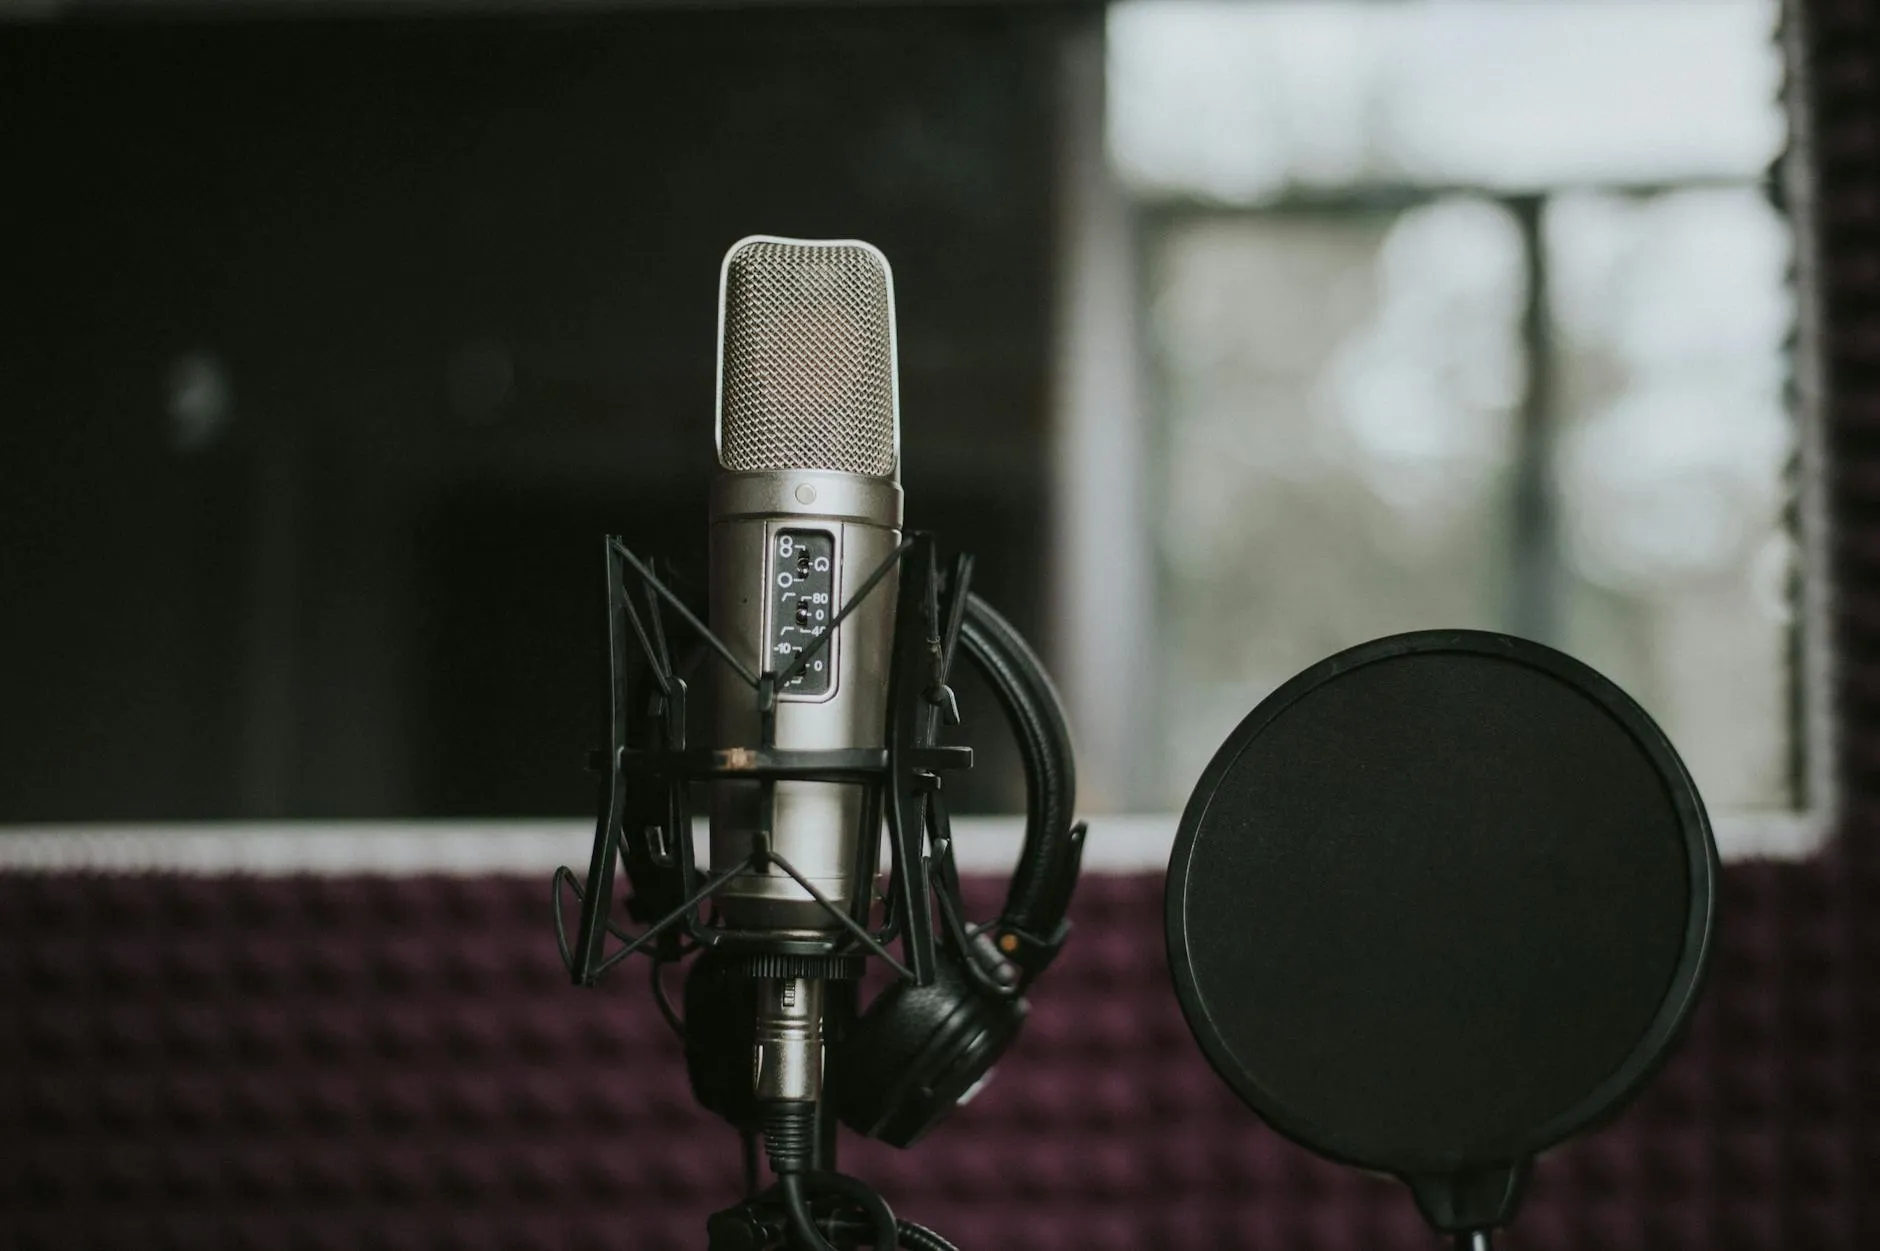
Viewers will forgive mediocre video quality. They will not forgive bad audio. Muffled, echoey, or distorted sound kills trust instantly — often within the first three seconds. If your audio sounds unprofessional, viewers assume everything else about your offer is unprofessional too.
Use a Decent Microphone
If you’re recording voiceover or talking head, a $50–100 USB microphone is a massive step up from your laptop’s built-in mic. Solid options include the Blue Yeti USB Microphone or the Audio-Technica ATR2100x-USB. (I earn a commission if you buy through these links — at no extra cost to you.) You don’t need studio gear — you just need something that captures your voice clearly without hiss or distortion.
Record Audio First for Slide-Based VSLs
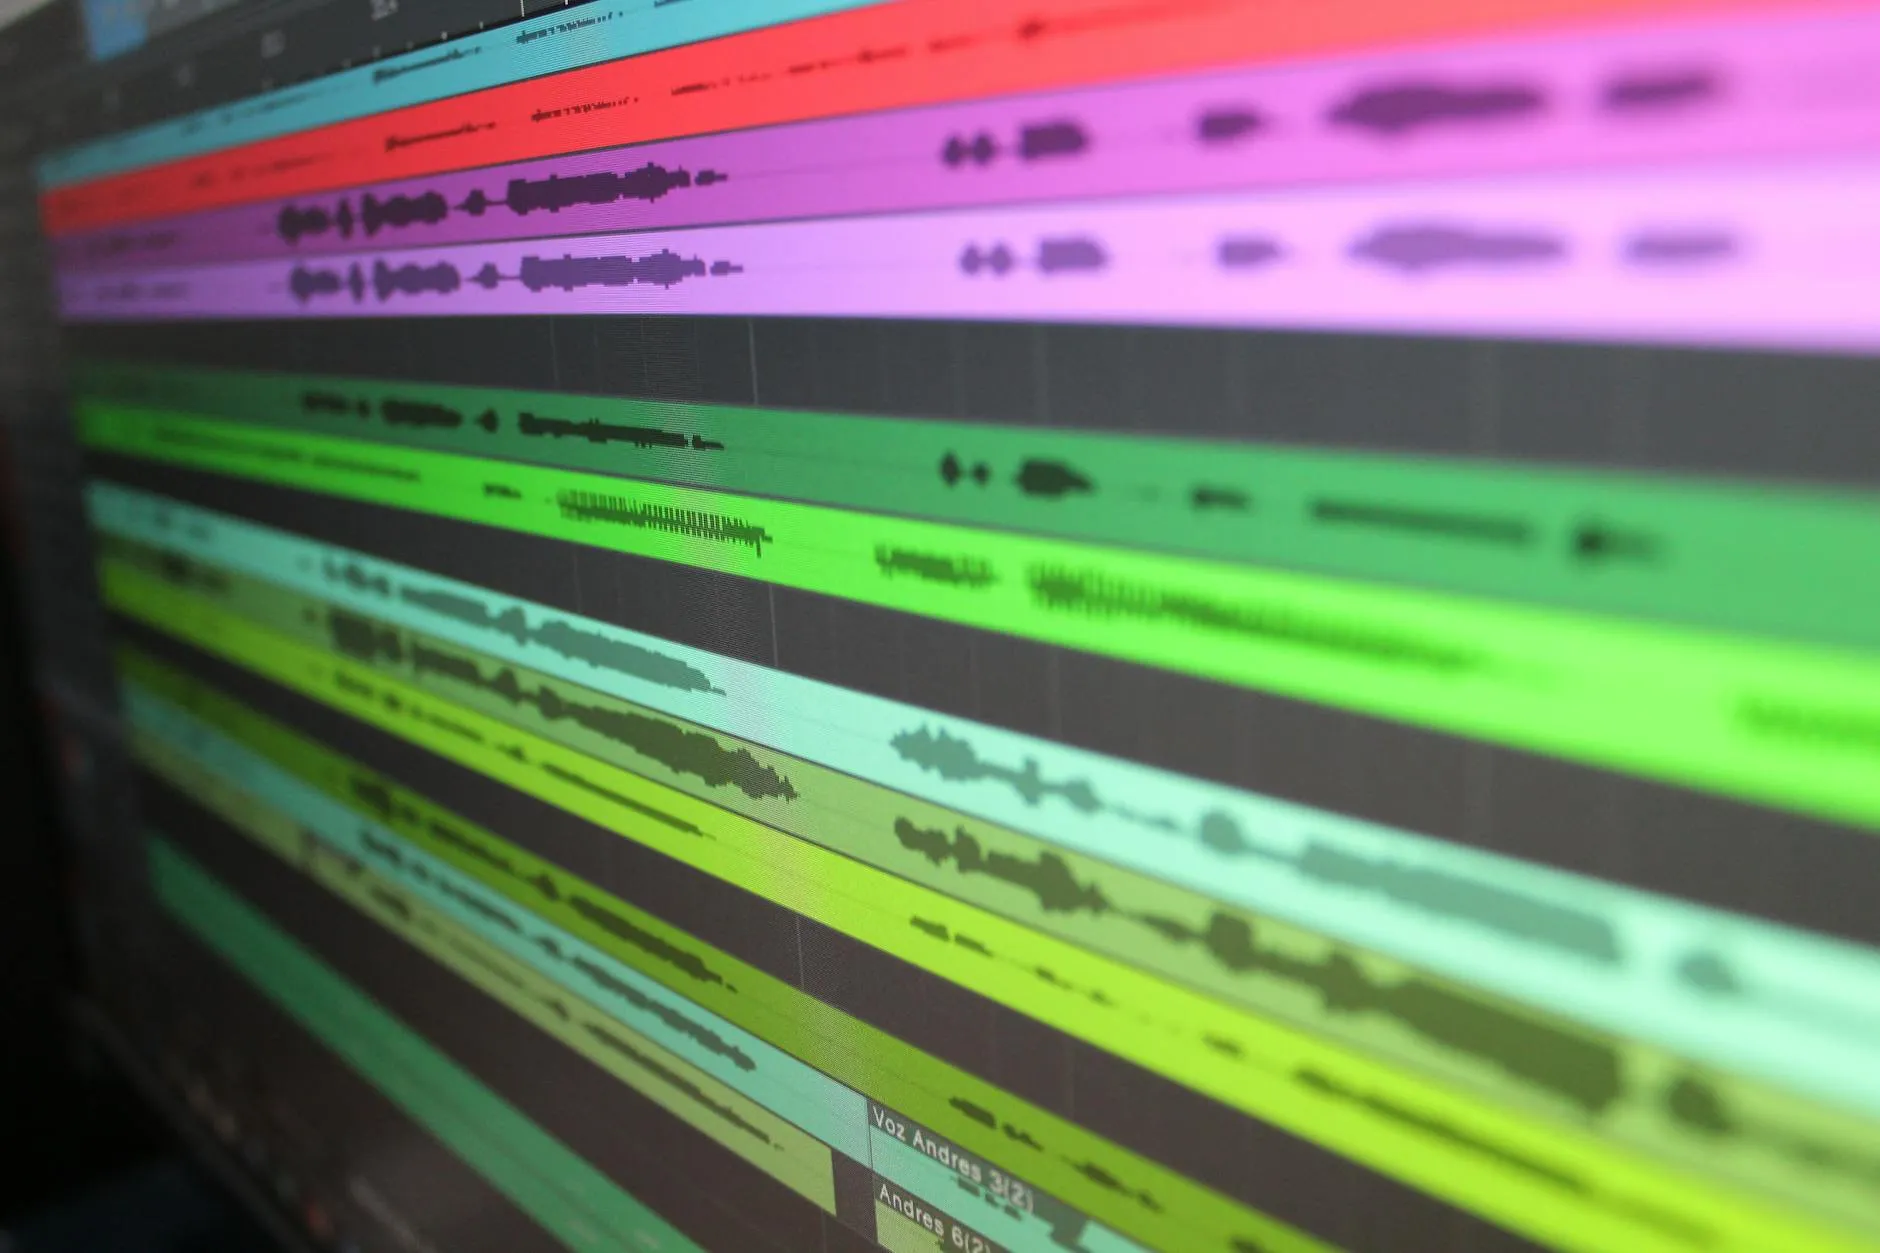
If you’re doing slides with voiceover, don’t try to record audio while clicking through slides. Instead:
- Record your full audio track first in a quiet environment
- Import that audio into your editing software
- Build and time your slides to match the audio
This approach gives you cleaner audio and lets you focus on one thing at a time — delivery first, visuals second.
Room Treatment Matters
Your recording environment matters more than your microphone. Hard surfaces (bare walls, hardwood floors, empty desks) create echo and reverb. Soft surfaces absorb sound.
Quick fixes:
- Record in a closet full of clothes
- Hang blankets or moving blankets on nearby walls
- Close curtains if you’re near windows
- Avoid large empty rooms
Consistent Volume
Record at a consistent volume throughout. Don’t whisper your hook and shout your call to action. If your volume fluctuates wildly, viewers will constantly adjust their volume — or just leave.
Audio Editing Basics
Even with good recording technique, a little editing goes a long way:
- Noise removal: Strip out background hum, fan noise, or hiss
- Compression: Evens out your volume so quiet parts are audible and loud parts don’t peak
- Normalization: Brings your overall audio to a consistent level
Free tools for audio editing:
- Audacity — dedicated audio editor, excellent for cleanup
- DaVinci Resolve — includes full audio editing capabilities alongside video
Go Deeper on Audio
This lesson covers the essentials, but audio production is a deep topic. For the single best resource on all things audio — including detailed microphone selection guides, room treatment setups, and recording technique — see Record and Edit Audio for Courses. That course covers everything you need to produce broadcast-quality audio for any project.
Keep going — you're making progress through Video Sales Letters.
Need help? Email me ↗