Choose Your Microphone
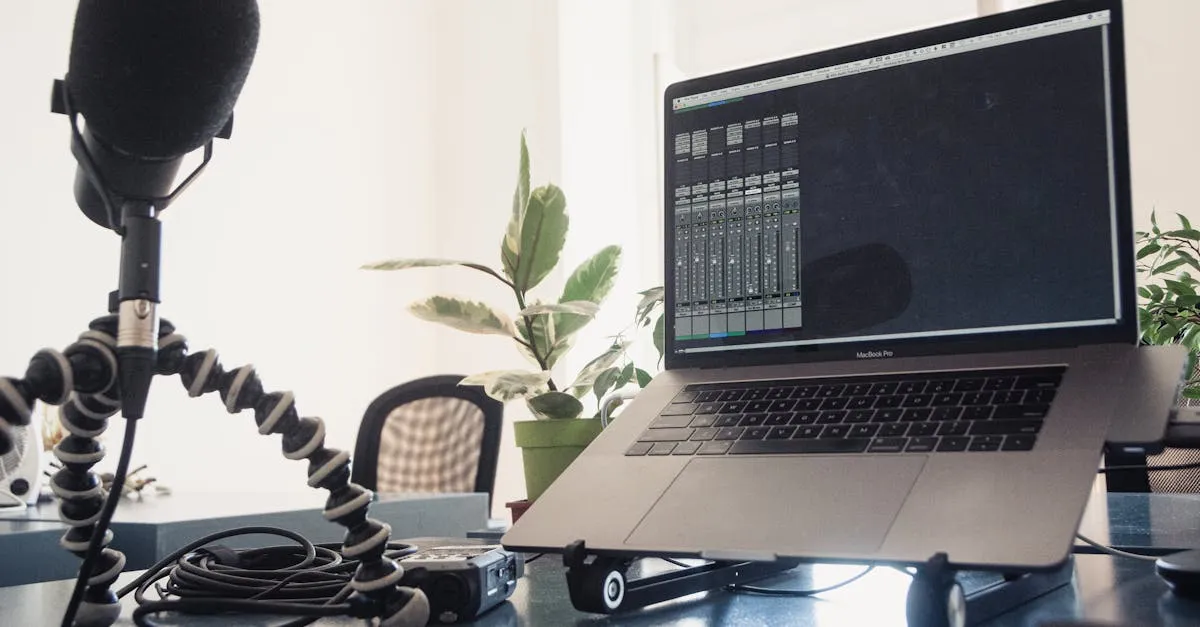
The microphone is the single most impactful equipment purchase you’ll make for your course. Not the camera. Not the software. The microphone.
Here’s how to choose the right one.
USB vs XLR: What’s the Difference?
USB microphones plug directly into your computer. No extra cables, no audio interface, no complexity. You plug it in, select it as your input, and hit record. Most USB mics also have a headphone jack for zero-latency monitoring.
XLR microphones use a three-pin cable that connects to an audio interface or mixer, which then connects to your computer. This adds cost and complexity, but gives you access to higher-quality microphones and more control over your signal chain.
Disclosure: I earn a commission if you buy or sign up through my links — at no extra cost to you.
Recommendation: Start with USB. Upgrade to XLR later if you want to. The Samson Q2USamson Q2U does both — it has USB for now and XLR for when you upgrade. One mic, two paths.
Dynamic vs Condenser
Dynamic microphones reject background noise naturally because they’re less sensitive. You need to speak close to them (2–4 inches), but they pick up less room echo, less computer fan noise, and less of what’s happening outside your door. The industry standard for podcasting and voice recording is a dynamic mic.
Condenser microphones are more sensitive and capture a wider frequency range. They sound more detailed, but they also pick up every sound in the room — your keyboard, your breathing, the refrigerator in the next room. Condenser mics are better suited for treated recording studios.
Recommendation: Dynamic mic for course creators. You’re probably recording in a home office or bedroom, not a studio. The natural noise rejection of a dynamic mic saves you from endless editing headaches.
Three Budget Tiers
Tier 1: Starter ($0–80)
| Mic | Price | Type | Why It Works |
|---|---|---|---|
| Your earbuds | $0 | Condenser (built-in) | Better than your laptop mic. Not great, but usable for testing. |
| Samson Q2U | $60 | Dynamic, USB + XLR | The best starter mic. USB now, XLR later. Rejects room noise. Comes with a desktop stand. |
| Audio-Technica ATR-2100x | $80 | Dynamic, USB-C + XLR | Similar to the Q2U with USB-C. Good alternative. |
My pick: Samson Q2U. At $60 with both USB and XLR connections, it’s the only mic you need until you’re ready to invest in a professional setup. It sounds good, rejects background noise, and won’t hold you back.
Tier 2: Solid ($100–280)
| Mic | Price | Type | Why It Works |
|---|---|---|---|
| Blue YetiBlue Yeti USB Microphone | $100–130 | Condenser, USB | Popular but picks up room noise. Only in a treated room. |
| Rode PodMic USBRode PodMic USB | $170 | Dynamic, USB + XLR | Broadcast quality. Built-in DSP processing. |
| Shure MV7+ | $279 | Dynamic, USB + XLR | The podcast standard. Used by professionals. Excellent noise rejection. |
Tier 3: Professional ($250–500+)
| Mic | Price | Type | Why It Works |
|---|---|---|---|
| Shure SM7BShure SM7B + interface | $550+ | Dynamic, XLR only | The broadcast industry standard. Needs an audio interface. |
| Rode Procaster + interface | $230 + $150 | Dynamic, XLR only | Excellent broadcast mic. Pair with a Focusrite Scarlett interface. |
Accessories Worth Buying
Whatever mic you choose, these three accessories make a real difference:
Boom arm ($20–40): A desk-mounted arm that positions the mic at mouth level. Don’t use the included desktop stand — you’ll hunch over awkwardly. A boom arm lets you sit naturally and position the mic where it sounds best — the InnoGear Boom Arm is a solid budget pick.
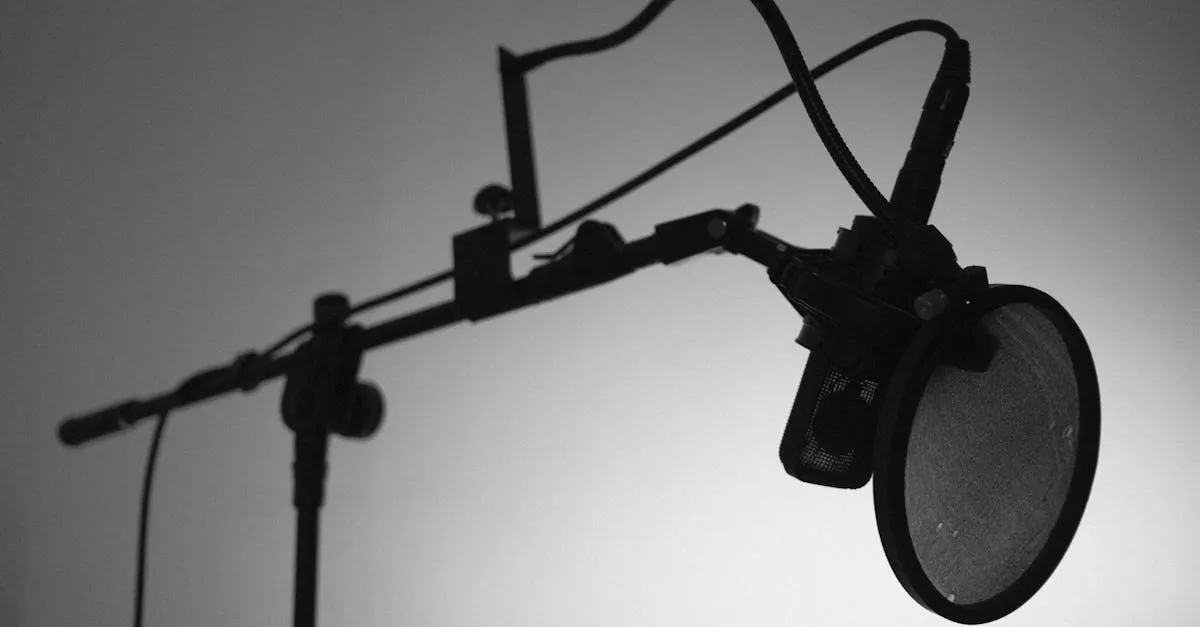
Pop filter ($10): A mesh screen that goes between your mouth and the mic. Eliminates harsh “p” and “b” sounds (plosives) that ruin recordings. Some mics have built-in windscreens that help, but a dedicated pop filter is better.
Shock mount ($15–30): Suspends the mic in elastic bands so desk vibrations (typing, bumping the desk) don’t travel into the recording. Not essential, but nice to have.
The One Rule
Whatever microphone you use: get close to it.
The single biggest mistake new audio creators make is sitting too far from the microphone. At 12 inches away, your voice sounds distant and the mic picks up more room echo than your actual words.
At 3–6 inches away, your voice sounds warm, present, and professional. The mic captures your voice clearly and the room echo becomes almost inaudible.
Speak across the mic, not directly into it (reduces plosives). Position it slightly off to the side, about a fist’s width from your mouth. You’ll hear the difference immediately.
Your Action Step
Pick a budget tier. Order the mic. While you wait for it to arrive, move on to the next lesson — room treatment. Setting up your recording space is free and makes more difference than most microphone upgrades.
Next up: making your room sound as good as possible.
Keep going — you're making progress through Record & Edit Audio/Podcast Courses.
Need help? Email me ↗