Noise Removal and Audio Cleanup
The basic edit handles most issues. But if your recording has background hiss, room hum, mouth clicks, or inconsistent volume, you need deeper cleanup. Here’s how to do it with free tools.
Noise Removal (Background Hiss and Hum)
If your recording has a constant background noise — computer fan hum, air conditioning hiss, room tone — Audacity’s noise removal tool can eliminate it.
The Noise Profile Method
- Find a section of pure noise — a moment where you weren’t speaking (the beginning or end of the recording usually has a few seconds)
- Select just the noise (1–2 seconds)
- Go to Effect → Noise Reduction → Get Noise Profile
- Audacity now “knows” what your background noise sounds like
- Select your entire track (Ctrl+A / Cmd+A)
- Go to Effect → Noise Reduction again
- Set Noise Reduction to 10–12 dB (start conservative)
- Set Sensitivity to 6
- Set Frequency Smoothing to 3
- Click Preview to hear the result
- Adjust if needed, then click OK
Warning: Too much noise reduction makes your voice sound robotic and underwater. Start with 10dB and increase only if the noise is still audible. It’s better to have a faint hiss than a voice that sounds processed.
Compression (Evening Out Volume)
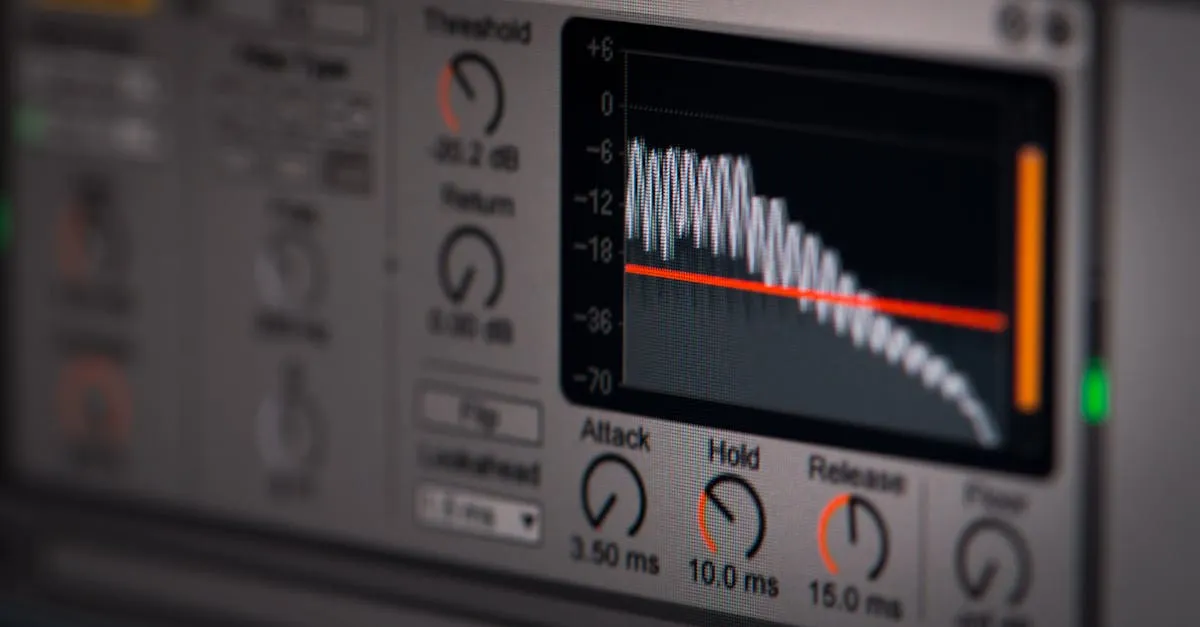
Compression reduces the difference between your loudest and quietest moments. If some sentences are much louder than others, compression brings them closer together.
In Audacity:
- Select your entire track
- Go to Effect → Volume and Compression → Compressor
- Settings:
- Threshold: -18dB (only affects sounds louder than this)
- Ratio: 3:1 (for every 3dB above threshold, reduce to 1dB)
- Attack: 0.2 seconds (how quickly it reacts)
- Release: 1.0 second (how quickly it stops)
- Click OK
- Normalize again after compression (Step 2 from the basic edit)
The result: your quiet words become more audible and your loud words don’t blast. The overall dynamic range is narrower, which is what you want for course audio.
De-Essing (Reducing Harsh “S” Sounds)
Some microphones and voices produce harsh, piercing “s” sounds — called sibilance. It’s most noticeable on words with “s,” “sh,” and “ch” sounds.
Quick fix in Audacity:
- Select your entire track
- Go to Effect → Filter Curve EQ
- Create a dip around 5,000–8,000 Hz (reduce by 3–6 dB)
- Preview and adjust
This reduces the frequency range where sibilance lives. Be gentle — too much reduction makes your voice sound muffled.
Mouth Clicks
Mouth clicks are those small “tsk” sounds your mouth makes when it’s dry. They’re incredibly common and incredibly annoying to listeners.
Prevention: Drink water before and during recording. Stay hydrated throughout the session.
Removal: Audacity doesn’t have a built-in mouth click remover. Options:
- Manual: Zoom in and cut each click individually (tedious but effective)
- Descript (paid, $24/mo): Automatically detects and removes mouth clicks
- iZotope RX (expensive): Professional tool with dedicated mouth click removal
For most course creators, hydration plus manual removal of the most obvious clicks is sufficient. Don’t spend hours hunting every tiny click — fix the distracting ones and move on.
The Order Matters
Apply your cleanup effects in this order:
- Noise reduction first (removes the noise floor)
- Compression second (evens out dynamics)
- De-essing third (tames harsh frequencies)
- Normalization last (sets final volume level)
Each effect builds on the previous one. If you normalize first, then compress, the compression won’t work correctly because the levels are already maxed out.
When to Stop
Audio cleanup follows the same rule as audio editing: don’t chase perfection. If your recording sounds clear, professional, and easy to listen to, you’re done. You could spend another hour making it 5% better, or you could spend that hour recording the next lesson.
Your students care about your content, not whether you removed every single mouth click. Get it to “good enough” and move on.
Your Action Step
Take your basic-edited lesson and apply noise reduction (if needed) and compression. Normalize again. Listen to the before and after. The difference should be noticeable — cleaner, more consistent, more professional.
Next up: adding polish with music and transitions.
Keep going — you're making progress through Record & Edit Audio/Podcast Courses.
Need help? Email me ↗