Room Treatment for Clean Audio
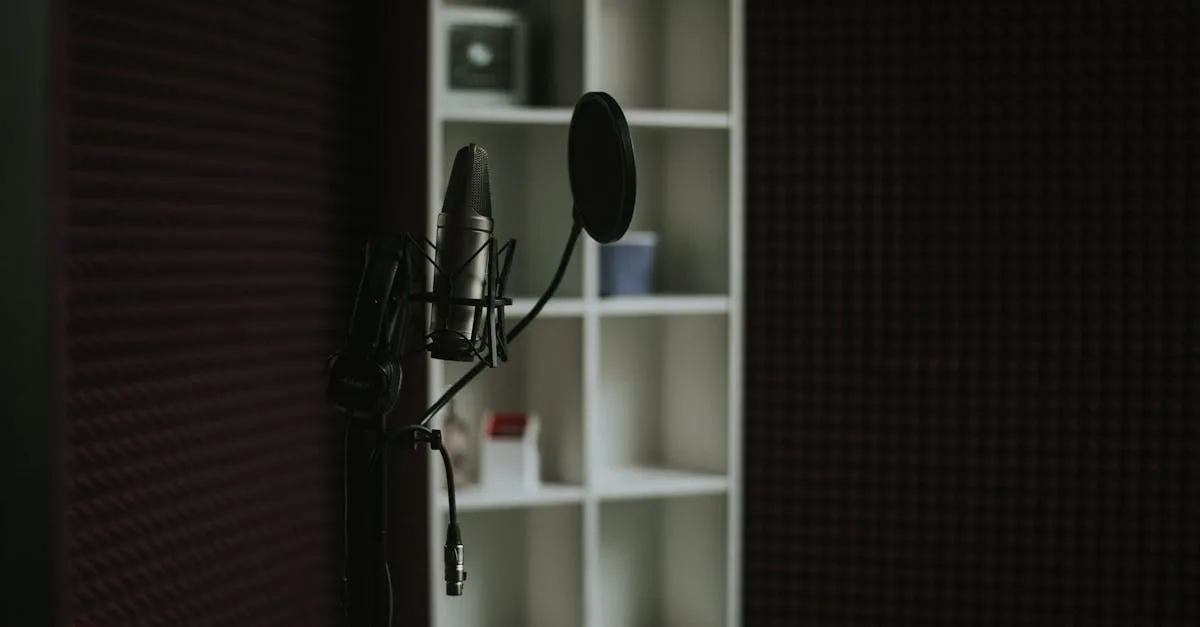
Your microphone captures everything in your room — your voice, yes, but also the sound of your voice bouncing off every hard surface around you. That bouncing sound is echo (technically called reverberation), and it’s the number one audio problem in home-recorded courses.
The good news: treating your room is free or nearly free. The results are dramatic.
Why Echo Ruins Recordings
When you speak, sound waves travel outward in every direction. Some go directly into the microphone — that’s the good stuff. But others hit your walls, ceiling, desk, and windows, bounce off, and arrive at the microphone a fraction of a second later.
Your microphone can’t distinguish between your direct voice and the bounced sound. It captures both. The result: a smeared, hollow, “roomy” sound that makes recordings feel amateur regardless of how expensive your microphone is.
This is why a $60 microphone in a well-treated room sounds better than a $300 microphone in an untreated room. The room matters more than the mic.
The Clap Test
Before you record anything, do this: stand in your recording spot and clap your hands once, sharply. Listen to what happens after the clap.
In a well-treated room, the sound dies almost instantly. In an untreated room, you’ll hear a fluttering or ringing tail that lasts half a second or more. That tail is what your microphone will capture behind every word you say.
Your goal: make the clap sound as dead as possible. Soft surfaces absorb sound. Hard surfaces reflect it.
Free Room Treatment
The Duvet Trick: Hang a thick duvet or heavy blanket on the wall directly behind where you sit (off-camera, behind your back). This absorbs the sound waves that would otherwise bounce off that wall and into your microphone. This single trick eliminates 60–70% of room echo.
Closet Recording: If your course is audio-only (no camera), record inside a closet full of hanging clothes. The fabric absorbs sound from every direction. This is the reason some professional voice actors record in closets — it works remarkably well.
Close curtains: Glass reflects sound like a mirror. Close the curtains over every window in your recording space.
Add a rug: If you have hard floors, put a thick rug between you and the microphone. Hard floors are highly reflective.
Move away from corners: Corners amplify bass frequencies and create a boomy, muddy sound. Position yourself in the center of a wall, not in a corner.
Turn everything off: Fans, air conditioning, refrigerators, heaters. Any appliance that hums is adding noise to your recording. Close the door and unplug whatever you can.
Affordable Room Treatment
If you want to go further than free solutions:
Acoustic foam panels ($20–40 for a pack): Stick on the wall behind you and to your left and right. Don’t cover every wall — just the surfaces directly in the path of your voice.
A reflection filter ($40–80): A curved panel that mounts behind your microphone and absorbs sound from the sides and back. Popular models: Tonor shield, or the Kaotica Eyeball (~$199) if you want the premium option. Works well if you can’t modify your walls.
Moving blankets ($15–20 each): The thick quilting blankets used by movers. Hang them on a freestanding clothes rack behind your recording position. Cheaper than acoustic foam and more effective per dollar.
What NOT to Do
Don’t buy cheap egg-crate foam. It looks like acoustic treatment but doesn’t actually absorb much sound. It’s a common waste of money.
Don’t cover every surface. You want a controlled room, not a dead room. Too much absorption makes your voice sound flat and lifeless. Treat the wall behind you and the wall in front of you. That’s usually enough.
Don’t record in a kitchen or bathroom. These rooms are the worst possible spaces for audio — all hard surfaces, no soft materials. Every word will bounce around like a pinball.
Test Your Setup
After treating your room, do the clap test again. You should notice a dramatic reduction in the ring and flutter. Then record a 30-second voice test and listen back with headphones. Does your voice sound clear and present, without a hollow “room” quality behind it?
If it still sounds echoey, add more soft surfaces. If it sounds clean and direct, you’re ready to record.
Next up: setting up your recording software.
Keep going — you're making progress through Record & Edit Audio/Podcast Courses.
Need help? Email me ↗