The Basic Audio Edit
Whether you recorded your voice or generated it with AI, you need to edit the audio before publishing. The good news: audio editing is simpler than video editing, and the 80/20 rule applies hard here. 80% of the quality comes from three actions.
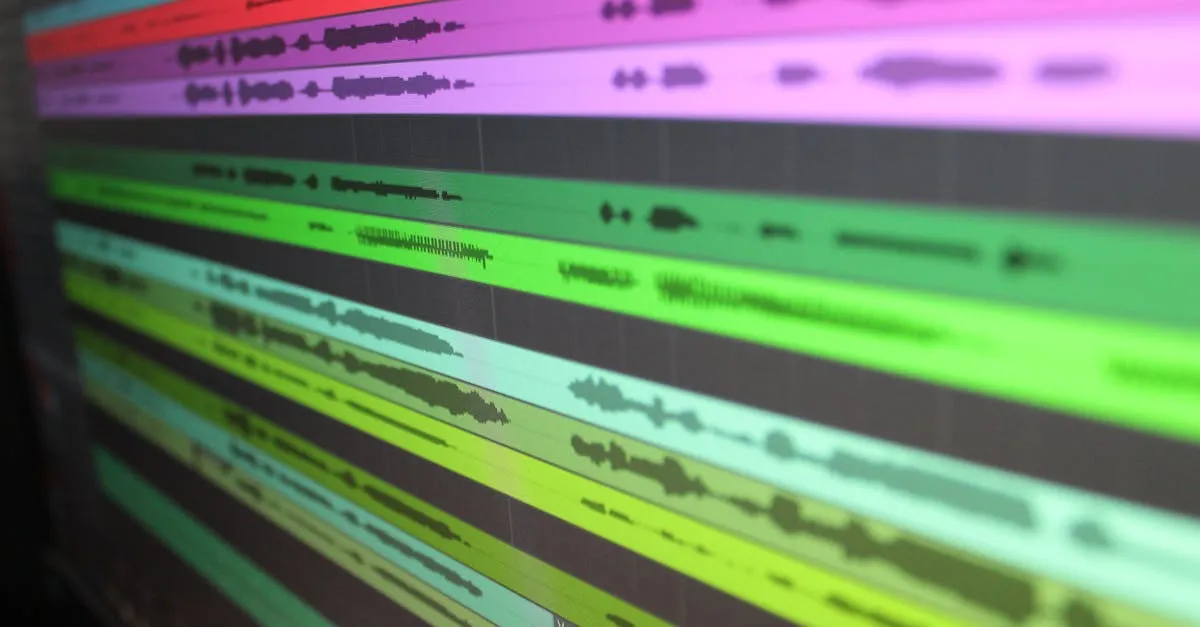
The Three-Step Edit
Step 1: Cut Mistakes and Dead Air
Find the clap marks you made during recording (sharp spikes in the waveform). Each spike marks a mistake. For each one:
- Select the section from just before the clap to just before you restarted
- Delete it
- The remaining audio joins seamlessly
Then scan the waveform for long flat sections — those are silences. Delete any silence longer than 3 seconds. A natural pause is 1–2 seconds. Anything longer needs to go.
In Audacity: Click and drag to select a section, then press Delete.
Step 2: Normalize Levels
Your recording probably has volume variations — some sentences louder than others, some trailing off. Normalization fixes this.
In Audacity:
- Select your entire track (Ctrl+A or Cmd+A)
- Go to Effect → Volume and Compression → Normalize
- Set Normalize maximum amplitude to: -1.0 dB
- Click Apply
This brings your loudest peak to -1dB and raises everything else proportionally. The result: consistent volume throughout the lesson.
If you’re using compression (covered in the next lesson), apply compression before normalization. The order matters.
Step 3: Export
Export your edited audio as an MP3:
In Audacity:
- Go to File → Export Audio
- Set Format to MP3
- Set Bit Rate to 128 kbps (standard for spoken audio)
- Name the file using your convention:
01-audio-quality.mp3 - Save to your Export folder
128kbps MP3 is the podcast standard. It sounds great for voice, keeps file sizes reasonable (~1MB per minute), and works on every platform and device.
The 80/20 Edit Checklist
For each lesson:
- Import raw audio
- Find and cut mistakes (clap marks)
- Remove long silences
- Normalize to -1dB
- Listen to the full export once (yes, the whole thing)
- Export as MP3 at 128kbps
That’s it. If you do only these things, your audio will sound professional. Everything else in the next two lessons is polish — nice to have, but not required.
Don’t Over-Edit
Here’s the trap: you start cutting every “um,” every breath, every slight pause. Two hours later, your 15-minute lesson sounds robotic and sterile. The natural imperfections in speech are what make it sound human.
Cut the big mistakes. Remove the long silences. Level the volume. Then stop. Your students want clear, understandable audio — not a robot reading a script.
Rule of thumb: If a edit takes more than 30 seconds to decide whether to make it, leave it in. Move on.
Your Action Step
Take one lesson recording through the three-step edit: cut mistakes, normalize, export. Listen to the result. If it sounds clear and professional, you’re done. If you hear specific issues (hiss, mouth clicks, uneven volume), the next lesson covers cleanup.
Next up: noise removal and audio cleanup.
Keep going — you're making progress through Record & Edit Audio/Podcast Courses.
Need help? Email me ↗