Free Recording Software Setup
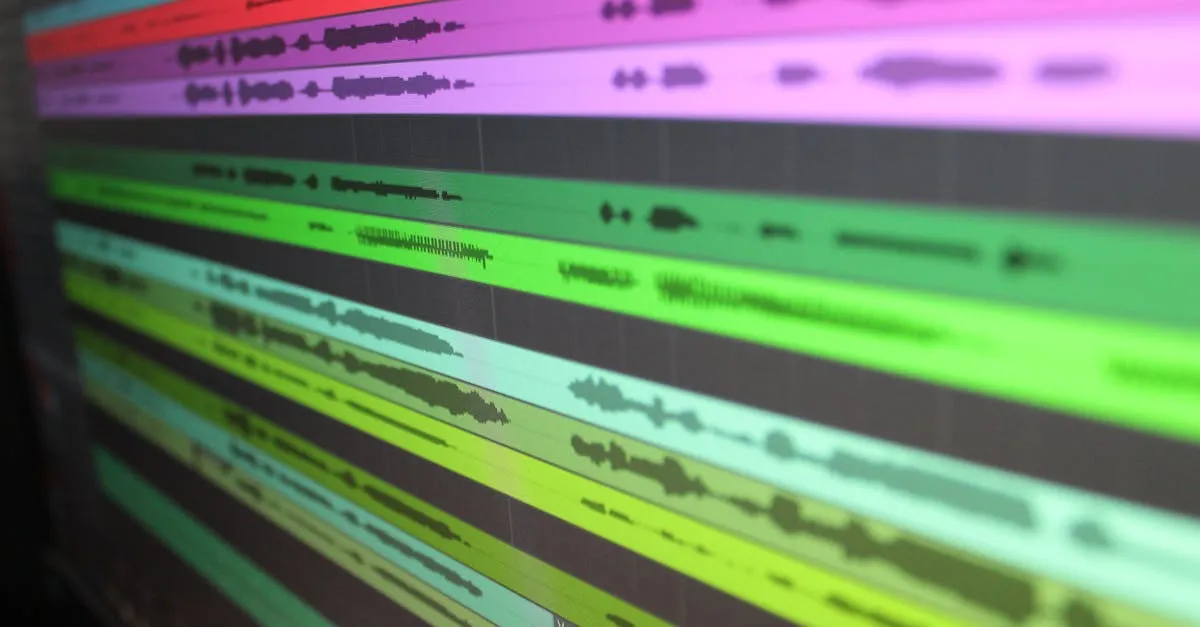
You need recording software. The good news: the best options are free.
Audacity (Windows, Mac, Linux — Free)
Audacity is the industry standard for podcast recording and editing. It’s free, open-source, and has been used by podcasters and voice actors for over two decades. It handles recording, editing, noise removal, compression, and export — everything a course creator needs.
Download: audacityteam.org
Initial Setup
- Plug in your microphone before opening Audacity
- Open Audacity and go to Edit → Preferences (Windows) or Audacity → Preferences (Mac)
- Under Audio Settings, set your Recording Device to your USB microphone (not “Built-in Microphone”)
- Set Channels to Mono (1 channel) — your voice doesn’t need stereo
- Under Quality, set Sample Rate to 44100 Hz and Sample Format to 16-bit
- Click OK
The Master File Trick
Create a “master file” that you open every time you start a new recording:
- Open a new Audacity project
- Set your input device and channels (mono)
- Save the project as
000-master.aup3in your course folder
Every time you record a new lesson, open this master file, save it immediately with the lesson name, and start recording. Your settings are already correct — no need to reconfigure.
Recording Levels
Before recording, check your levels. Speak in your normal recording voice and watch the meter at the top of the Audacity window.
- Too quiet (barely moving): Move closer to the mic or increase the input volume slider
- Too loud (hitting the right edge, turning red): You’re clipping. Move back from the mic or decrease the input volume
- Just right (peaking around -12dB to -6dB, staying in the green-yellow range): You’re set
The goal: your voice should be loud and clear without ever hitting the red zone. Clipping (distortion from levels too high) cannot be fixed in editing. Under-recording can be boosted. Over-recording is ruined.
GarageBand (Mac — Free)
If you’re on a Mac and find Audacity’s interface dated, GarageBand is a solid alternative. It comes pre-installed on every Mac and handles voice recording well.
Initial Setup
- Open GarageBand and create a New Project → Voice
- Set Input to your USB microphone (not Built-in Microphone)
- Set Monitor to On so you can hear yourself through headphones
- Set the input level so your voice peaks around -6dB
The Master Project
Same concept as Audacity — create a project with your settings, save it as a template, and duplicate it for each lesson.
One Critical Rule: Record WAV, Not MP3
When you record, save your raw files as WAV (uncompressed audio). WAV files are large but lossless — they capture every detail of your recording.
MP3 is a compressed format that throws away audio data to reduce file size. If you record in MP3, that data is gone forever. You can always convert WAV to MP3 later (for delivery). You can never convert MP3 back to WAV and recover the lost quality.
Workflow: Record in WAV → Edit → Export final version as MP3 (128kbps) for delivery. Keep the WAV files as your archive.
The Pre-Recording Test
Before every recording session, do a 10-second test:
- Hit record
- Speak in your normal voice for 10 seconds
- Stop recording
- Play it back with headphones
- Listen for: echo, hum, background noise, distortion, or low volume
- Fix any issues before recording your actual lesson
This takes 30 seconds and saves you from discovering problems after recording a 20-minute lesson.
Your Action Step
Download Audacity (or open GarageBand). Set up your microphone. Record a 30-second test. Listen back with headphones. If it sounds clean and clear, you’re ready for the recording technique lesson.
Next up: how to actually sound good when you hit record.
Keep going — you're making progress through Record & Edit Audio/Podcast Courses.
Need help? Email me ↗